
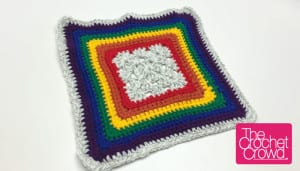
Bold is Better Border
The following are instructions for a border for a typical granny square. Many crocheters decide to do one large granny square instead of doing multiple and sewing them together. My personal goal was to come up with several designs that can be applied to a typical granny square.

Download my free instructions for the Bold is Better Granny Border
Stephanie Schulenberg says
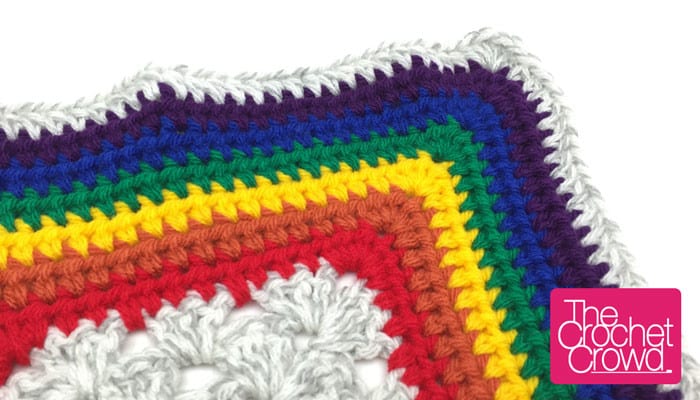
I used the half double crochet border on a central motif. I follow exactly what you said and put 5 half double crochet in each corner and i looks wrong. The border is wavy and the corners stick out farther than the rest of the blanket. I can't figure out what happened. Please help.
Marina King says
one, half double in each stitch around, in the corners try 2 hdc, chain 2, 2 hdc see how that works out