
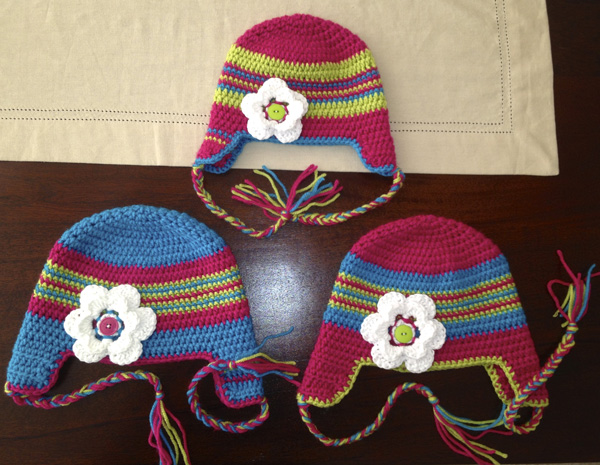
Colourful Braided Ear Flap Hat
Cathy developed this pattern after seeing a number of viewers looking for crochet hats that have ear flaps and braids. This is the Newborn Colourful Braided Hat pattern. Designed by Cathy Cunningham.
Keep those young people's ears warm this winter with a crochet baby hat that has ear flap. The current trend is to have braids at the end of the flaps. Adding braids is up to you. This hat makes a great accessory for a photo prop as well.
Colour changing is up to you. Cathy's original pattern has 3 colours. You can opt to use one solid colour or even a colour transitioning yarn such as Red Heart Treasure or Eclipse Yarns as well.

Please note that braids may be a choking or suffocation hazard for young children. These size hats are really cute for photo props. Use your own discretion.
Tutorial
More Inspiration
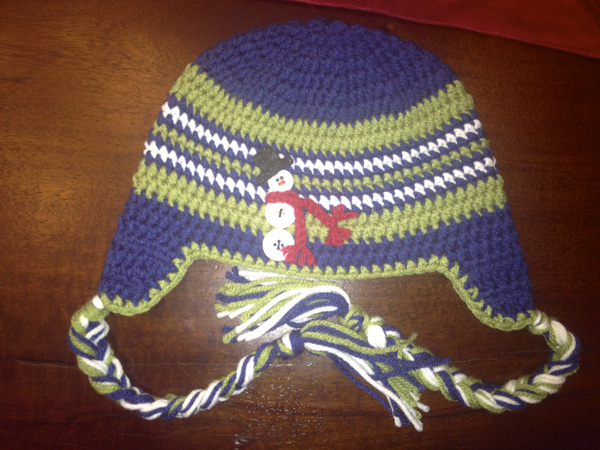
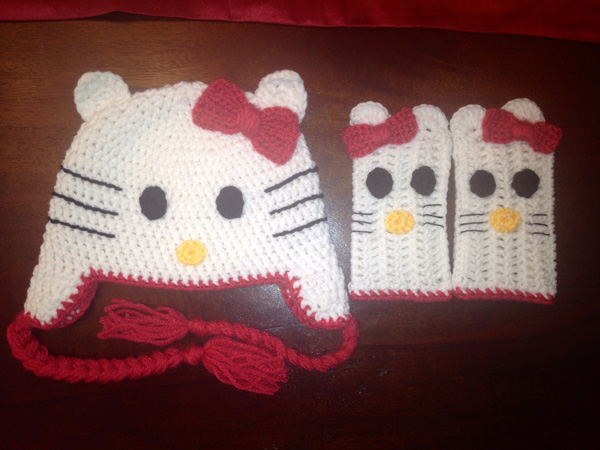
Play with your creativity by experimenting with colour choices and embellishing.
Materials
- Size G Crochet Hook or 4.5 MM
- Cathy used Vanna's Choice Yarn by Lion Brand. You will need only 1 ball of each. You can do a few hats using the same yarn as these hats don't use up a lot of yarn.
Definitions
CH - Chain, DC - Double Crochet, HDC - Half Double Crochet, SC - Single Crochet, SL ST - Slip Stitch, BEG - Beginning, REP - Repeat, 2TOG HDC Decrease - 2 Stitches Together to Decrease,
Free Pattern
Colours Definitions, you can use 1 colour or colour transitioning yarns if you prefer.
- Colour A - Red
- Colour B - Blue
- Colour C - Green
This pattern works in rounds.
- Colour A - Ch 4 and SL ST to the Beg CH to form a ring.
- Ch 2, then HDC 9 times around the ring. (Ch 2 counts as 1 HDC = 10 HDC). SL ST at the end to the top of the Beg Ch 2.
- Ch 2, then 1 HDC into the same joining stitch. 2 HDC into each stitch around the circle. SL ST at the end to the top of the Beg Ch 2.
- Ch 2, *1 HDC into the next stitch and then 2 HDC into the next. Repeat from * all the way around. SL ST at the end to the top of the Beg Ch 2.
- Ch 2, *1 HDC into the next 2 stitches, 2 HDC into the next. Repeat from * all the way around. SL ST at the end to the top of the Beg Ch 2.
- Ch 2, *1 HDC into the next 3 stitches, 2 HDC into the next. Repeat from * all the way around. SL ST at the end to the top of the Beg Ch 2.
- Colour Change B, Ch 2 and 1 HDC into each stitch all the way around. SL ST at the end to the top of the Beg Ch 2.
- Colour Change A, Ch 1, SC into each stitch. SL ST at the end.
- Colour Change C, Ch 1, Sc into each stitch. SL ST at the end.
- Colour Change A, Ch 1, SC into each stitch. SL ST at the end.
- Colour Change B, Ch 2, HDC into each stitch. SL ST at the end.
- Ch 2, HDC into each stitch. SL ST at then end.
- Colour Change A, CH 2, HDC into each stitch. SL ST at the end.
- Ch 2, HDC into each stitch. SL ST at the end.
- Ch 2, HDC into each stitch. SL ST at the end.
- Fasten off and weave in ends.
Ear Flap
Using Colour A
- Fold the hat into half with the SL ST seam at the fold line. Measure or eye up the halfway point between the two sides of the hat. Mark both sides of the hat's middle point as you will need to do two ear flap sides to keep them the same distance.
- From the middle, count 5 stitches back to find your starting point. Fasten on yarn.
- Ch 2, then HDC into the next 10 stitches. Turn.
- Ch 2, HDC across. Turn.
- Ch 2, then 2 TOG HDC DEC, then HDC until the final two stitches. On the final 2 stitches, 2 TOG HDC DEC again. Turn.
- Repeat Step 5.
- Fasten off and weave in ends.
- Repeat the second flap by going back to the middle point and counting back 6 stitches to find your beginning. Repeat steps 2 - 6 once again.
Surrounding Brim
 our C
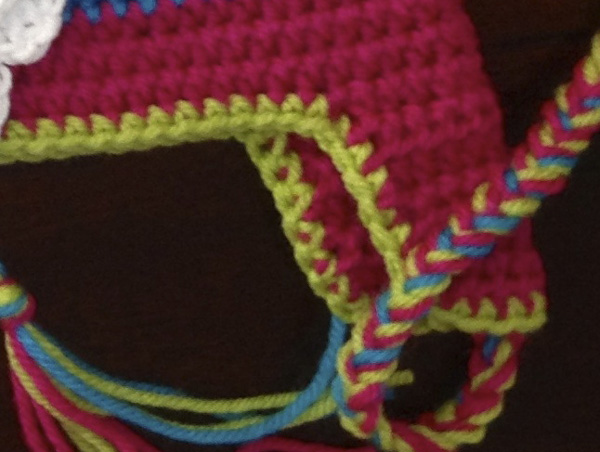
our C- Fasten on at the corner of one of the ear flaps where it is next to the brim of the hat. On the picture, it is fastened on where the pink meets the white.
- Ch 1, SC all the way around the brim which includes around the ear flaps. For the sides of the ear flap where there are no stitches, equally space your SC so it looks like the same distance of regular stitching. Do not do anything special for the corners of the turns of the material as this technique will create soft edges.
- Fasten off and weave in ends.
Braids
- Cathy recommends a total of 12 or so strands per side. The tightness of the braid is up to you.
- The length of the braid is about 10" but that length is a personal choice. Just ensure it's not a choking hazard.
- Cut 6 strands that are about 54" Long. She used 2 strands of each of the colours to make it a bit more interesting.
- Bunch the strands together and fold them into half. Using a crochet hook, insert the hook from the inside of the hat and grab the strands at the fold and pull through about 3". Then insert the tails of the strands through the loop to secure.
- Separate strands into 3 groups of 4 strands. Braid them together to the desired length.
- Repeat again for the other side.
Pattern Suggestions
- Crochet Colourful Granny Squares Blanket Pattern
- Crochet Hat 6 Months - 1 Year Pattern
- American Doll Braided Ear Flap Hat Pattern
- Crochet Adult Ear Flap Braided Hat
- Crochet Star is Born Baby Blanket
sj@az says
Do you have the pattern for the flower on the New Born Colourful Braided Ear Flap Hat? It is the perfect accessory for that hat. Thanks.
tncajun says
I have flowed your video Mikey on the newborn ear flap hat I enjoyed it however when I did mine I belive mine was smaller than yours I have look on the pattern to see what the measurements were for yours I do not see any or missing it some out could you email me or post on your video the measurements if
Thank You I love all your videos
Tammy Bridges [email protected]