The Crochet Baby Sea Shells Blanket is a rectangular blanket that is 27" x 34"—using the shell stitch. Easy 2-ball crochet pattern to follow.
It took me a bit to figure out the centre of the rectangle blanket so it would not buckle and sit flat. I figured it out through hard work, and the rest is history.
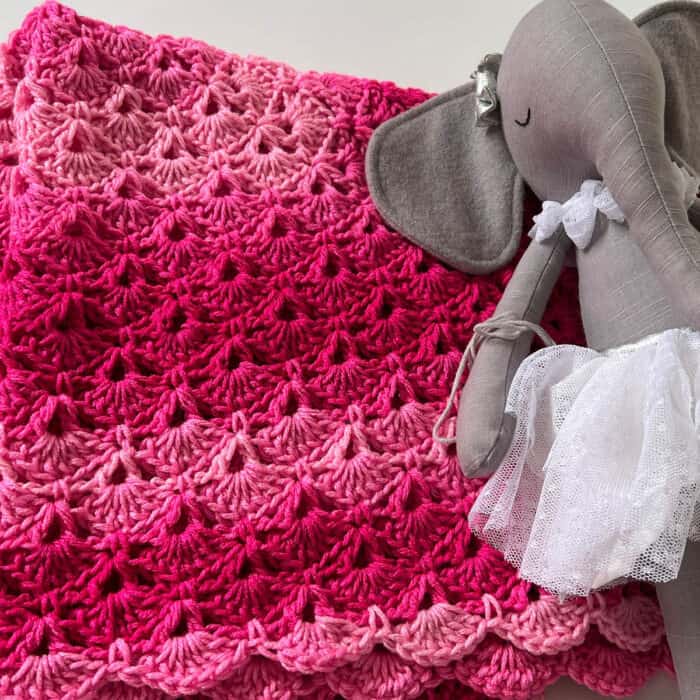
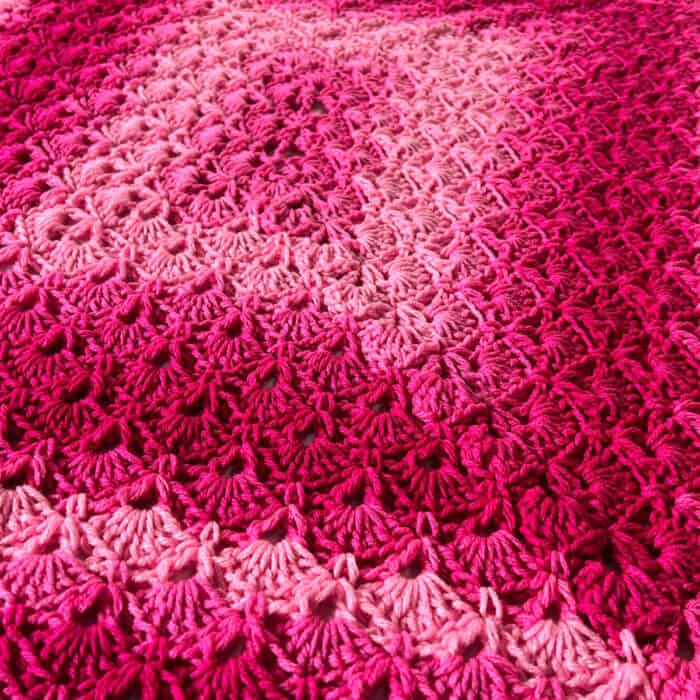
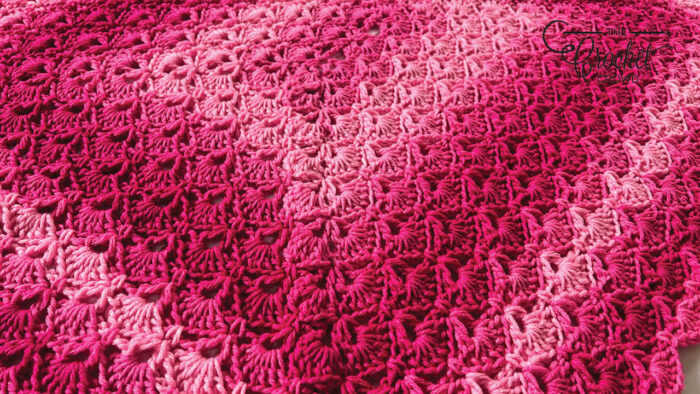
I had three balls left of Red Heart Super Saver Ombre in Jazzy, but the blanket is technically only two balls. Using colour strategy, I aligned the colours, so the transition would be pretty great.
The only time the transition becomes obvious is at the end of a row and the jump up to the next round once the blanket gets bigger. The colours will transition before you come back around, which creates the stepping look in the colour. It's not a deal-breaker for me.
More Pattern Ideas
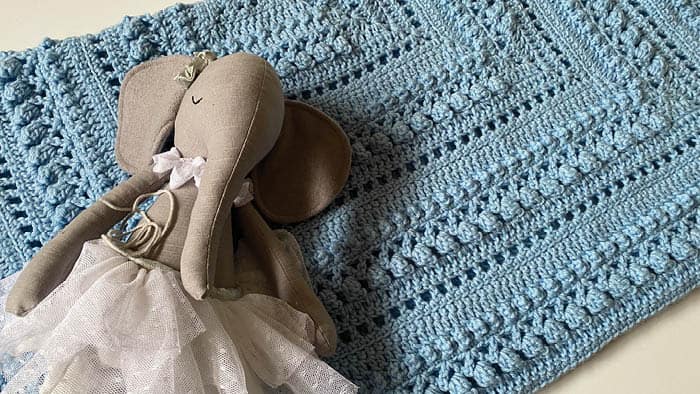
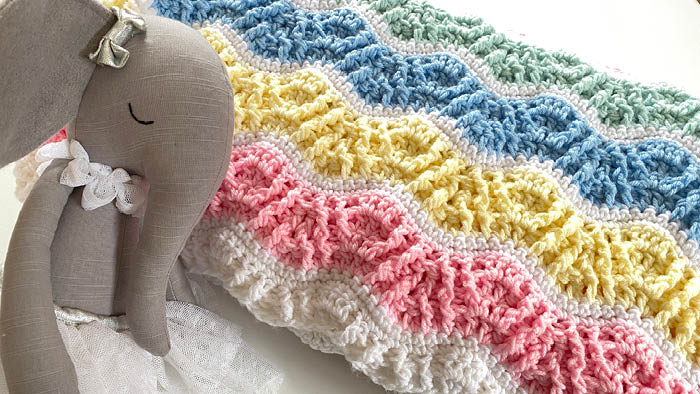
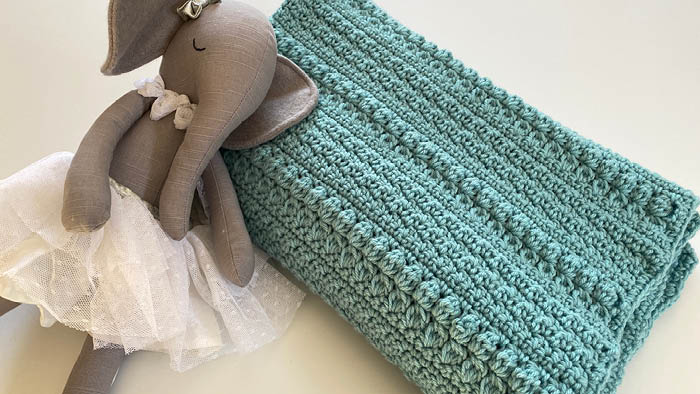
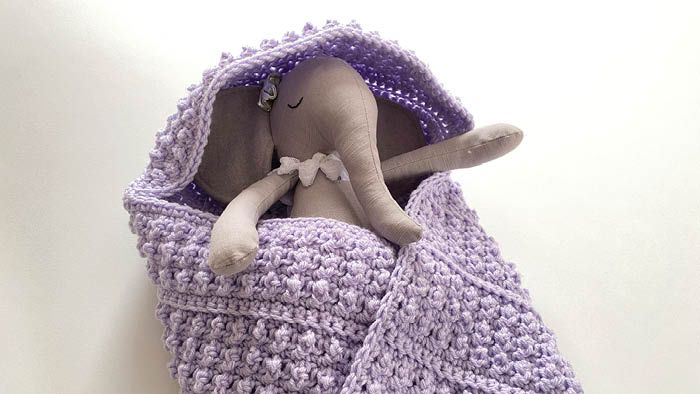
I have 4 other blankets I designed that have a free pattern too! You can click on the picture that entices you for the free pattern. They have tutorial support as well.
Free Pattern
Red Heart Super Saver Ombre 283 g/10 oz, 440 m/482 yds
Jazzy - 2 Balls
Project Size: 27” x 34”
5.5 mm / I/9 Crochet Hook or size needed to obtain gauge.
Gauge is 13 sc and 14 rows = 4" [10 cm]
Abbreviations
- Approx = Approximately
- Beg = Beginning
- Ch = Chain(s)
- Cont = Continue
- Corner St = (Vst, ch 3, vst in same st)
- Dc = Double crochet
- Pat = Pattern
- Rep = Repeat
- Rnd(s) = Round(s)
- RS = Right side
- Sc = Single crochet
- Shell = 7 dc in same sp.
- Sk = Skip
- Sl st = Slip stitch
- St(s) = Stitch(es)
- Sp(s) = Space(es)
- Vst = (1 dc, ch 1, 1 dc) in same ch or st.
This is the base for baby blankets, child-size blankets, teenager blankets, throws, queen size with drape and king size for both mattress top and with drape.
When jumping from one ball to another in this brand, I recommend you grab the same colour of the ending of the first ball so the transitioning of the colours is maintained. You may have to dig into the ball to get to that colour and then reuse what you are skipping over later on. Technically speaking, I used 3 partial balls of Jazzy and did the strategy of grabbing the same colour in each partial ball so the transitioning looks amazing.
As the project gets bigger, you will see a colour difference at the end of a round as it jumps up to the next.
Notes:
Ch 3 at the beg of rnd counts as a dc.
Instructions
Ch 17.
1st rnd: Vst in 5th ch from hook, ch 1, sk next 4 chs, 1 dc in next ch, vst in next ch, 1 dc in next ch, ch 1, sk next 4 chs, (vst, ch 1) 3 times in last ch. Cont working underside of the chain. Sk next 4 chs, 1 dc in next ch, vst in next ch, 1 dc in next ch, ch 1, sk next 4 ch, vst in next ch, ch 1, 1 dc in the same ch as the last vst, ch 1. Join with sl st to the 3rd ch of beg ch 5. This will give both ends with 1 shell holding spot in the middle.
TIP: Next rnd, you will be using the ch 1 spaces around. Skip over dc sts to create the base of the shell positioning.
Shell set up - 2nd rnd: Sl st to next ch 1 sp. Ch 1, 1 sc in same sp. Shell into next ch 1 sp. (1 sc into next ch 1 sp, shell into next ch 1 sp) 7 times. Join with sl st to beg sc. 8 shells total with 1 sc between each.
Corner St = (Vst, ch 3, vst) in same assigned st.
3rd rnd: Ch 4 (counts as 1 dc and ch 1 sp, 1 dc in same st as join, ch 3, vst in same st as join. *Ch 5, (sk next 7 dc, vst in next sc, ch 5) twice. Sk next 7 dc, corner st in next sc, sk next 7 dc, ch 5, ** corner st in next sc. Repeat from * to ** once. Join with sl st to 3rd ch of beg ch 4. 4 Vsts on long sides and 2 vsts on the shorter sides. 4 vsts on long sides and 2 vsts on the shorter sides.
4th rnd: Sl st to next ch 1 sp, ch 3, 6 dc in same ch 1 sp. 1 sc in next ch 3 sp, shell into next vst ch 1 sp, (working sc over ch 5 of previous rnd in the 4th dc of the shell 2 rnds below, shell into next vst ch 1 sp) 3 times. 1 sc in next ch 3 sp. Shell into next vst ch 1 sp, rep ( ) once. 1 sc in next ch 3 sp. Shell into next vst ch 1 sp, rep ( ) 3 times. 1 sc in next ch 3 sp. Shell into next vst ch 1 sp. working sc over ch 5 of previous rnd in the 4th dc of the shell 2 rnds below. Join with sl st to beg ch 3. Break yarn. 4 shells on long sides, 2 shells on short sides.
5th rnd: Sl st behind the next shell equally and then sl st to the sc in the corner to begin. Ch 4 (counts as 1 dc and ch 1 sp, 1 dc in same st as join, ch 3, vst in same st as join. *Ch 5, (sk next 7 dc, vst in next sc, ch 5) 3 times. Sk next 7 dc, corner st in next sc, sk next 7 dc, ch 5, vst in next sc, ch 5. ** corner st in next sc. Repeat from * to ** once. Join with sl st to 3rd ch of beg ch 4. 5 vsts on long sides and 3 vsts on the shorter sides.
6th: Sl st to next ch 1 sp, ch 3, 6 dc in same ch 1 sp. 1 sc in next ch 3 sp, shell into next vst ch 1 sp, (working sc over ch 5 of previous rnd in the 4th dc of the shell 2 rnds below, shell into next vst ch 1 sp) 4 times. 1 sc in next ch 3 sp. Shell into next vst ch 1 sp, rep ( ) twice. 1 sc in next ch 3 sp. Shell into next vst ch 1 sp, rep ( ) 4 times. 1 sc in next ch 3 sp. Shell into next vst ch 1 sp. Working sc over ch 5 of previous rnd in the 4th dc of the shell 2 rnds below. Join with sl st to beg ch 3. Break yarn. 5 shells on long sides, 3 shells on short sides.
Continue growth in same manner between the corners until desired size finishing with a shell round.
Baby blanket is 27” x 34”.
Crochet Diagram
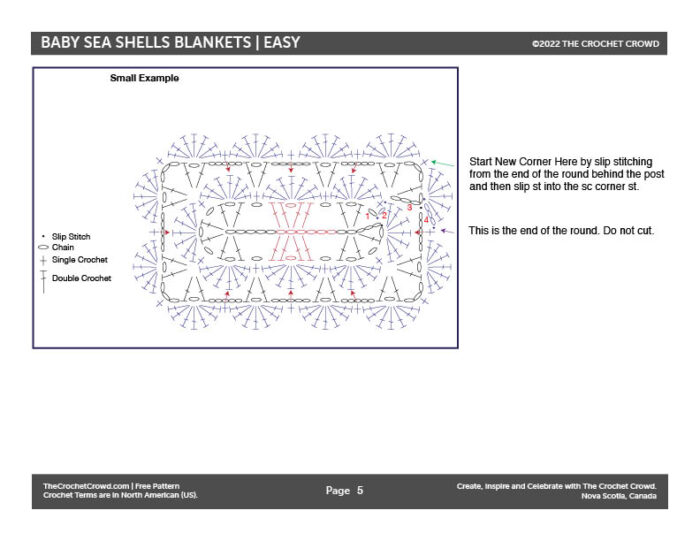
The difference with the Tutorial
In the tutorial, I jump between colours. If you prefer to keep on going, just slip stitch behind the shell posts to get to the next corner. I will have a tutorial available later on on how I accomplished that.

Tutorial
Foundation of this using 2 colours. Use the instructions above if you want to carry colour instead of changing.
heather says
grid
Mikey says
Thanks
carol detloff says
Dear Mikey,
This is so sweet. I don't even have a baby in mind to gift it to, but just couldn't resist making one! I have my Jazzy yarn and can't wait to dig in and get started. thank you so much for sharing your talents with the crochet world.
Thanks again for a free pattern.
Carol
Mikey says
It's my pleasure. Thank you for sharing the journey with me.
Patty Billingsley says
Where can I print this from?
Mikey says
You can print from the first paragraph as the words of the blanket are a link to the PDF, or scroll to the bottom of the article and find the blue PATTERN button and you can click that to print as well. It's free. No sign-up is required.