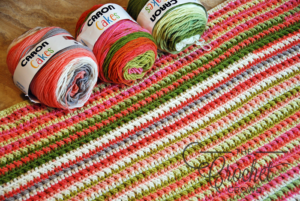
Crochet Watercolor Ridges Afghan
This Crochet Watercolor Ridges Afghan was made with 3 of the newest colors of Caron Cakes yarn. When I was done, it reminded me of when I took a watercolour painting class because of the gentle ripples of color this afghan created.
It features a nice ribbed texture similar to the waffle stitch, but this goes much quicker, yet still produces a thick and comfy blanket.

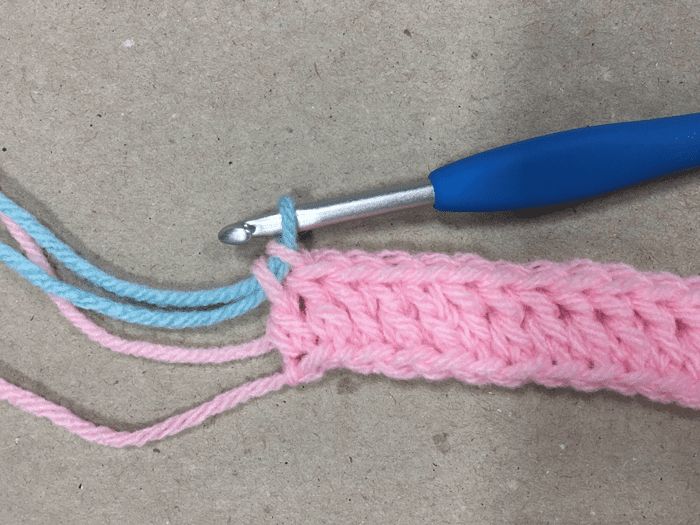
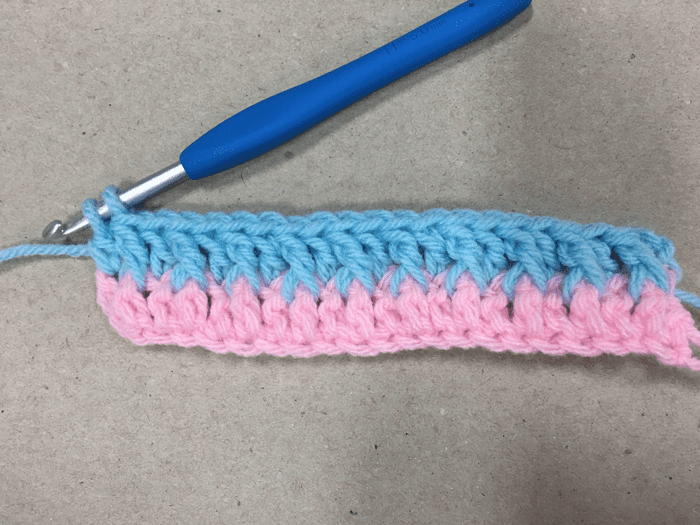
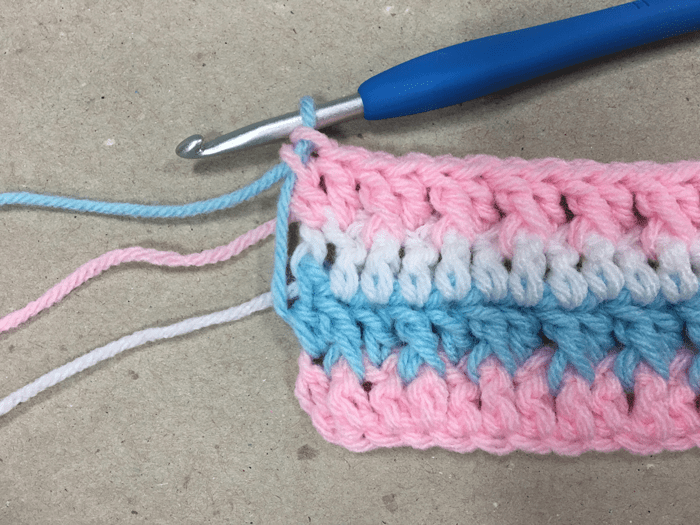
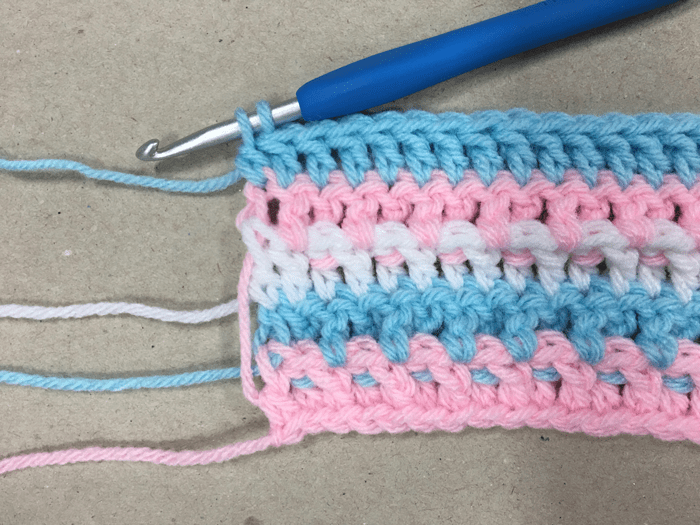
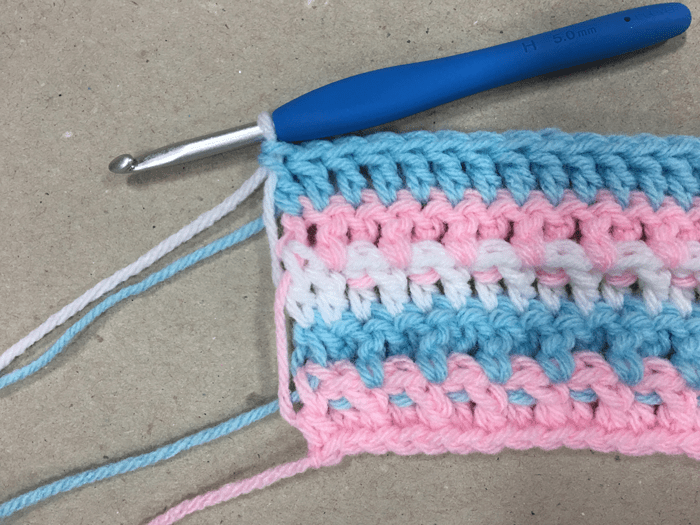
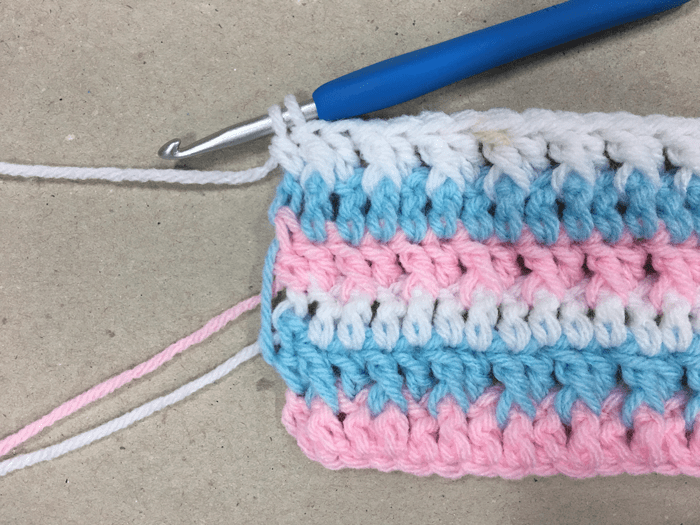
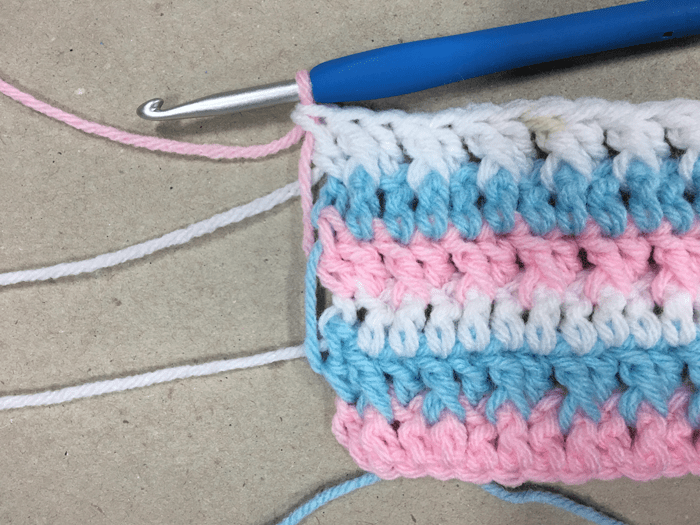
For this project, I chose Caron Cakes in Strawberry Trifle, Strawberry Kiwi and Pistachio. The stripes on this blanket are achieved by alternating all 3 colors on each row. There is no cutting or weaving in ends and you only have to carry the color up one row. The border will completely cover everything nicely.
This concept works equally well with any 3 colors of worsted weight yarn and would still have a pretty striped effect.
Finished blanket - 50" x 72"
Watercolor Ridges Afghan
~ by Jeanne Steinhilber
- 7 Caron Cakes
- Color A - 3 Strawberry Trifle
- Color B - 2 Strawberry Kiwi
- Color C - 2 Pistachio
- Crochet hook size H - 5.0mm
Special Stitches
FPdc - front post double crochet
BPdc - back post double crochet
Note - Ch 2 at the beginning of each row counts as a dc.
With Color A - Chain 153
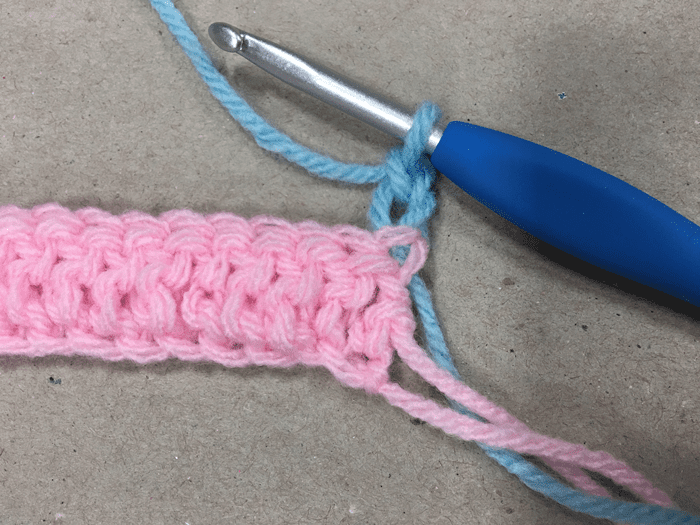
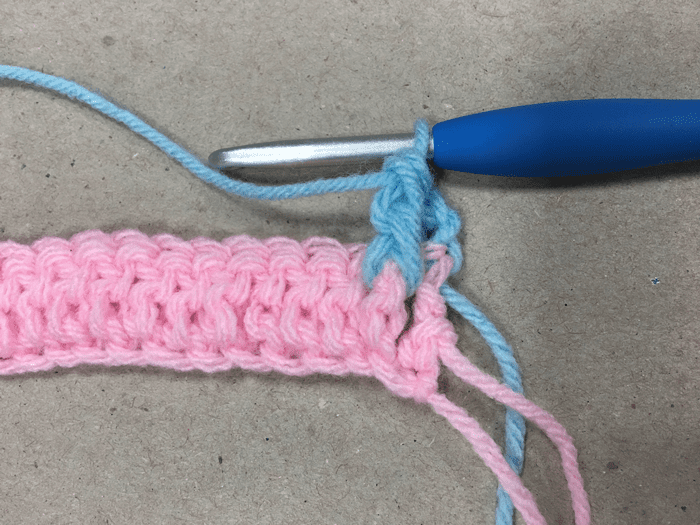
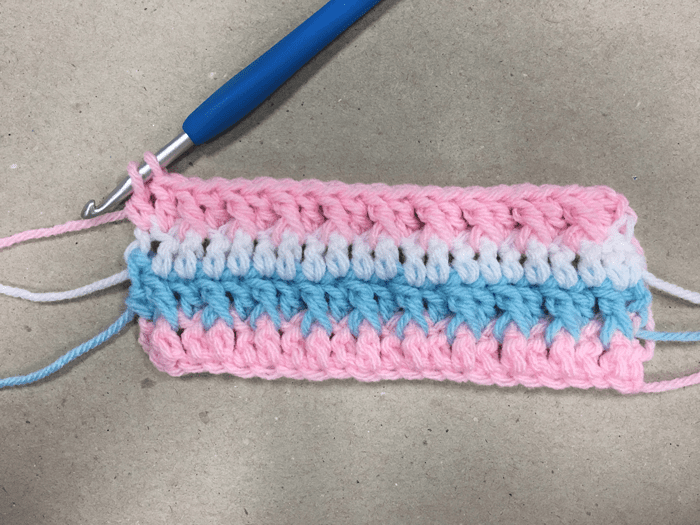
Row 1 - Color A - dc in 4th chain from hook and each chain across. Drop color A on last dc and finish the stitch with color B. - 151 dc. Turn.
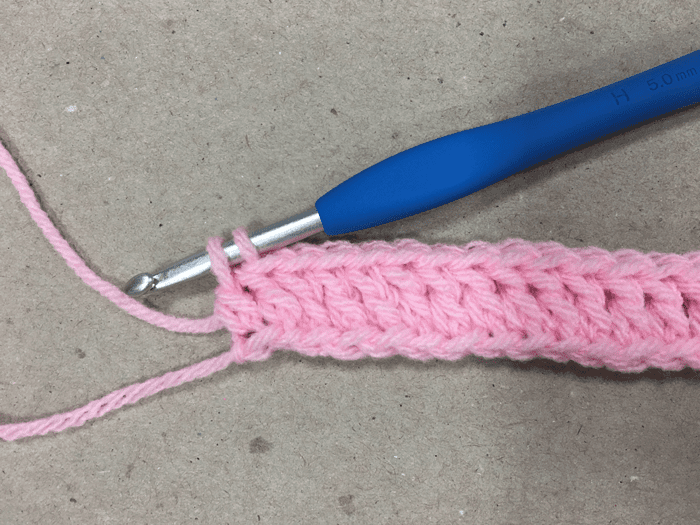
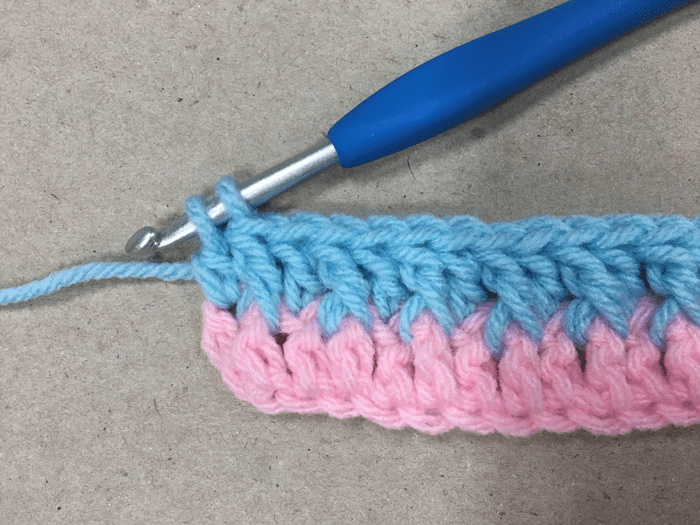
Row 2 - Ch 2, *FPdc around next st, dc in next st; repeat * across. Drop color B on last dc and finish the stitch with color C. Turn.
Row 3 - Ch 2, dc in each st across. Drop color C on last dc and finish the stitch with color A. Turn.
Row 4 - Ch 2, *dc in next st, FPdc around next st; repeat * across until 2 st remain; dc in the last 2 st. Drop color A on last dc and finish the stitch with color B. Turn.
Row 5 - Ch 2, dc in each st across. Drop color B on last dc and finish the stitch with color C. Turn.
Continue to repeat rows 2 thru 5, alternating colors each time. End with either row that contains FPdc.
At this point you can decide which side you like better before starting your edging. I preferred the dc row as my right side.
Use color A on the whole border. Turn to the right side of the blanket.
Round 1 - Attach yarn and sc around the whole blanket, placing 3 sc in each corner. Sl st to the beginning sc.
Round 2 - Ch 1, sc around the whole blanket, placing 3 sc in each corner. Sl st to the beginning sc.
Round 3 - Ch 3, dc around the whole blanket, placing 5 dc in each corner. Sl st to the beginning ch-3.
Round 4 - Ch 2, BPdc around each st around, with 3 BPdc around each corner st. Sl st to the beginning ch-2.
Round 5 - Repeat round 4.
Round 6 - Ch 1, hdc in between each st around. Sl st to beginning hdc.
Round 7 - Sl st in each st around. Finish off.
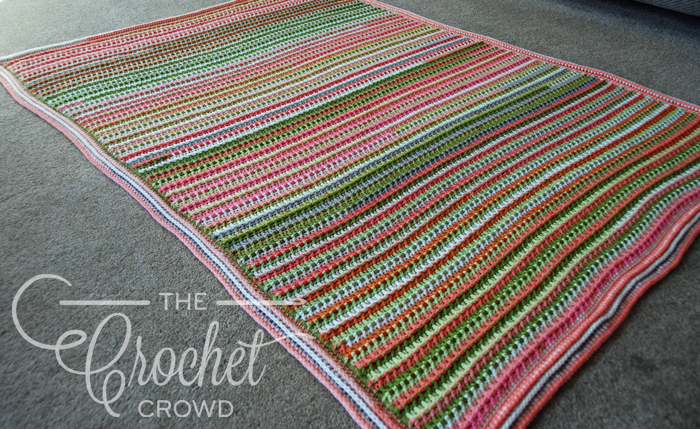
Photo Tutorials
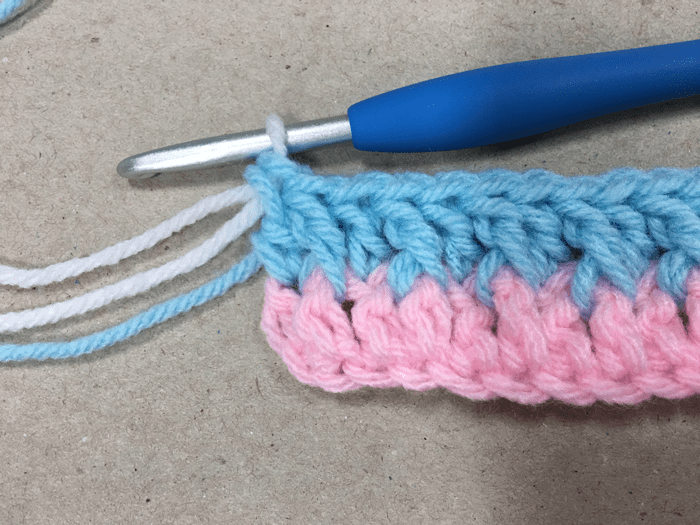
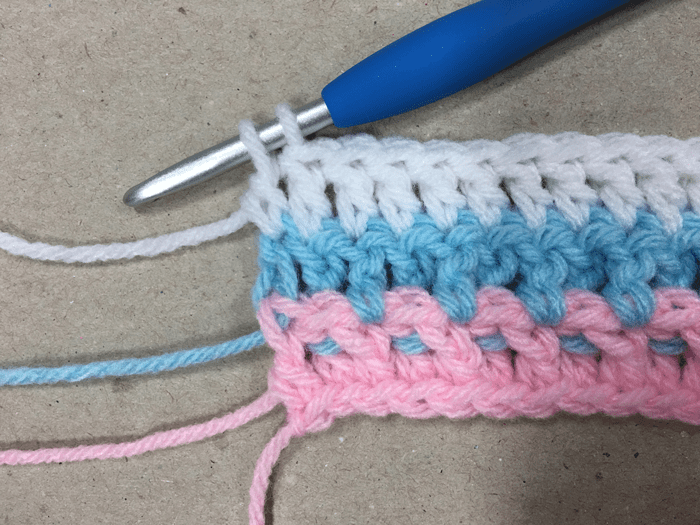
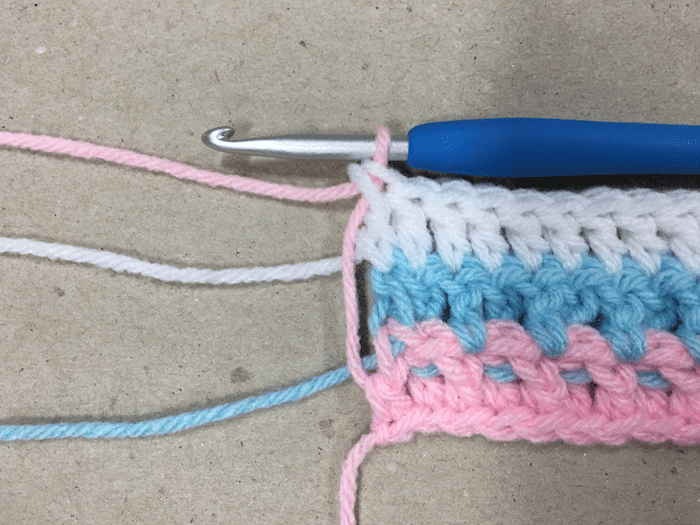
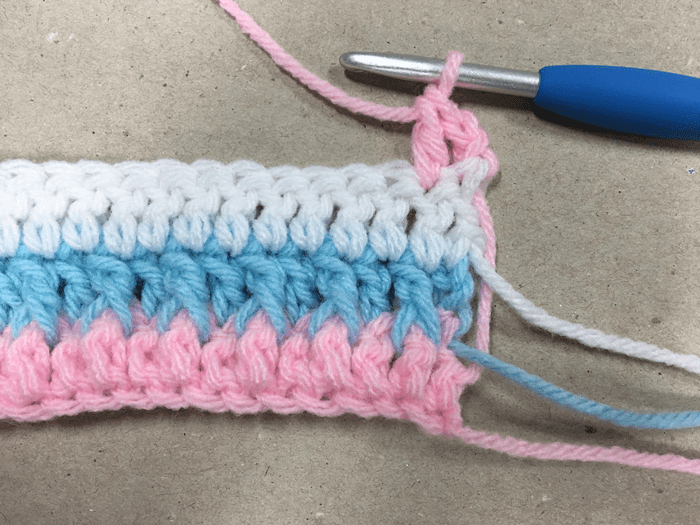
Video Tutorials
To learn FPdc, you can start the video at the 3:50 mark.
To learn how to carry colors. Video automatically starts at the 11:15 Minute Mark to show you.
Designs by Jeanne
[the_grid name="Designs by Jeanne"]
Martha Anne Moore says
No blue button
Mikey says
updated