Stitch markers help us crocheters and knitters help to keep track of our stitches when completing patterns. Stitch markers tend to be exchanged in retreat or group settings for fun.
Crocheters tend to find the number of stitchers in a group and make identical stitch markers for everyone. My approach is to randomly make them so people can pick and choose the best stitch marker that matches their personality. I tend to avoid crucifixes (crosses) or prominent religious symbols, but you may want to consider that if you know, the receiver will appreciate it.

Things to Watch For:
- Please ensure the central focal charm is not too heavy, as they can stretch the strand wrapping around. You may be better off with plastic.
- Ensure the beads have no jagged or sharp edges to snag onto your project.
Materials
- Two Needle Nose Craft Pliers.
- 2" Headpins that are 2" long. Headpins can have flat or beaded-looking ends.
- 6 mm size metal Jump Rings.
- 23 mm Lobster Claw Clasps
- Glass Seed Beads 6/0
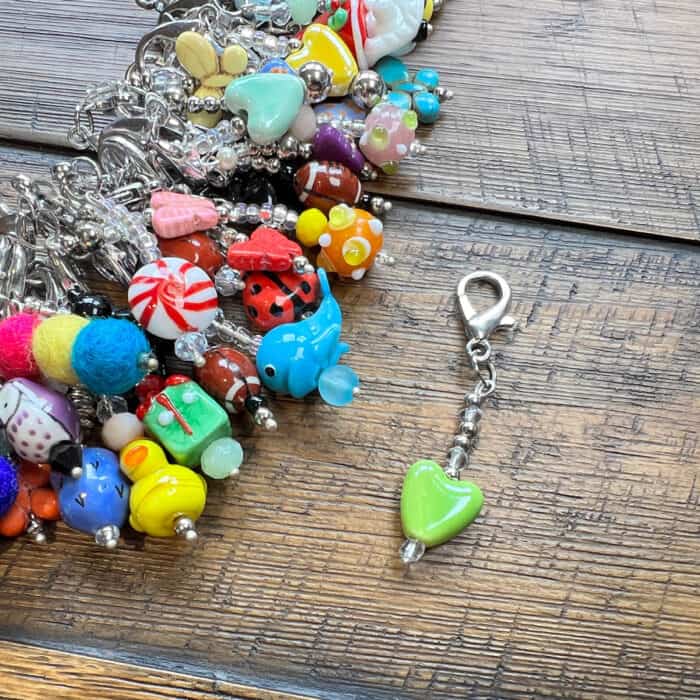
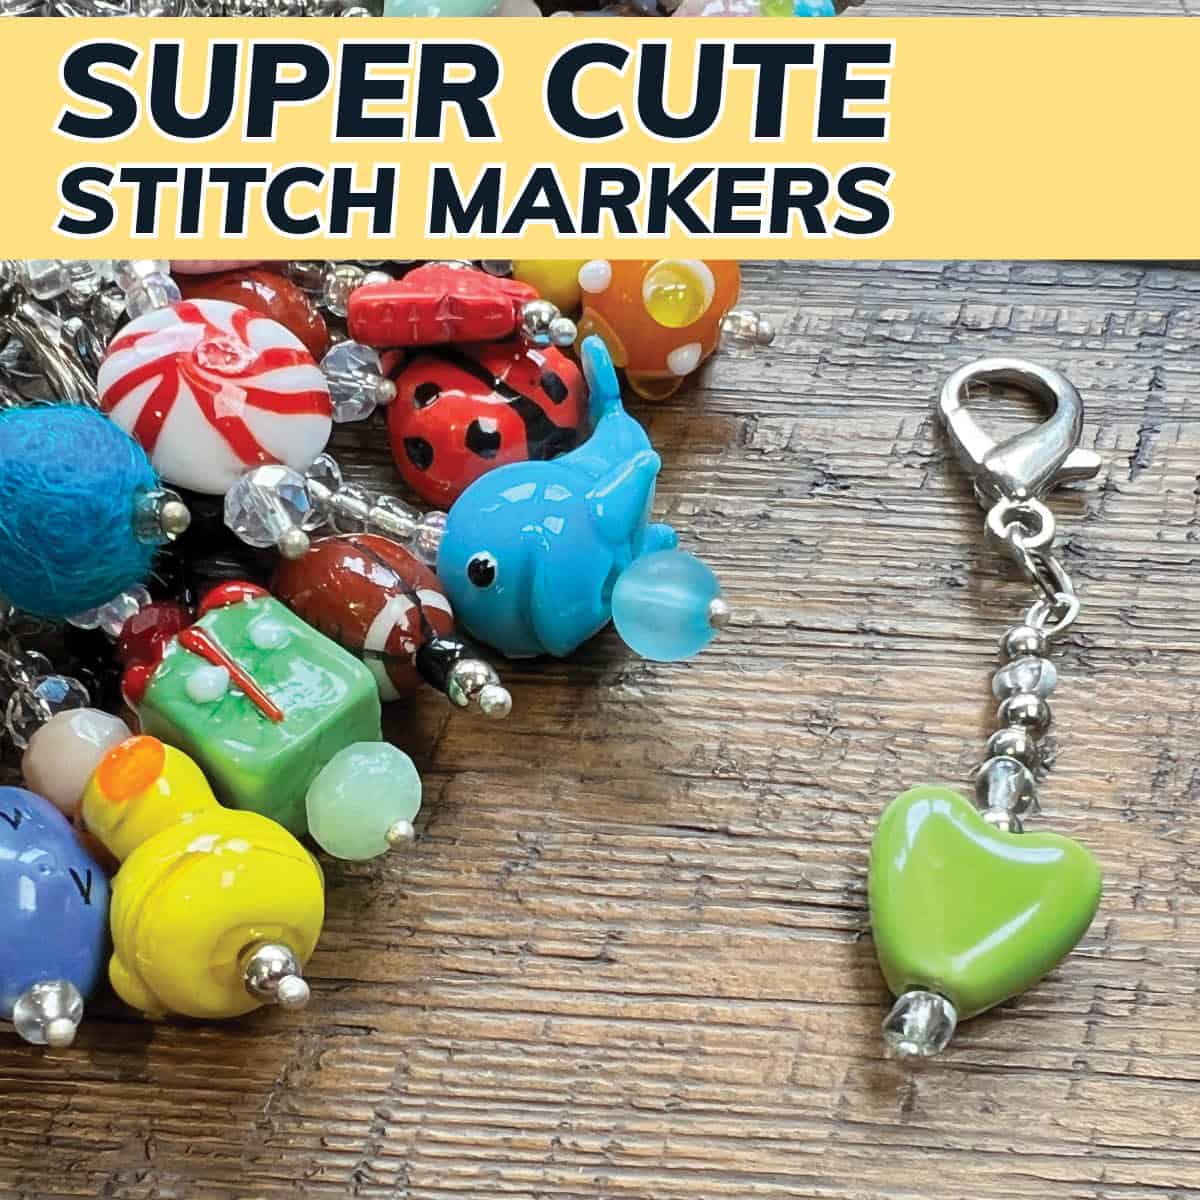
- Ornament Charm, such as the green heart, is shown below.
Instructions
- Feed one seed bead onto one headpin.
- Feed on ornamental charm onto the headpin. The stitch marker will dangle down; if the charm has a top or bottom, make sure the bottom of the charm is down. See the green heart above for a sample.
- Feed assorted seeds or plastic beads until about ⅜" is left at the top of the headpin.
- Using craft pliers, turn the top of the pin to create a loop. Keep rolling the loop until it hits the top of the first bead.
- With two pliers, grab a jump ring and open it. Do not open the ring by pulling it apart; instead, offset the join just enough to get the headpin and clasp onto the ring.
- Slip the headpin and clasp onto the jump ring. Close the ring.
Tutorial
Summary
Article Name
How to Make Super Cute Stitch Markers
DescriptionEnhance your crochet or knitting with customized stitch markers. These make for great gift exchanges for groups.
Author Michael Sellick
Publisher Name

The Crochet Crowd
Publisher Logo
Leave me your thoughts...