Dying Yarn with Kool-Aid
Mikey shows you how to dye yarn with Kool-Aid. This is a step by step photographic tutorial as detailed below. Mikey ran into a local artist with the most interesting scarf. He asked her about the maker of the yarn and it turns out it was Cherry Kool-Aid. She shared her tips of dying with yarn with such enthusiasm. Mikey is passing on the knowledge he learned with you. To answer the million dollar question, YES... once you are finished with the dye, your yarn smells delicious!
Please note, this article is about my experiences and information shared to me by a local artisan who has been experiencing dying her yarn with Kool-Aid.
In a coffee shop in April 2012, I sat with Jill Everest, a local yarn artist. Jill is an avid knitter and can do circles around the typical knitter with her skills. I hadn't seen her in two years and when we spoke this time, she shared that she's been dying her own yarn using Kool-Aid.
Jill pulled up pictures on her Blackberry and her already amazing creations were in the most stunning colours I had seen in a long time. Proudly, she admitted she's been playing with Kool-Aid and dying her yarn.
Jill shared with me inside information, which I am allowed to share with you about the processes of dying with Kool-Aid. I had obvious questions about the yarn dye bleeding. In this article, I will detail my findings and share with you my information and how I went about the process.
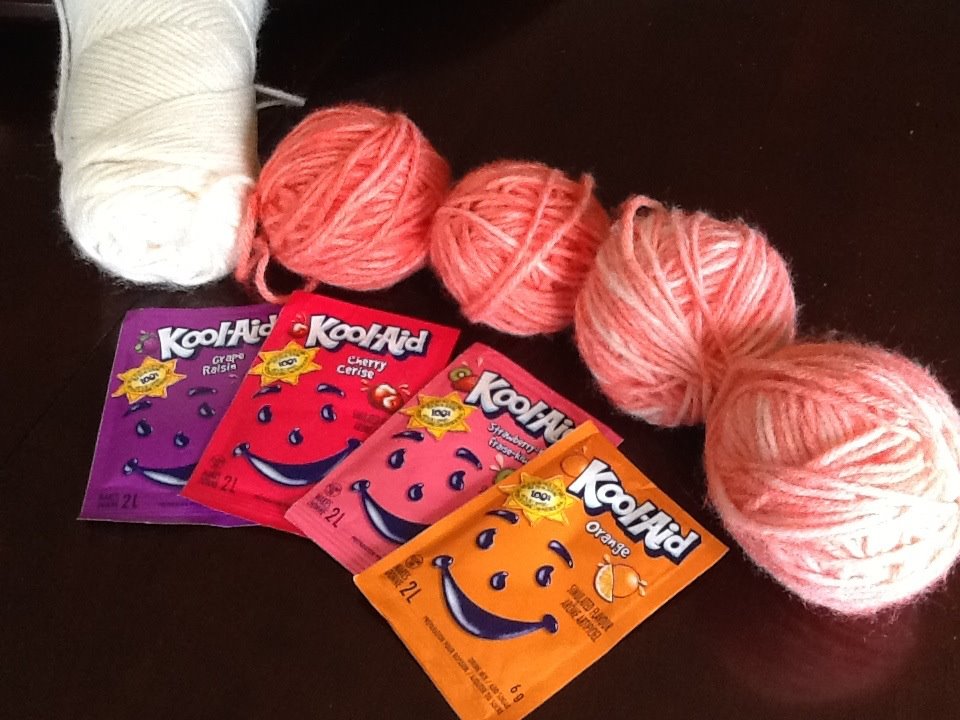
In the picture above, I used the Kool-Aid Tropical Fruit Punch package. I did only 1 Dye Bath. I did three separate dye processes. It's not the lighting of the photo to make the farthest right ball to look blotchy and lighter. By simply continuing to use the same dye bath will cause the next dye lot to be lighter. By the end of the final 4th ball, the water was clear with no more dye in the water.
Why Bother to Dye?
In recent postings to Facebook, a few viewers asked me why I would bother to do this in the first place. Viewers commented that I am spending more money and wasting time than buying the yarn already done. So I have two responses.
- "Because I Can!" Are you not sick and tired of always seeing the same yarn colours on the shelves? What if your project was done in colours that blew people's minds. Get outside of the box and do something different.
- Yes... it's cheaper to buy the yarn already dyed but you can't use that logic with creativity. It's like saying to me that I can buy a blanket at Wal-Mart for $9.99. If I crochet an afghan it will cost $60. You can't compare it because the $60 afghan is more likely going to be freak'n awesome and unique compared to a $9.99 blanket.
Basic Starting Tips:
- The Kool-Aid packages require you to add sugar when making these to drink. With dying yarn, you do not add sugar.
- You need 1 Package of Kool-Aid for every 1 once of yarn. In the picture showing the skien. That is a 3.5 oz. I only used 1 package for the entire process and dyed the yarn in three separate processes.
- Substituting with other drink mixes will work, however, the sugar inside those pre-blended power mixes are not required and could impact the final vibrant results of what Kool-Aid offers.
- Wear old clothing when doing the dye bath and manipulation of the dye soaked yarn.
- Be patient and let the dye do the work.
- Dye will stain other objects. Be careful not to splatter the dye. When pulling out of the yarn bath, do it in an area where you are not concerned about your floor or surrounding objects. I removed my yarn out of the pot outside and hung it outside to dry.
Surprise Tips:
- The dye doesn't work for all yarn materials. I will list some suggestions below.
- If you pre-soak your yarn in water before the dye process, the yarn is already wet and will absorb the dye differently. It is your choice to pre-soak the yarn or put it into the dye bath dry.
- The dye actually soaks into the yarn and after a while, you will be left with clear water because the dye has been absorbed into the yarn.
- The dye will not bleed if you follow the right directions for setting the dye afterwards.
To Dye or Not Dye:
- Kool-Aid dying only works on natural fibres. This includes animal fibres such as wool, alpaca and more.
- It will not work on those acrylic yarns we are used to seeing on store shelves. It will not work on cotton or synthetic blends.
- You can dye yarns that are blended. For example, 70% Acrylic and 30% Wool. The wool is the part of the yarn that will take to the dye.
Prepare Your Yarn:
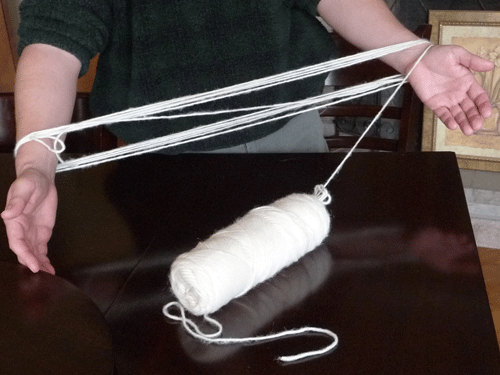
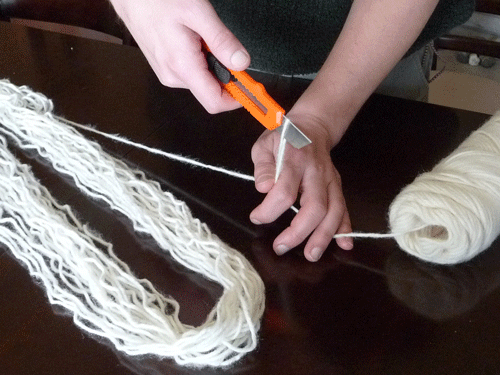
- If using a skein as seen above. Unwind some yarn onto your arms as seen. If you have a yarn swift, you can use that as well.
- When you get enough yarn, you simply cut it. You can unwind the entire skein as well. Lay the yarn on a flat surface so you can see the yarn in a circle.
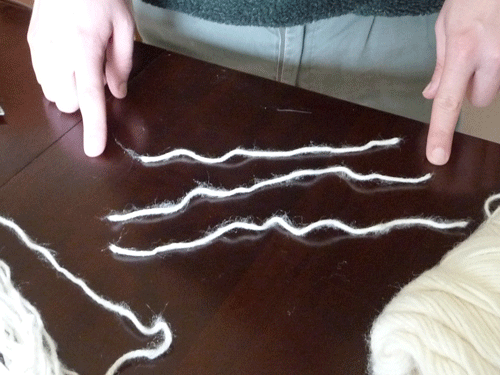
- Cut three smaller lengths of yarn about 6" - 8" Long. We are using to use those to prevent the yarn from tangling.
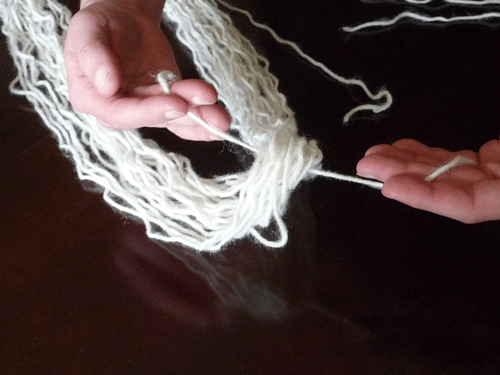
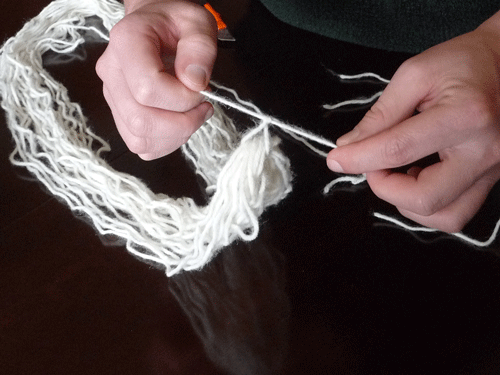
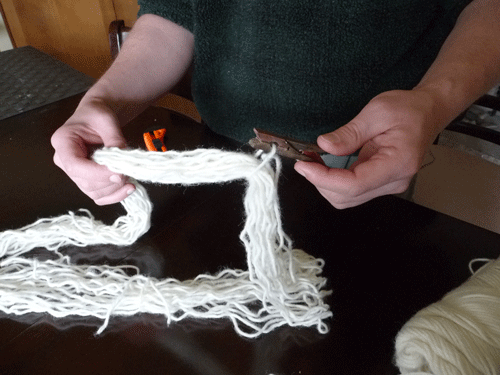
- Using 1 smaller length of yarn. Tie it to in a knot around the end.
- Ensure the knot is loose so you can cut it afterwards without having to accidentally cut into your yarn.
- You use these loose knot strings to hang up your yarn when drying it aftwerards using clothes pins.
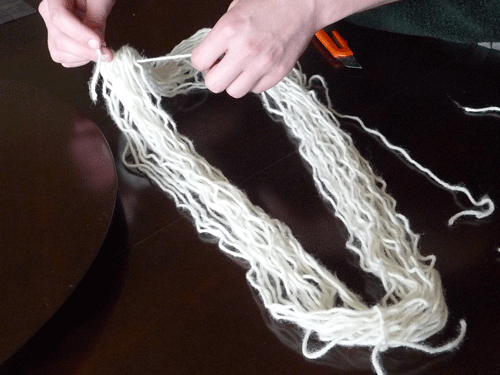
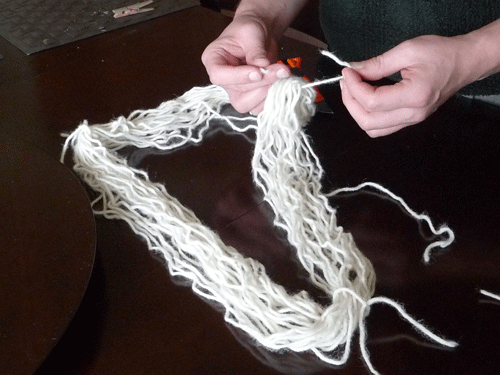
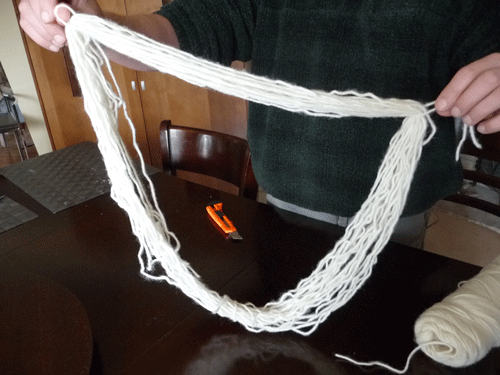
- Repeat with another knot by shifting ⅓ rd away around the circle.
- Repeat again with the final knot another ⅓rd along the circle.
- You end up with three tied sections. Each above ⅓ rd away around from each other. This prevents the strings from tangling.
Let's Begin
- It is recommended that you wash your yarn before use. Using mild detergent, hand wash yarn quickly and rinse thoroughly. Let the yarn soak in water while your prepare your Kool-Aid Dye Bath.
- You do not add vinegar. The Kool-Aid Dye Mix is acid enough to penetrate the fibres.
- You need 1 Kool-Aid package for every ounce of yarn to maintain the strong vibrant colours.
 Using warm tap water in a large pot, put on top of the stove.
- Pour in Package. You don't need to use the entire package, you can use less to make different shades of the colours. Stir pot until all powder is dissolved.
- Place your yarn inside the pot so it's submersed. Stir enough to ensure the yarn is submersed.
- Turn on stove and bring water to a near boil. Soon as you seen some bubbles, turn stove off and let sit on the burner for another ½ hour. The yarn will continue to soak in the dye during this time frame. If there isn't a lot of dye mix, the water will turn clear as the dye absorbs into the yarn. If there is too much dye, the colour will weaken in the pot but not turn clear.
- Take pot outside or to your safe area to pull out yarn. Water may be hot, use caution. Hang yarn open to let the yarn cool down.
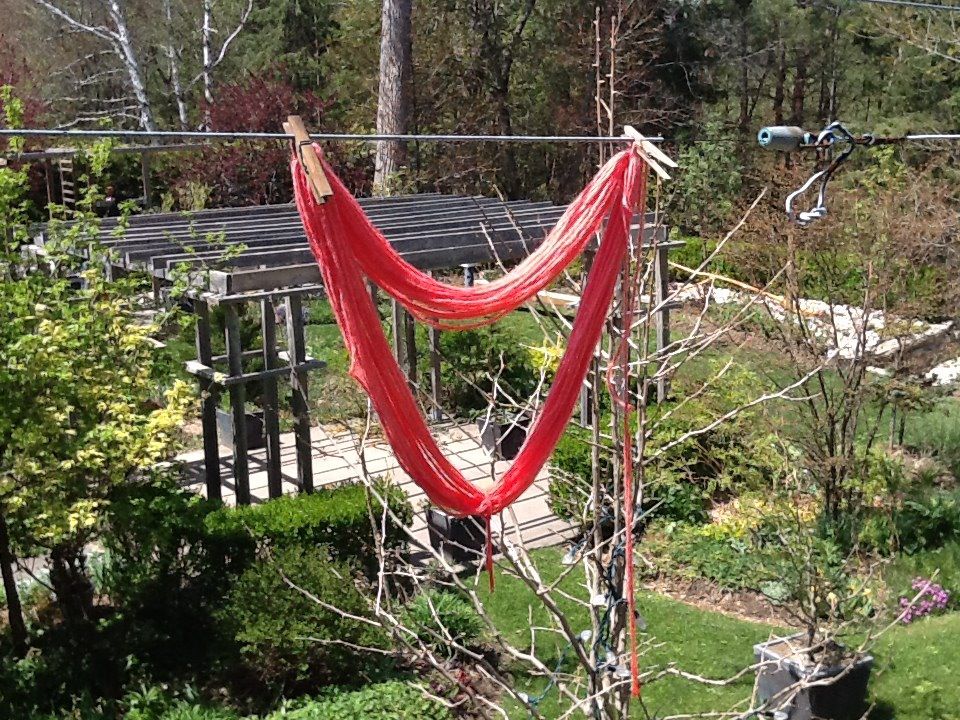
How to Set Your Colour Permanently
- When yarn is cooled down. Using warm water and mild detergent. You have to be careful not to felt up the yarn by being aggressive or surprising the yarn with cold temperatures. Wash out the yarn lightly and rinse throughly.
- Excessive dye will bleed out of this process.
- This process should avoid the yarn from bleeding when washing your projects.
- Hang to dry.
More Tips

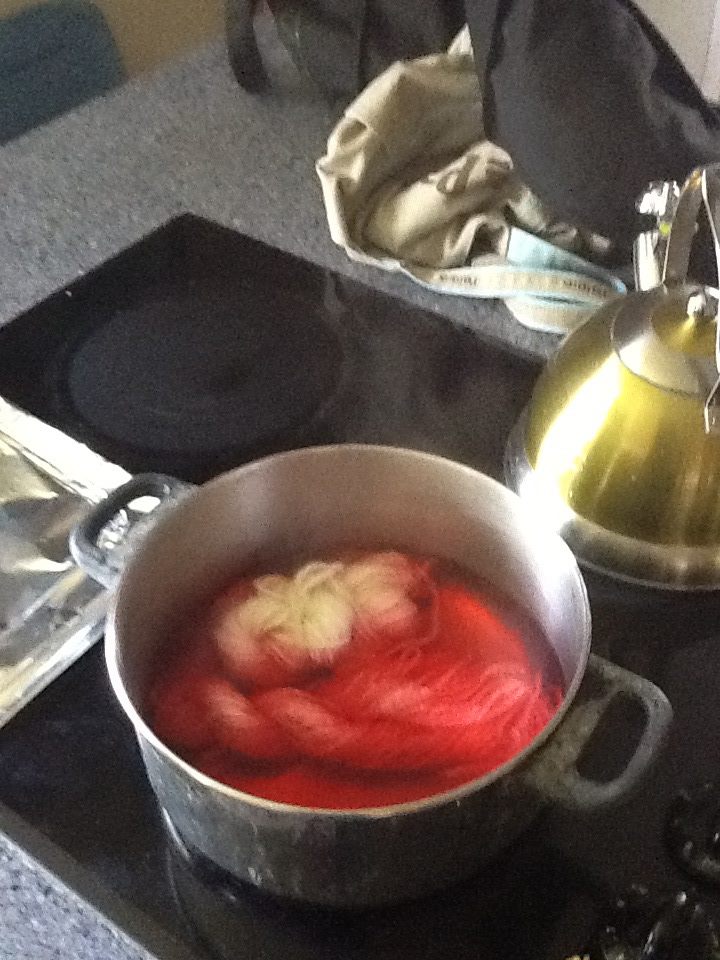
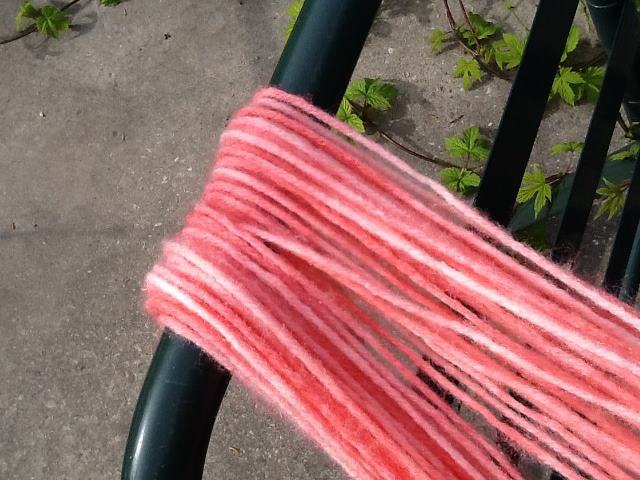
If you want yarn that is blotchy and unpredictable, this step is for you. What I did was to lightly drop my yarn in the pot and allowed the yarn to sink as it wanted to without me forcing it under the water. This process allowed the dye and water to naturally soak into the yarn as it wanted it without my influence. This created different shades within one process to naturally occur.
This process created the most interesting and artistic affects without the yarn looking uniform or transitioing in colours on an expected repeat length.
You can also twist up the yarn hard and secure it with a string to prevent the insides of the yarn from getting as much dye. This also creates interesting effects.
You can also mix different Kool-Aid Pouches together to create new colours. Be careful to watch your blends as muddy brown is the typical colour acheived when too much is added of any colour.
In the picture above, I used the same pot of dye to dye all four balls. I dyed the first ball by itself, the next two were dyed together an the final was dyed on its own. The ball on the left is the most vibrant and as you look right, each ball is less vibrant as the dye is gets weaker the more yarn your use. By the end of this 3.5 oz skien, using 1 Kool-Aid Package, the water was clear and there was no more dye left to dye any more yarn.
Good Luck and don't get addicted.
PS... your yarn will smell of Kool-Aid when you are done! 🙂
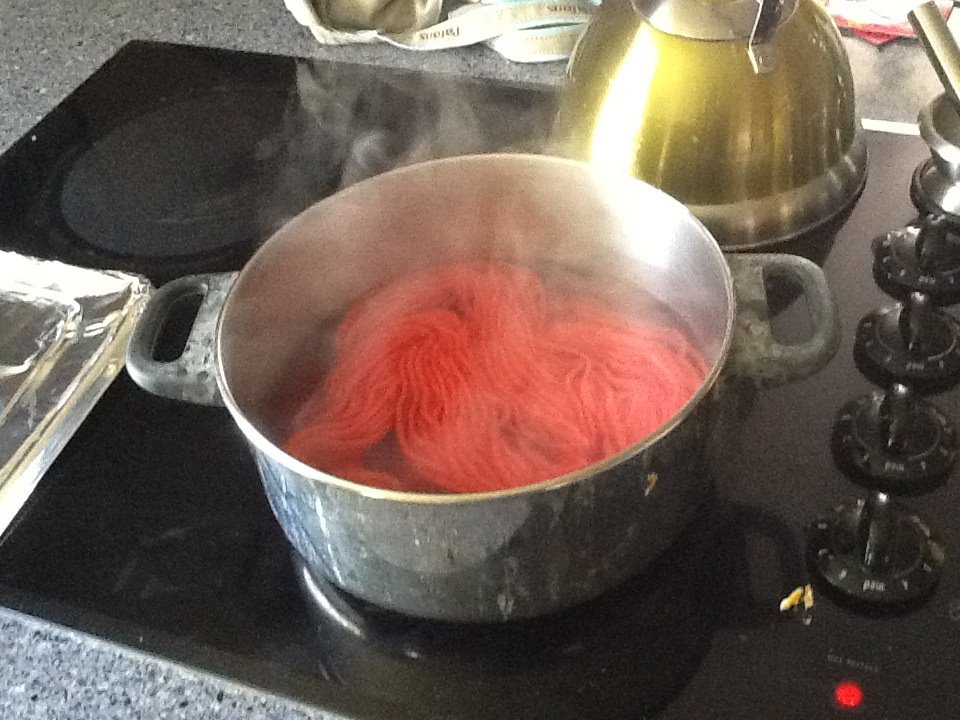 Using warm tap water in a large pot, put on top of the stove.
Karen Artusa says
Would this technique work on a completed crochet project?
Mikey says
yes it should. Just make sure the project is 100% cotton and do a test trial first on something you could ruin to know the steps.
mochimochiamineko says
I can't over the "how to dye with kool-aid" pun! ?
mochimochiamineko says
ugh, I meant get over... is there an edit function?
Amor says
I am going to try this hope for the best i want to ask mikey i am a beginner crocheter there is a free blanket that elle is given to download for free but i want to find out can you make a step by step video of the 12 blocks so its starts with easy til it gets very hard please i am begging you i need toe make this blanket for my mother its really beautiful
Mikey, The Crochet Crowd says
Sounds like this is a copyright pattern. Even though it's free to download, it doesn't make it legal for me to film. I've not seen this afghan but it doesn't sound like it from a company or my own design to legally film.