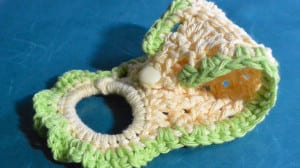
Lemon Lime Textured Tea Towel Ring
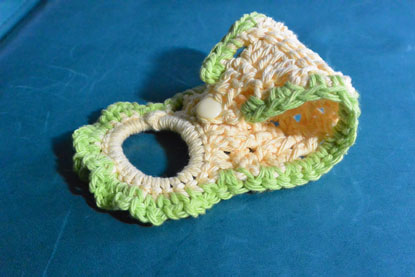
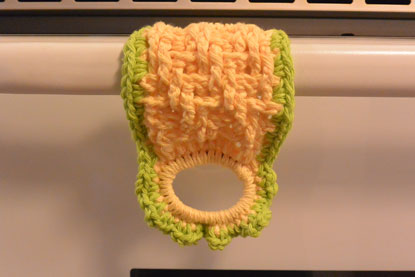
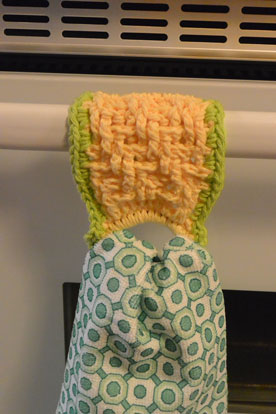
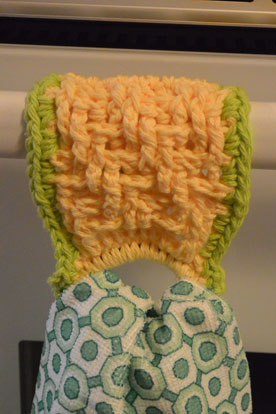
Create a crochet towel holder that is extremely useful for the kitchen. Follow the free pattern to make your own. This is the Lemon Line Textured Tea Towl Ring pattern.

- Lily Sugar & Cream - 2 colors - I used Yellow and Hot Green
- Crochet hook size 5.0mm H
- Hair elastic - 1 ½ “ diameter
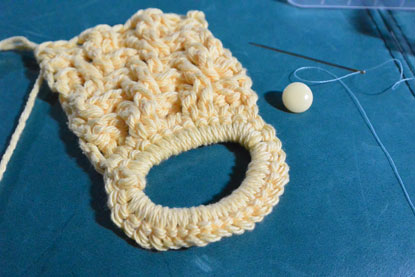
- Small button, needle and thread
- Yarn needle
Special stitches
FPDC - Front Post Double Crochet
BPDC - Back Post Double Crochet
There is a video link at bottom of post for the post stitches.
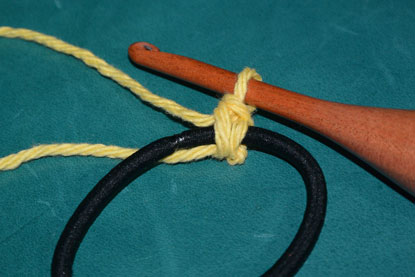
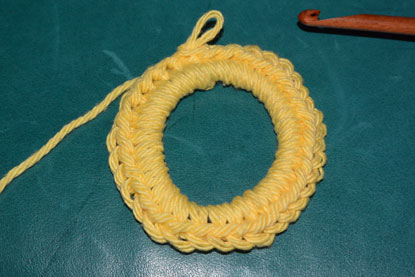
Start by working a sc into the hair band.
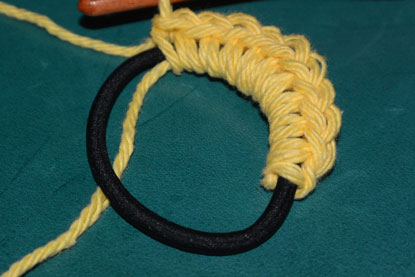
Continue around the band until it’s completely covered, pushing the stitches snug to each other. I ended up with 34 sc in mine, but use more or less as you feel you need to not let color of band come through. Join with slst to beginning sc. Do not turn.
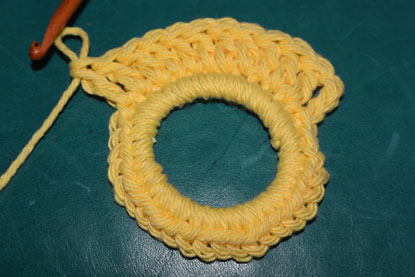
Row 1 - Ch 3, dc into next 11 sc. Turn. (12 dc)
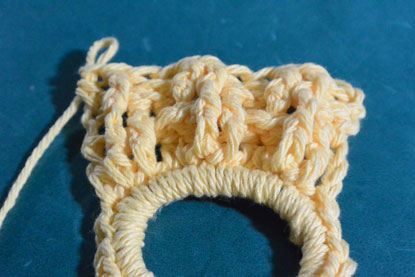
Row 2 - Ch 2, BPDC around next 2 dc, *FPDC around next 2 dc, BPDC around next 2 dc, repeat from * across. Hdc in top of ch 2. Turn.
Row 3 - Ch 2, BPDC around first dc, *FPDC around next 2 dc, BPDC around next 2 dc, repeat from * across, ending with 1 FPDC. Hdc in top of ch 2.
Row 4 - Ch 2, FPDC around first 2 dc, *BPDC around next 2 dc, FPDC around next 2 dc, repeat from * across. Hdc in top of ch 3. Turn.
Row 5 - Ch 2, FPDC around first dc, *BPDC around next 2 dc, FPDC around next 2 dc, repeat from * across, ending with 1 BPDC. Hdc in top of ch 2. Turn.
Row 6 - Ch 2, BPDC around first 2 dc, *FPDC around next 2 dc, BPDC around next 2 dc, repeat from * across. Hdc in top of ch 2. Turn.
Row 7 - Ch 2, BPDC around first dc, *FPDC around next 2 dc, BPDC around next 2 dc, repeat from * across, ending with 1 FPDC. Hdc in top of ch 2. Turn.
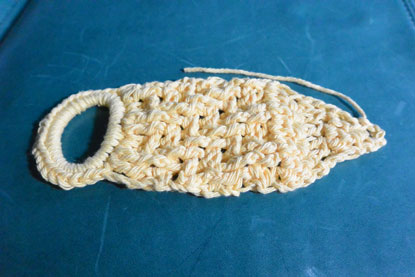
Row 8 - Ch 3, *dc2tog, repeat from * 4 times, dc in top of ch 2. Turn.
Row 9 - Ch 3, dc2tog, dc, dc2tog, dc in top of ch 3. Turn.
Row 10 - Ch 3, dc3tog, dc in top of ch 3. Turn.
Row 11 - Ch 3, skip dc, slst to top of ch 3. (this ch 3 loop becomes the button hole). Finish off.
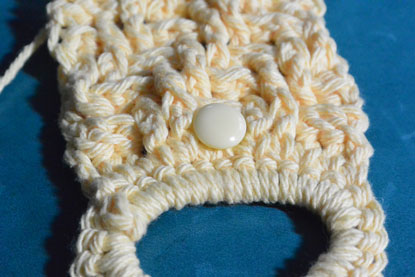
Sew the button to the back of the piece near the first row, adjusting as needed.
Border
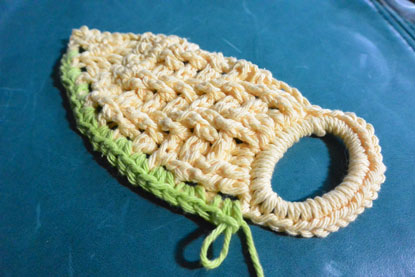
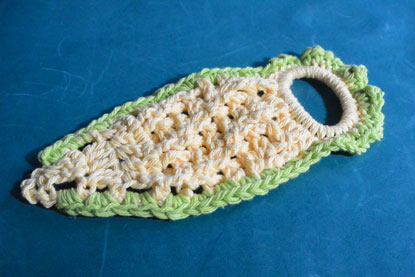
Working from the right side, attach second color where you finished off on the side of the hanger part. (Do not crochet into the ending ch 3). Work 2 sc into the end of each row. When you get to the ring part, work *1 sc, ch 1, repeat from * to next side of handle, then work 2 sc in each end of the side, finish off when you reach the ending ch 3 buttonhole. Finish off and weave in ends.
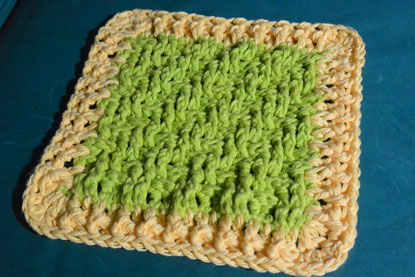
Click here for pattern to matching dishcloth.
Click here to save to your Ravelry favorites.
Be creative! 🙂 - Jeanne - The Crochet Crowd
Martha Anne Moore says
No blue button
Mikey says
updated
Carol Root says
What a wonderful and useful bit to crochet. Just so practical yet sweet. Love it! Thxs so much for sharing.