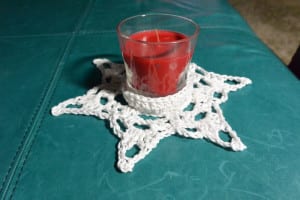
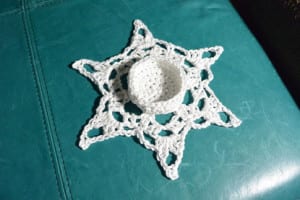
Snowflake Candle Holder Centerpiece
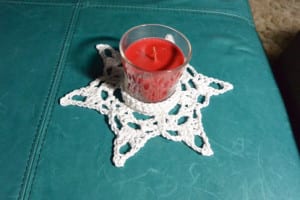
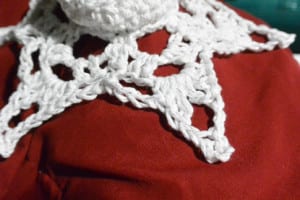
This Snowflake Candle Holder Centerpiece Pattern is my very first design. I was looking for something holiday related and I couldn't find exactly what I had in mind. I put my hook into the wind with my pad of paper by my side and made up on my own version.

Please enjoy my new pattern as I am giving it out for free.
by Jeanne Steinhilber
- Bernat Handicrafter “Holiday” in White Sparkle
- Hook size 5.0mm H
- Stitch marker
- Candleholder with a 2.5" base. I picked up my candle at my local drug store.
Never leave any candles unattended in your home. Using a glass candle will protect your centerpiece and keep the flame away from the yarn.
Free Pattern
Round 1 - Start with Magic Ring and 5 SC into ring. Pull tight and SL ST to first SC.
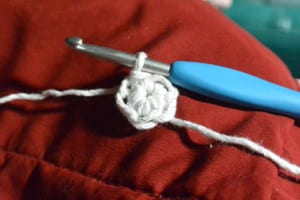
Round 2 - Ch 1 and do 2 SC into each SC around, SL ST to first SC. (10 SC total).
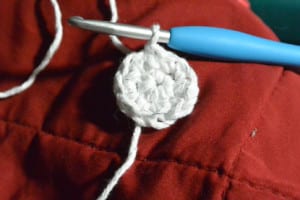
Round 3 - Ch 1 and do 2 SC into each SC around, SL ST to first SC. (20 SC total).
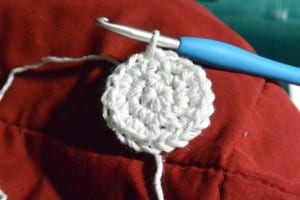
Round 4 - Ch 1 and do *1 SC into SC, 2 SC in the next SC. Continue from * and do not join at end. (30 SC total). I like to mark the last stitch at this point.
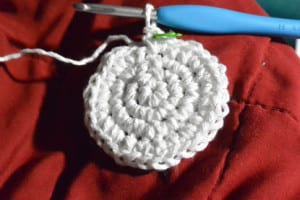
Round 5 - Work 1 HDC into the back loops only (BLO) of each SC of the previous round. Do not join at end. (30 HDC total). Move stitch marker.
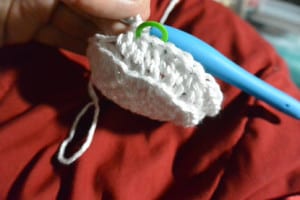
Round 6 - Work 1 HDC into both loops of each HDC of previous round. Join with SL ST to beginning stitch and finish off. (30 HDC total).
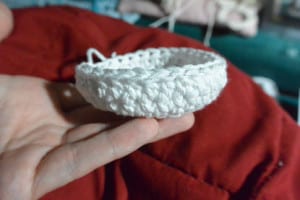
Your piece is now cup shaped. Turn the piece over and the next round will be worked into the front loops of round 4.
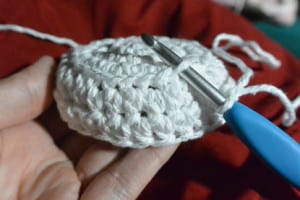
Round 7 - Attach yarn to any free front loop from round 4 with a SC and SC into each loop around, SL ST to first SC. (30 SC total).
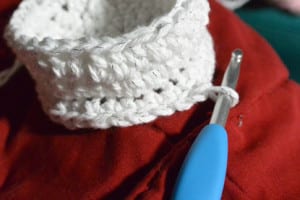
Round 8 - Ch 1 and SC in first stitch and then the next stitch. *Ch 7, skip 3 SC, SC in next 2 SC. Repeat from *. Join with SL ST to first SC. (6 chain loops and 12 SC)
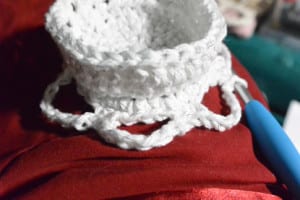
Round 9 - Ch 2, DC in next SC. *2 DC, CH 3, 2 DC all in CH 7 loop, DC2TOG in next 2 SC. Repeat from * to end. SL ST to top of first DC of round (skipping over beginning CH 2).
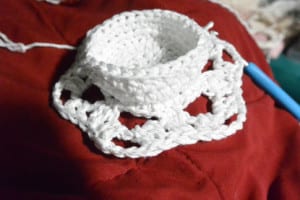
Round 10 - CH 1 and SC in beginning stitch. *CH 3, skip the next 2 DC’s and into the CH 3 loop, HDC, DC, TC, CH 5, SL ST to 3rd CH, CH 2, TC, DC, HDC, skip the next 2 DC’s CH 3, SC into the next stitch. Repeat from *. SL ST to beginning SC and finish off.
Blocking will give it a better finished look.
Click here to add to your Ravelry favorites.
Be creative! 🙂 - Jeanne - The Crochet Crowd
Cheryl Jensen says
It's a great pattern. Thanks for sharing it with us.
Sui Lucero says
I am making this pattern but will have to redo as my 4th row did not end along same line of row 4. At any rate, what does "Blocking" mean?
Thank you so much for this lovely pattern 🙂
Jeanne - The Crochet Crowd says
Blocking is "setting" the design. It's gives a piece like this a more finished look. Take a look at Mikey's article about blocking on this page. http://thecrochetcrowd.com/blocking-the-tennessee-stitch/
Jeanne owens says
Jeanne made 2 adorable dresses for her granddaughters (they were playing in the leaves). Could you ask her to reveal the pattern? Many ladies are requesting it. Thanks so much for making us happy hookers happy!
Jeanne - The Crochet Crowd says
It a Ravelry pattern called La La Lovely Top. 🙂