• Skip to primary navigation
  • Skip to main content
  • HOME
  • PATTERNS
    • ACCESSORIES
    • ARMS & HANDS
    • BABY
    • BLANKETS
    • CLOTHING
    • HEAD & NECK
    • HOLIDAYS
    • HOME DECOR
    • STITCH ALONGS
    • TOYS
  • VAULTS
    • PATTERN VAULT
    • DIAGRAM VAULT
  • VIDEOS
    • REELS
    • STITCH ALONGS
    • ALL TUTORIALS
    • YT MEMBERSHIPS
  • EVENTS
  • NEWS

The Crochet Crowd

Home » Occasions » Celebrations » Crochet Back to School Patterns

July 23, 2024

How to Crochet Zipper Pouch + Tutorials

Sharing is caring!

  • Facebook
  • Email

I prefer to work with the zipper to avoid the thread and needle and ruining the final look of my project. You can make easy crochet zipper pouches or even pencil cases.

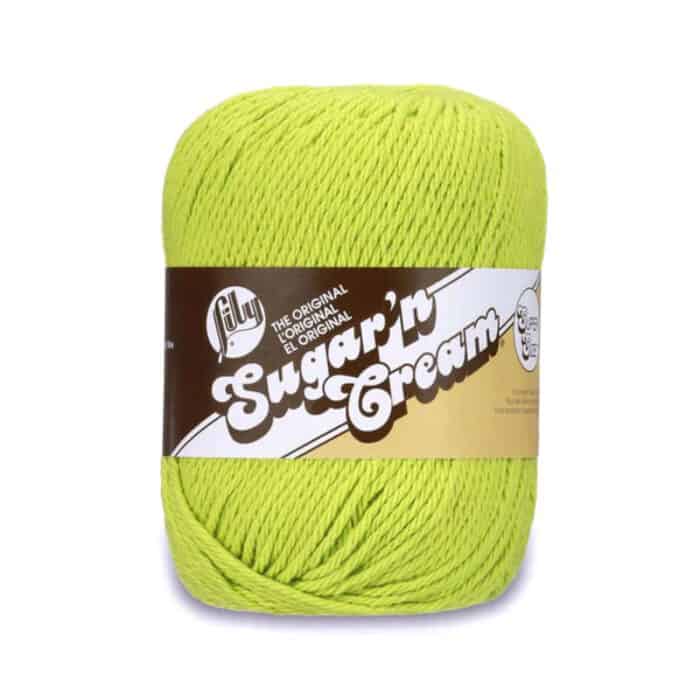
Using cotton yarn like Lily Sugar'n Cream with Coats & Clark 7" all-purpose zipper, you can create one of these pretty quickly.

My finished pouch is 7.5" wide by 5" deep. If you wish, you can add more yarn to the ball to make it deeper.

Crochet Zipper Pouch for Website Pattern

Materials

  • Yarn - 1 Ball of Lily Sugar'n Cream. 71g / 2.5 oz, 109 meters / 120 yards. Colour shown is hot blue.
  • Tapestry Needle.
  • Hook 4.5 mm / G/6.
  • 1 - 7" Long Coats & Clark All Purpose Zipper
Lily Sugar'n Cream Yarn Product

Instructions

Step 1

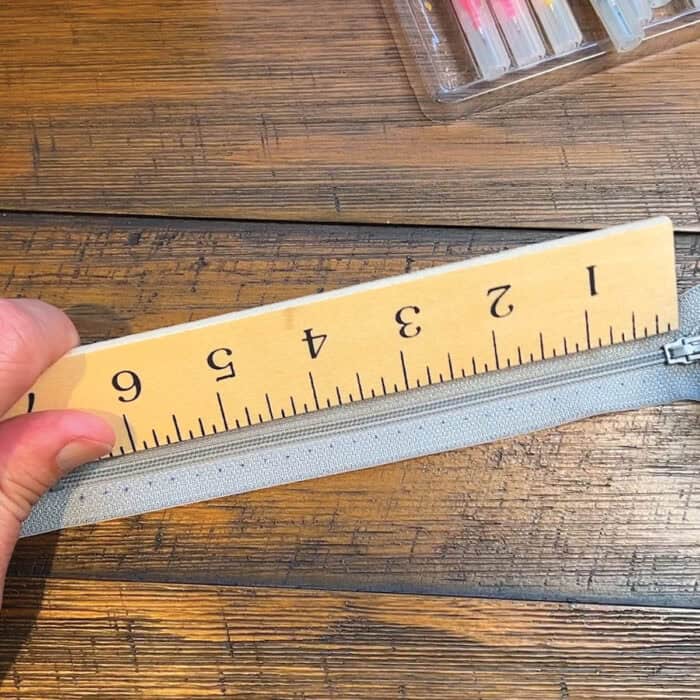
Mark your zipper using a felted tip marker and mark every ¼" distance. Don't go beyond the length of the zipper, as shown below. The ends of the zipper will be inside the project.

Attach Zipper to Yarn - Mark 1.4 marks with Felt Marker
Attach Zipper to Yarn - Mark 1.4 marks with Felt Marker.

Step 2

Grab some yarn and make it the length that is adequate to get round. I factored in 1 foot of yarn for every inch that the zipper is. In my case, my starting yarn was 7 feet long.

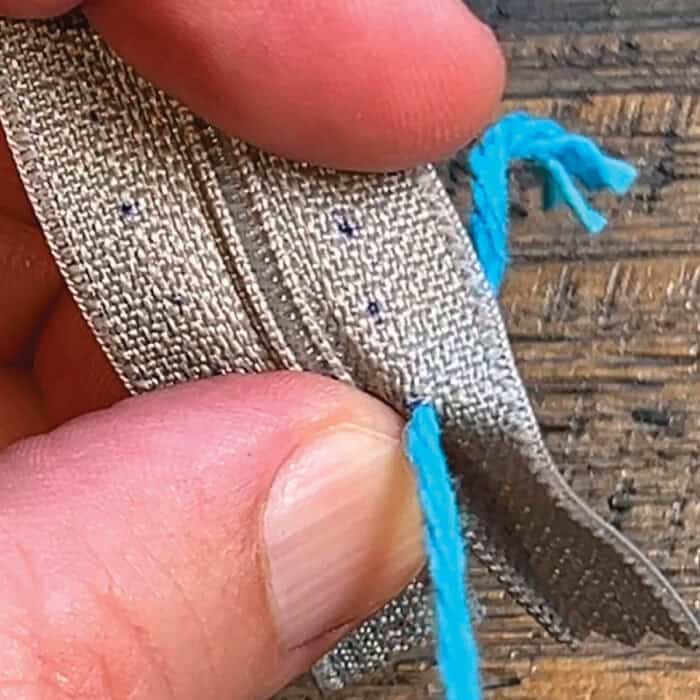
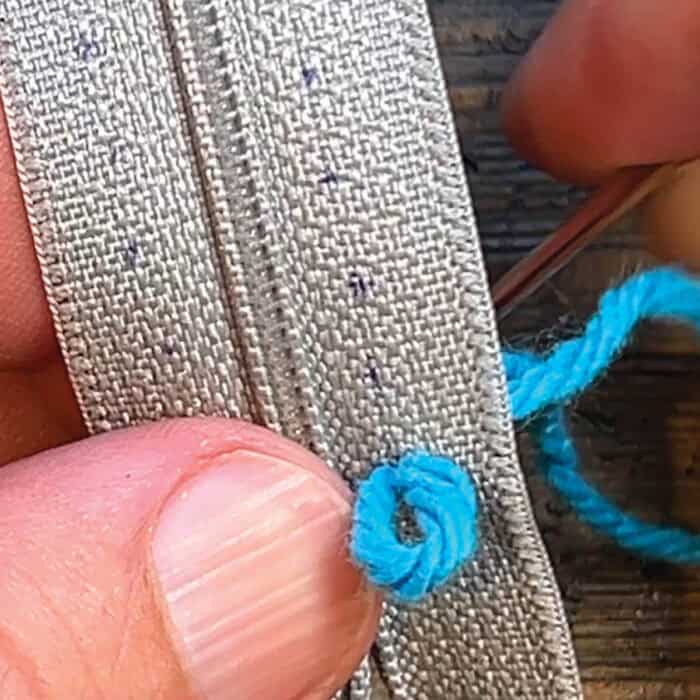
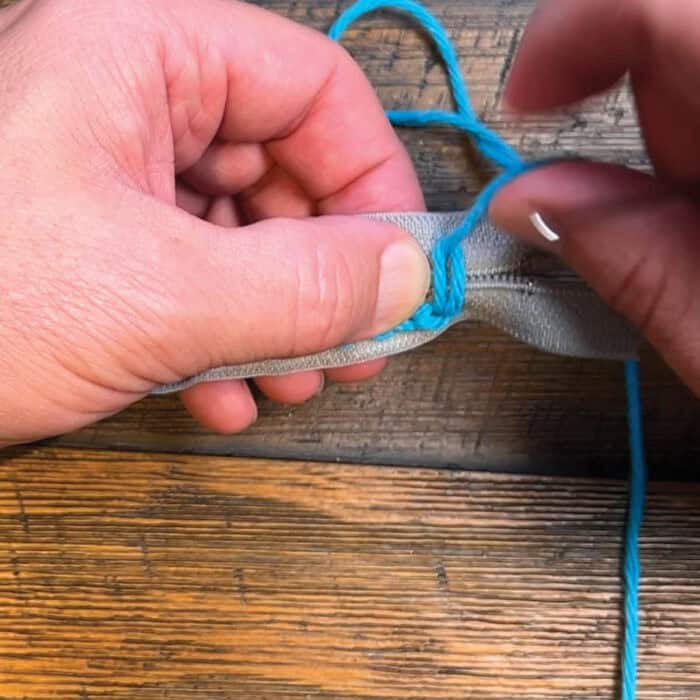
Tie a knot on the end of the yarn and poke it through the starting hole from the back to the front. Pull the yarn through until it stops at the knot.

Attach Zipper to Yarn - Start from back through first hole
Attach Zipper to Yarn - Start from back through the first hole.

Step 3

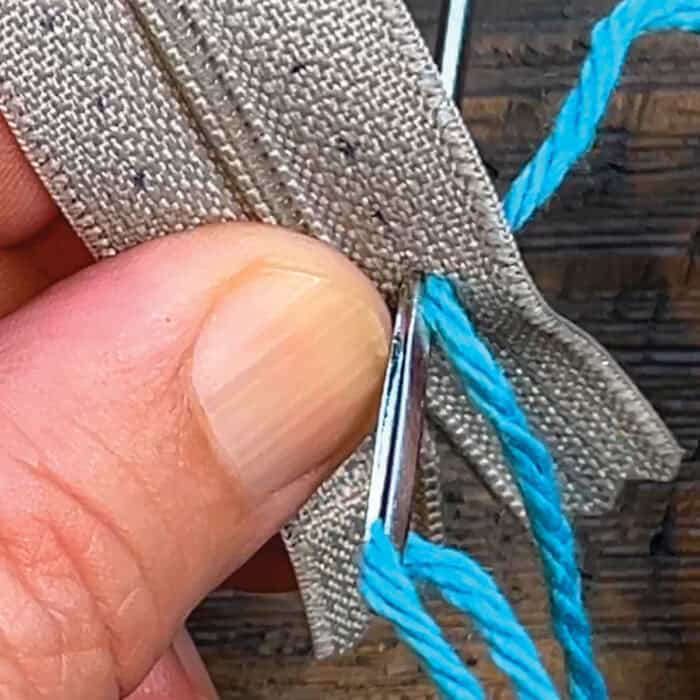
Insert the tapestry into the same hole and go back down. Pull through until a small loop exists. DO NOT PULL ALL THE WAY THROUGH.

Attach Zipper to Yarn - Go Back Through Same Hole
Attach Zipper to Yarn - Create Loop to Use for Next Stitch

Step 4

Insert needle into the next marked spot from the back to the front. Go through the middle of the previous loop. Pull yarn through.

Attach Zipper to Yarn - Come up through Next Hole from Back and Through Middle Loop that Exists Before
Attach Zipper to Yarn - Mark 1.4 marks with Felt Marker

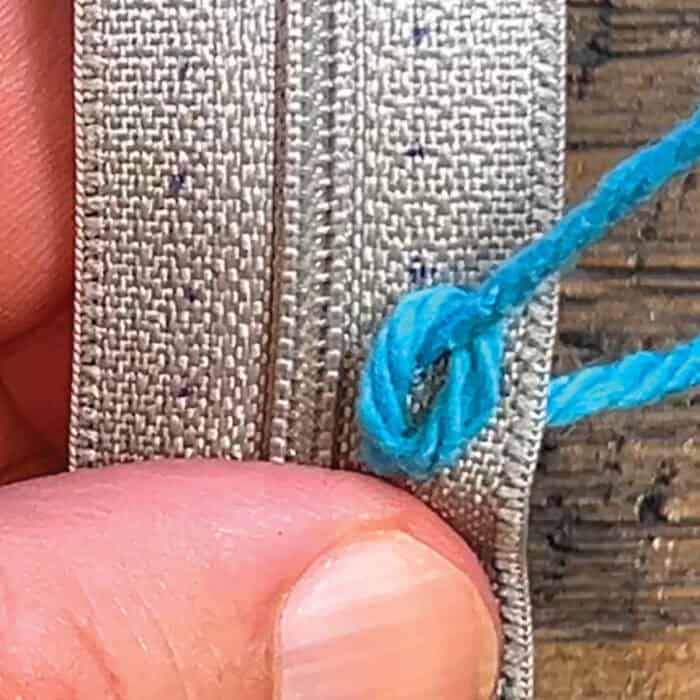
Firm up the first loop by pulling tight enough to make it look even. DO NOT OVER PULL.

Attach Zipper to Yarn - Go Down Through Existing Loop and Into Same Hole

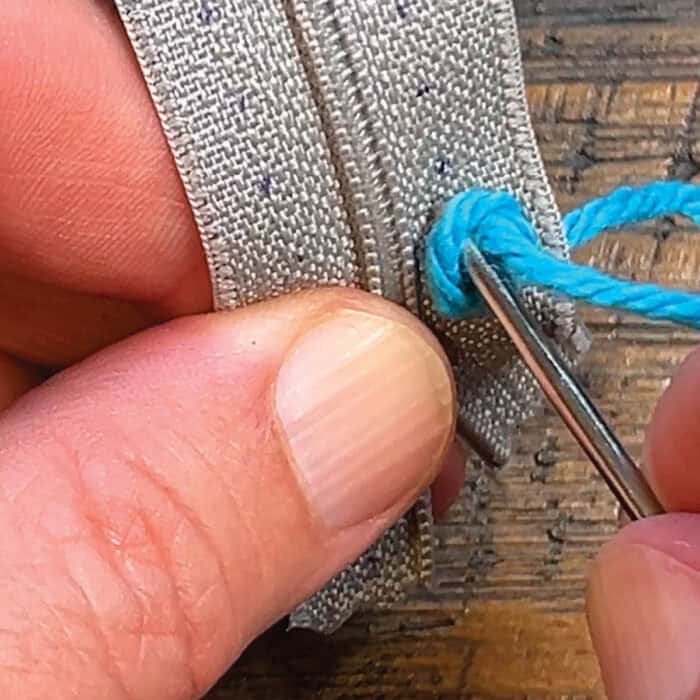
Go back down through the same hole through the middle of the loop you are working through.

Step 5

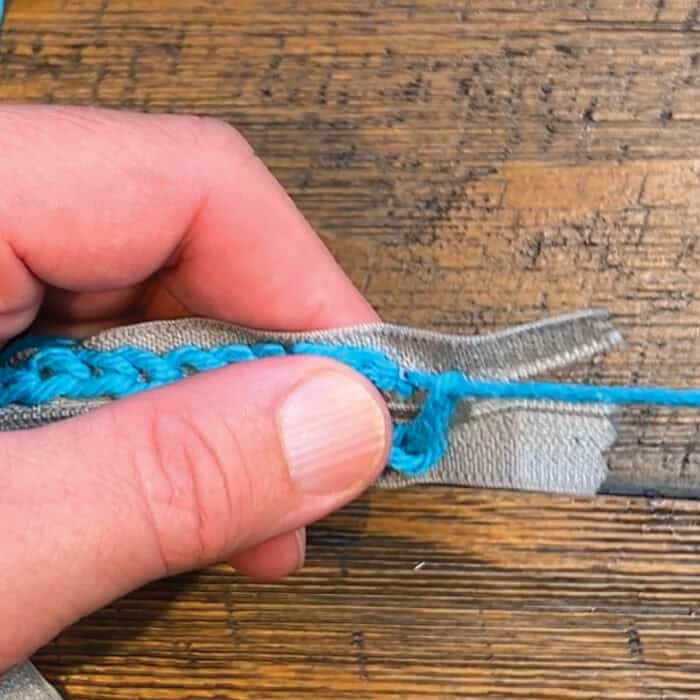
Continue working down the zipper until the last marked spot. Insert the needle from back to front on the marked stitch across the zipper and do the same steps of going through the loop and back down like you have been.

Continue down the other side of the zipper edging.
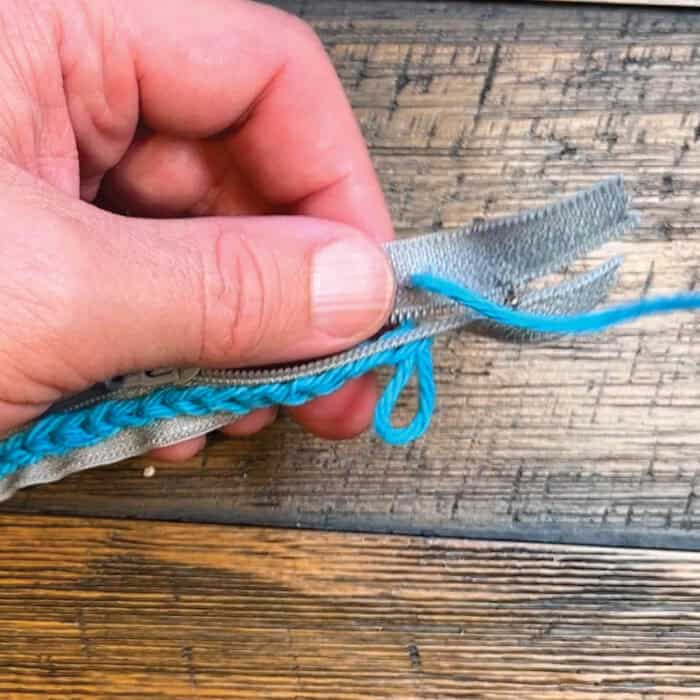
Attach Zipper to Yarn - Go Down Through Existing Loop and Into Same Hole
Attach Zipper to Yarn - Continue Down Opposite Side

Step 6

Jump across the zipper like you had before and go through the loop when going from back to front.

Intentionally go back down on the outside of that loop to hold that loop down.

Attach Zipper to Yarn - Finish by Securing Final Loop Down

Secure the yarn on the underside of the zipper and begin the project.

Step 7

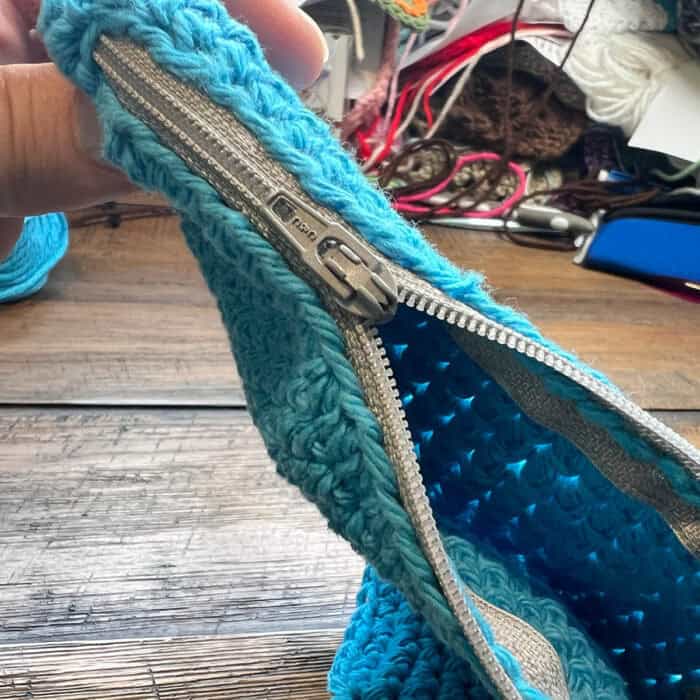
Attach yarn to any back loop (loop closest to edge of the zipper tape. 1 single crochet in each stitch and on the stitches that are jumping over the zipper, place 3 single crochet in those stitches.

Do not join when you get back around.

Attach Zipper to Yarn - Start from back through first hole
Attach Zipper to Yarn - Start from back through the first hole.

Continue around in a continuous revolution of 1 single crochet in each regular stitch until you get the desired depth of your pouch. I stopped after 5" was completed.

Crochet Zipper Pouch Focused on Zipper
Crochet Zipper Pouch Pattern

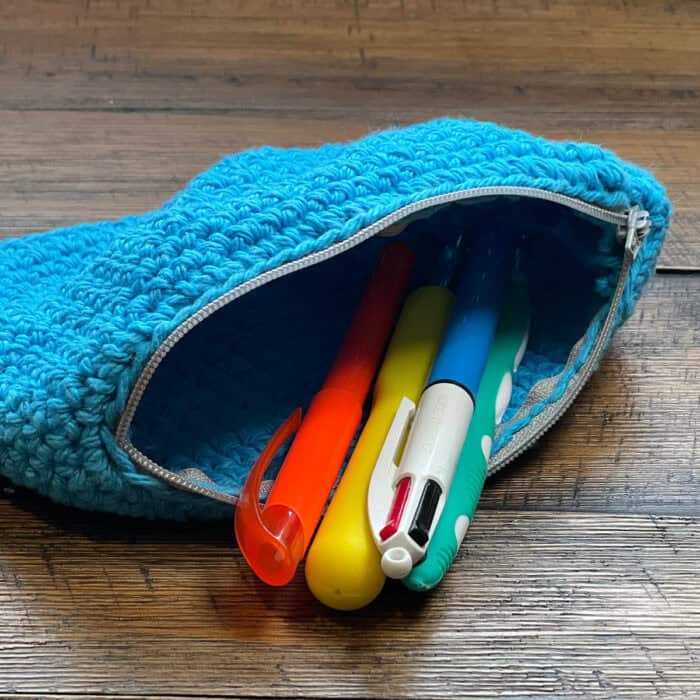
Flatten the bag with the yarn at one end. Instead of single crochet around, just go through the front and back of the back to close the bottom of the back by applying 1 single crochet in each. Weave in the ends and turn the pouch inside out to secure the tail end to the inside of the pouch.

Video Tutorial

Crochet Sanitizer Bottle Holder Pattern
13 Crochet Back to School Fun Finds Online

Like this:

Like Loading...

Related

Summary
How to Crochet Zipper Pouch or Pencil Case with Tutorial
Article Name
How to Crochet Zipper Pouch or Pencil Case with Tutorial
Description
Learn the strategy of pulling yarn directly onto a zipper first to crochet with. Make a crochet zipper pouch as a sample for yourself.
Author
Michael Sellick
Publisher Name
The Crochet Crowd
Publisher Logo
The Crochet Crowd

More Crochet Back to School Patterns

  • Spirit Stitching: 12 Crochet Team Projects
  • Study Break Stitches: 8 School Theme Crochet Designs
  • 11+ Crochet Back to School Fun Finds Online
  • 45+ Big Game Days Free Patterns

Filed Under: Coats and Clark Products and Free Patterns, Crochet Back to School Patterns, Crochet Bag Patterns, Crochet Patterns by Michael Sellick, Lily Sugar'n Cream Patterns, Mikey's Accessories Crochet Patterns, Mikey's Crochet Bag Patterns

Reader Interactions

Leave me your thoughts... Cancel reply

Your email address will not be published. Required fields are marked *

The maximum upload file size: 360 MB. You can upload: image, document. Links to YouTube, Facebook, Twitter and other services inserted in the comment text will be automatically embedded. Drop file here

© 2008–2025, THE CROCHET CROWD. Site Design & Maintenance by Michael Sellick.

%d