
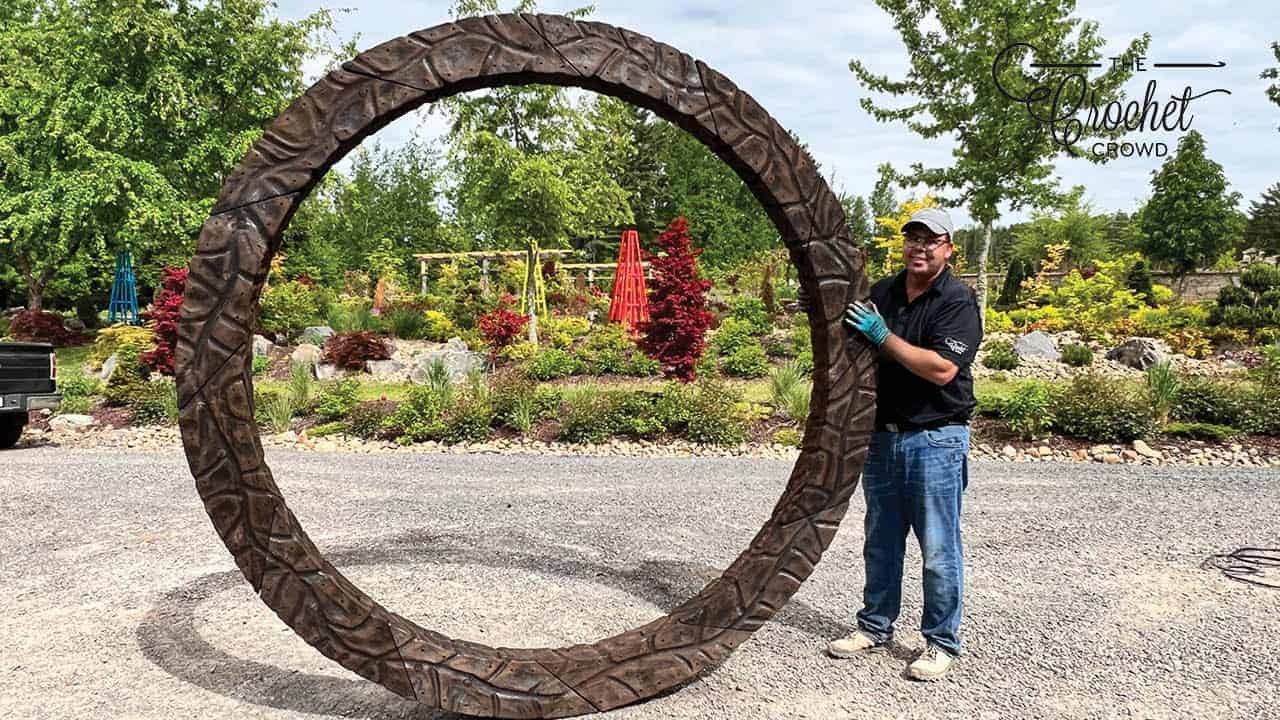
For three years, I have been wanting to make a Moon Gate for Daniel's garden. I designed and executed this concept. Daniel assisted in steps and ideas to complete this.

What is a Moon Gate?
The desire to have one was based on seeing these in amazing garden settings. We didn't know the meaning or origins before building this.
Originating in Chinese culture as a symbol of wealth. From interior or garden settings of a round circle that passes through a wall. The colonization of Bermuda was the first to see the moon gates freely stand without a wall.
To Daniel and I, it's just spectacular. For us, it has no meaning other than landscaping decor. Some of you may call it a Stargate from the movie or TV show. We usually design with the next owner of the house in mind, so to do a theme that is too personal it harder to sell a property. So we keep things of interest but neutral in meanings.
Arcs Are Harder to Make
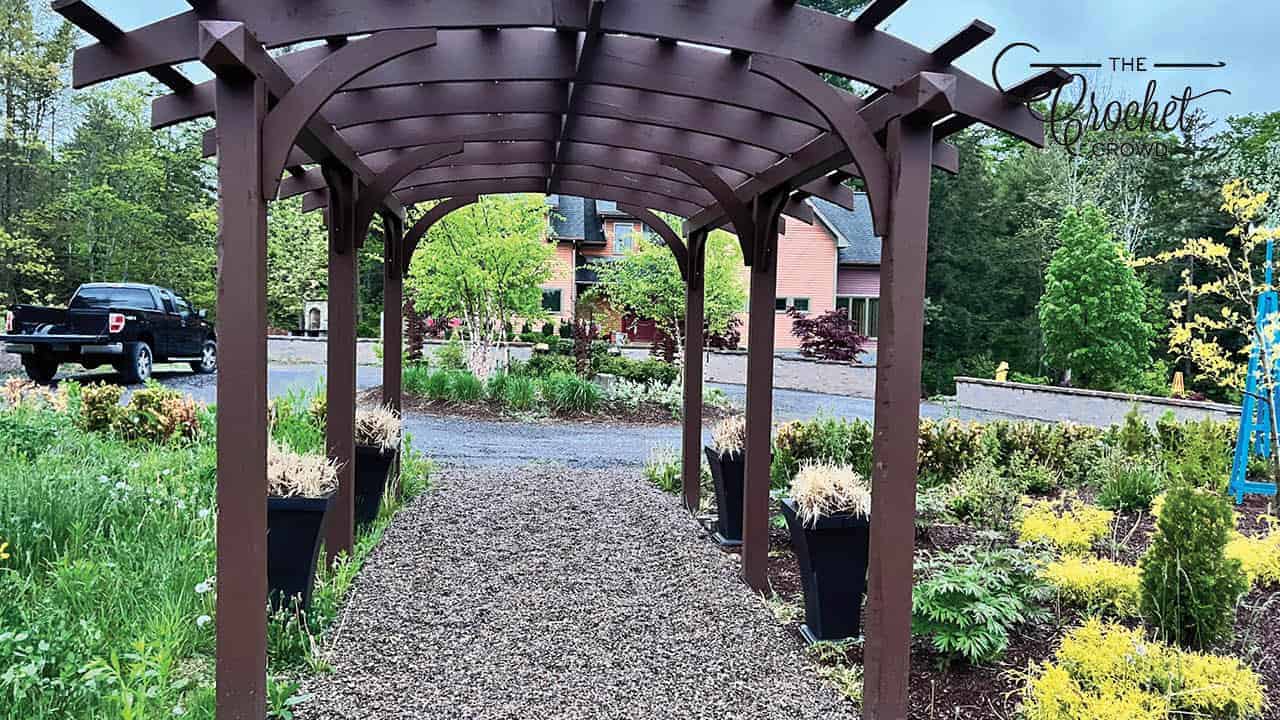
What turned me off is the arc for completing the cuts and the amount of wood waste from doing it. I bought blueprints for our pergola. Getting the arc correct is a crap shoot.
Our goal was to figure out how to make the moon gate with less waste. I've been trying to get outside more and stretch my body and creative mind. Here's an article I wrote about it.
The Plans
We were unable to find plans that we were happy with. We have to contend with winter and wind. If you have looked up moon gates, they are really pricey to buy premade as metal and we felt it won't hold up in the conditions we have. It has to be wood for us.
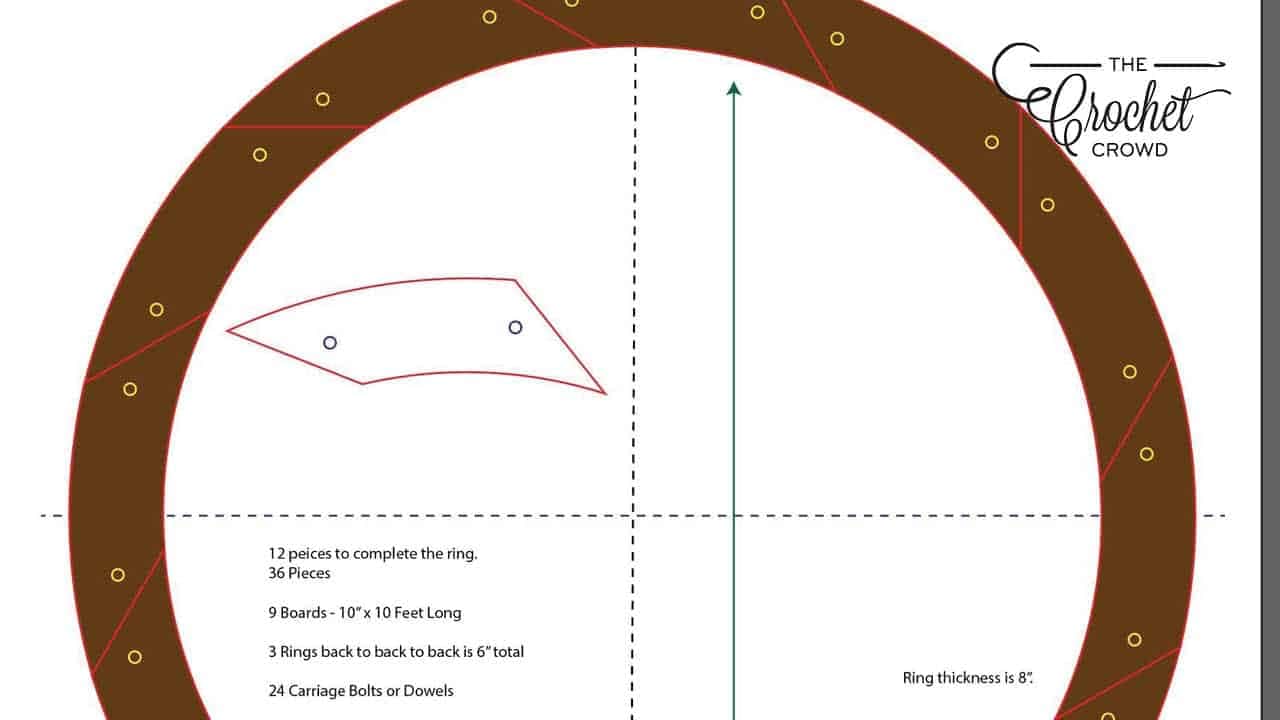
I recently took an online workshop with Edie Eckman to learn how to draw schematics on Adobe Illustrator. I didn't know I could draw in real size scaling. With Daniel's help, I drew the plans out with accurate measurements. I even drew the planks we would use to see how many pieces we could get out of a piece of wood.
I'm not a skilled wood worker and am not prepared to give out my plans or downloadable files for the pieces as I don't have enough experience. We haven't tested the mounting of this so I don't have instructions to finish the plans with certainty.

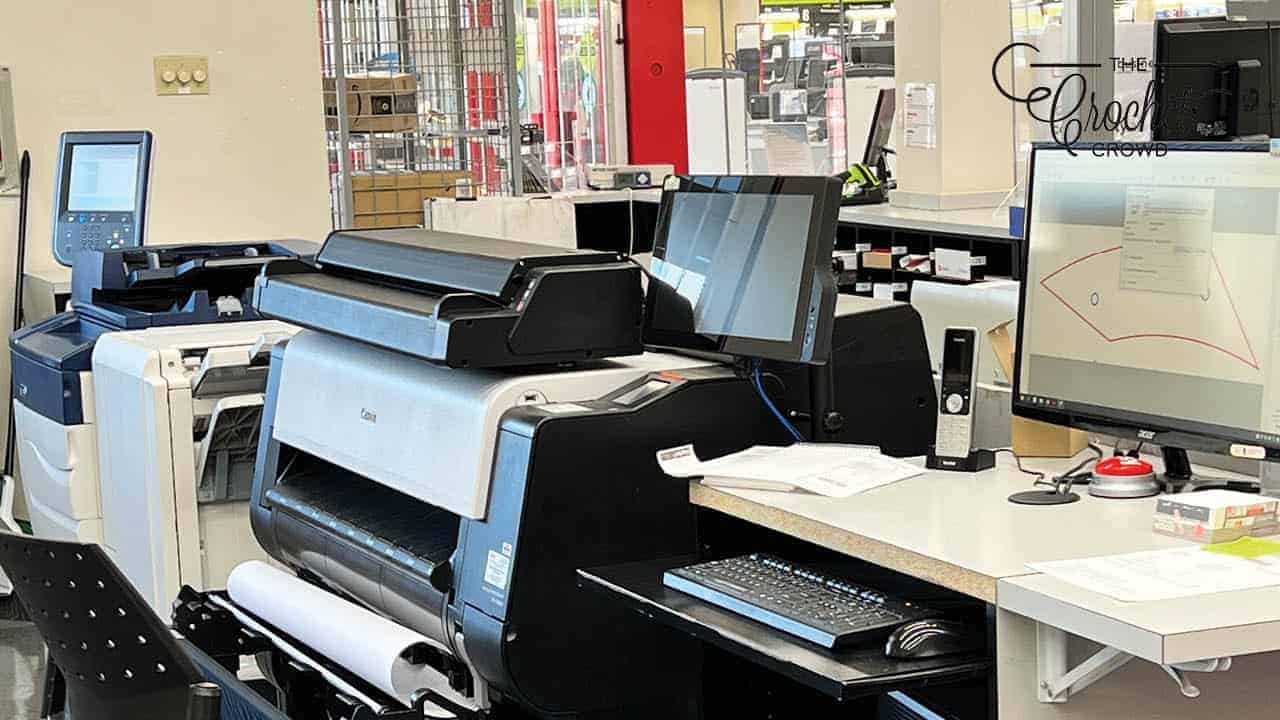
From this, I was able to extrapolate a section to make a template on a real size scale. I called Staples (the store) to see what my restrictions were to printing a template. I was able to bring a file to them to have the template plotted out.
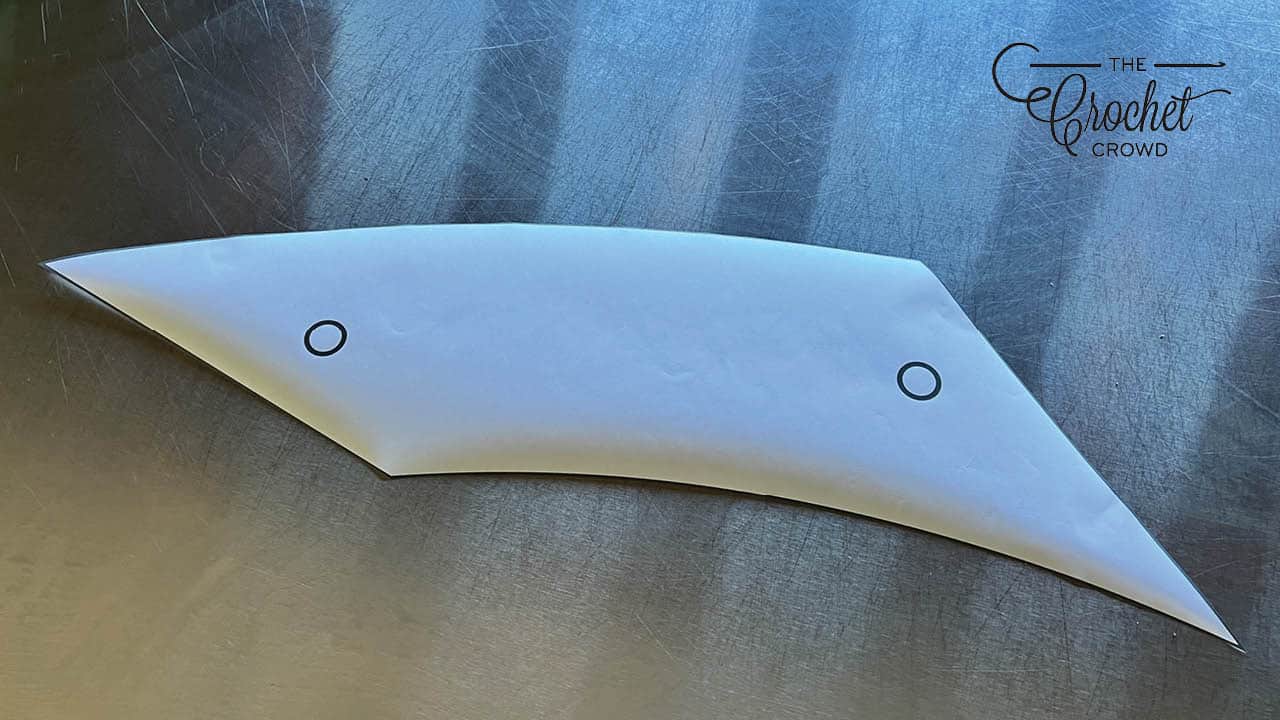
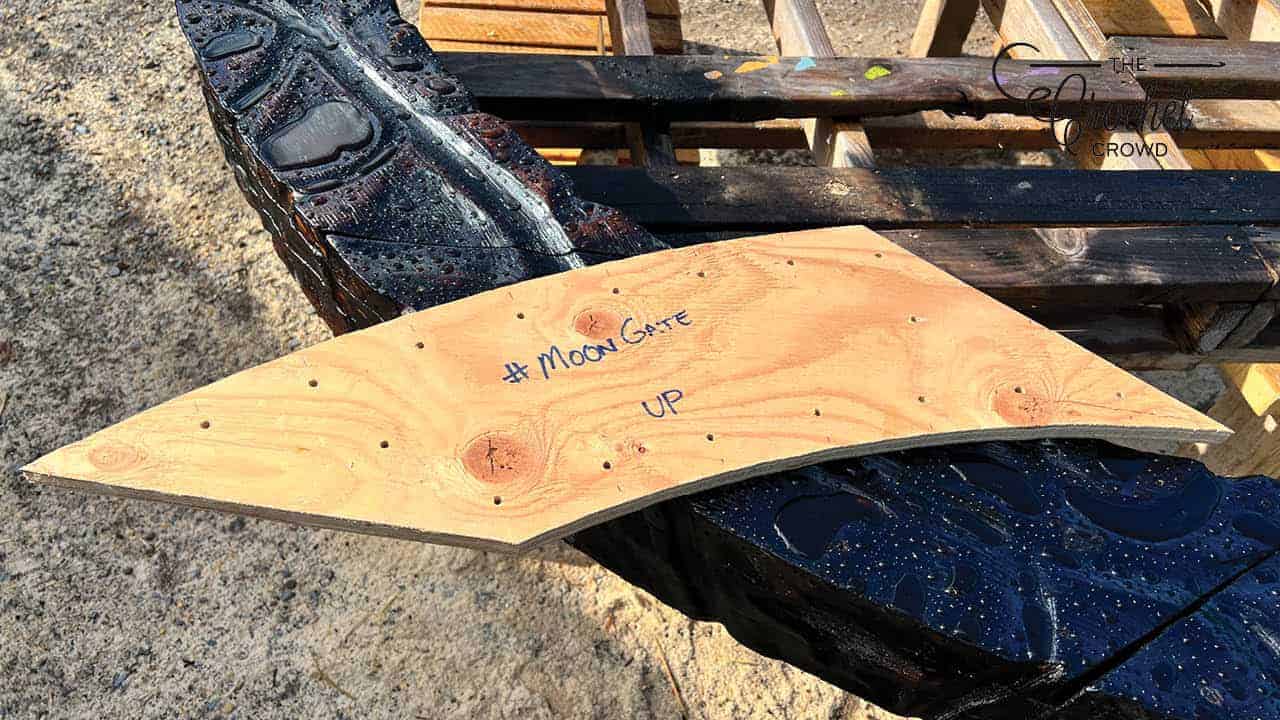
I took the template and made a wood plywood pattern. The template has the location of the dowels and all of the screws that hold the layers together. The screws are 3" apart from each other.
Getting Wood
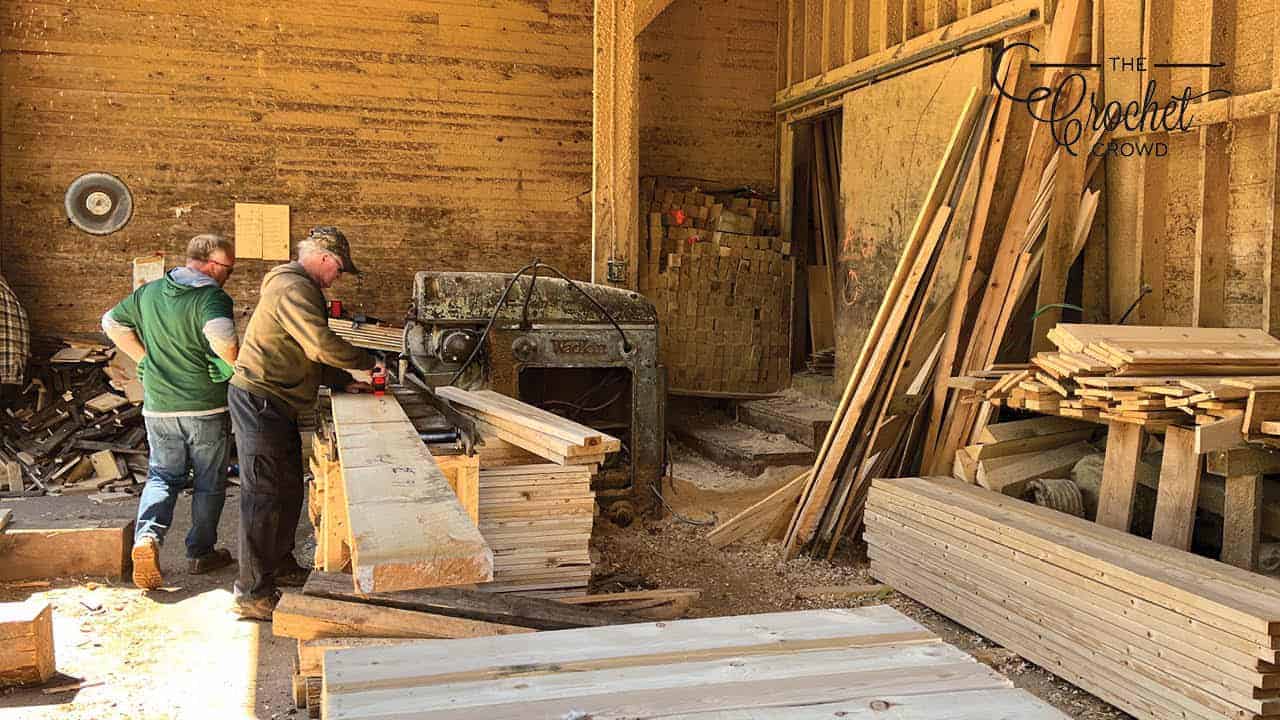
We live minutes away from the local sawmill. They cut the planks into manageable pieces to bring home. With the local sawmill, the thickness of the boards can vary when you buy them in the condition we did. They also have premium but cost-wise and for our purposes, went 1 step down from premium. Buying local saved a lot of money versus buying the wood in a place like a retail store. Still supporting local and keeping dollars to spend on other things like Verathane and tools.
Each plank is approximately 2". It's not like the store-bought example where they claim it's 2 x 4 and it's actually 1.75 by 3.75. It's truer to claimed measurements.
Cutting the Pieces
It took about 13 hours to cut all 36 pieces. I was able to cut the angles pretty quickly. I traced the shape of the plywood onto the planks and then cut it out.
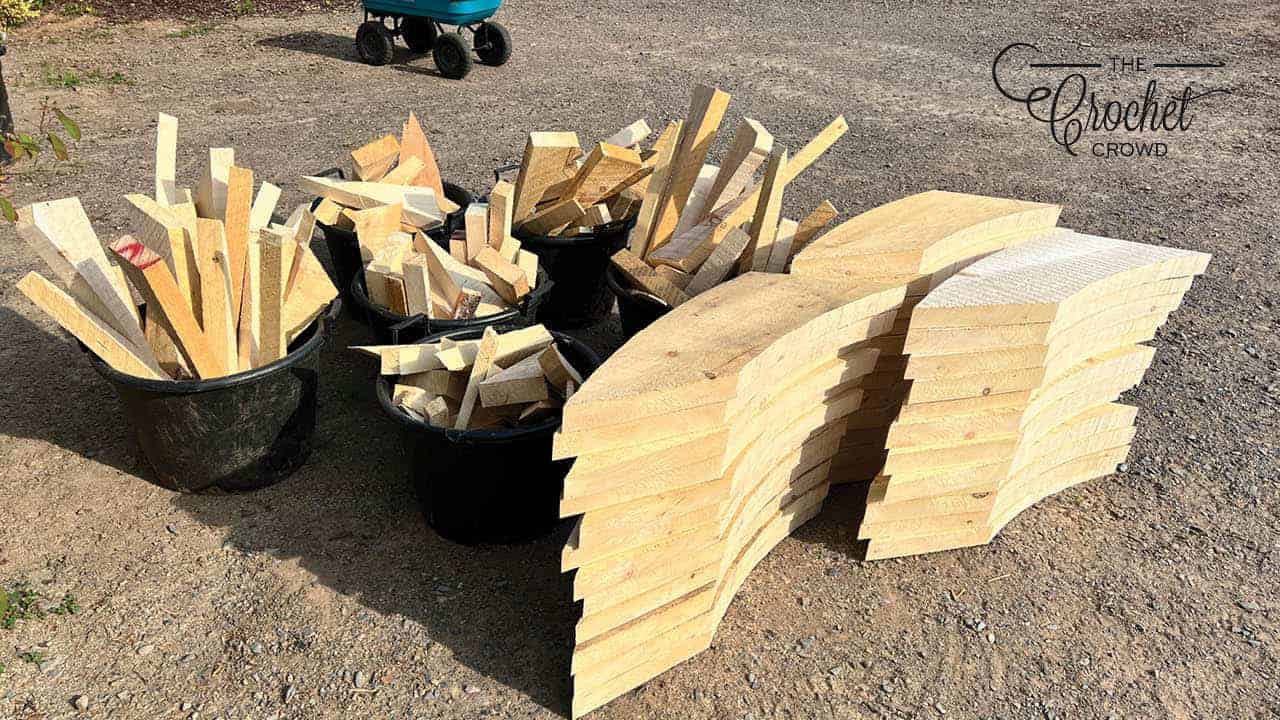
Using a bandsaw, I cut the arcs into each piece.
Grading Each Piece
I did a quick table sander to each piece to remove burs. I didn't want to over sand them as I need to contour this later.
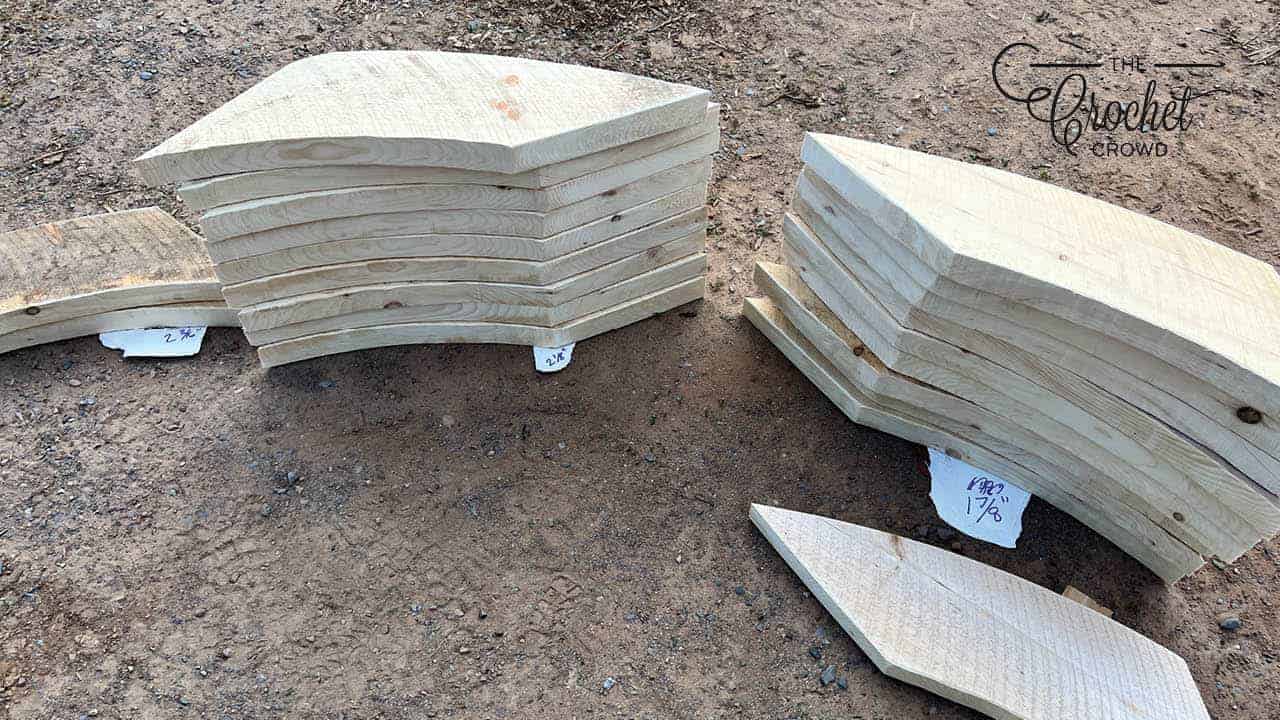
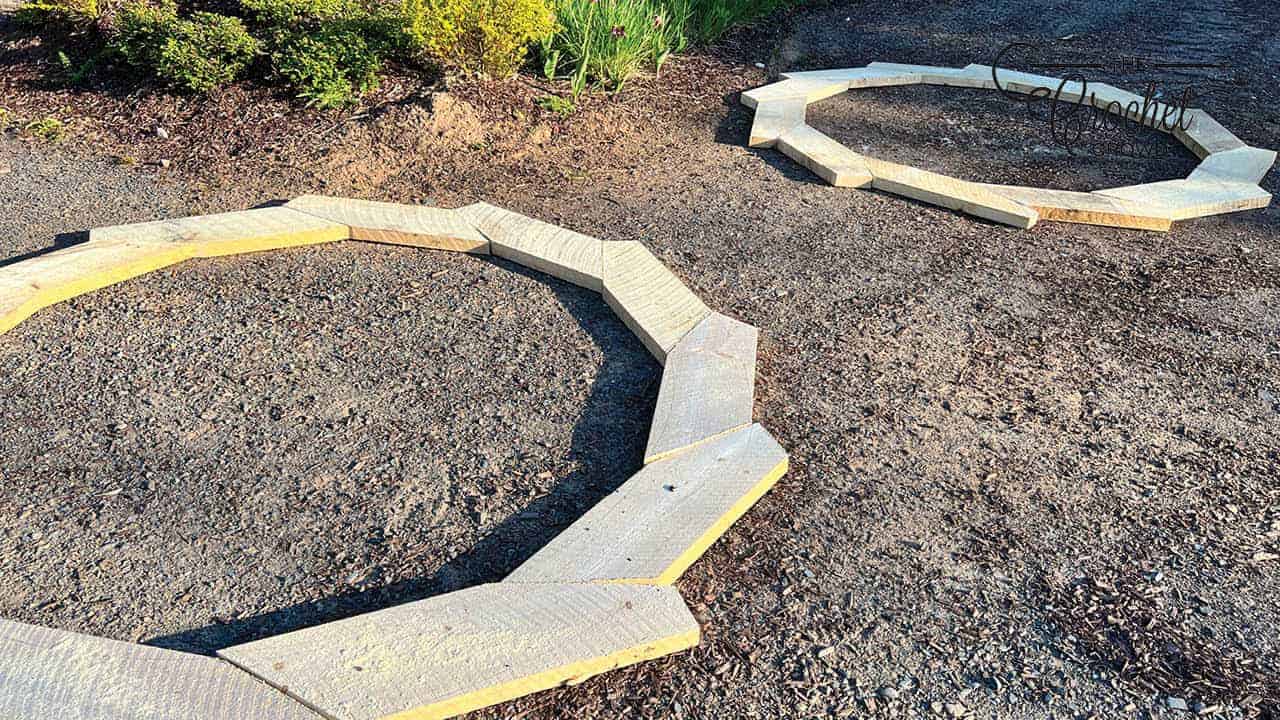
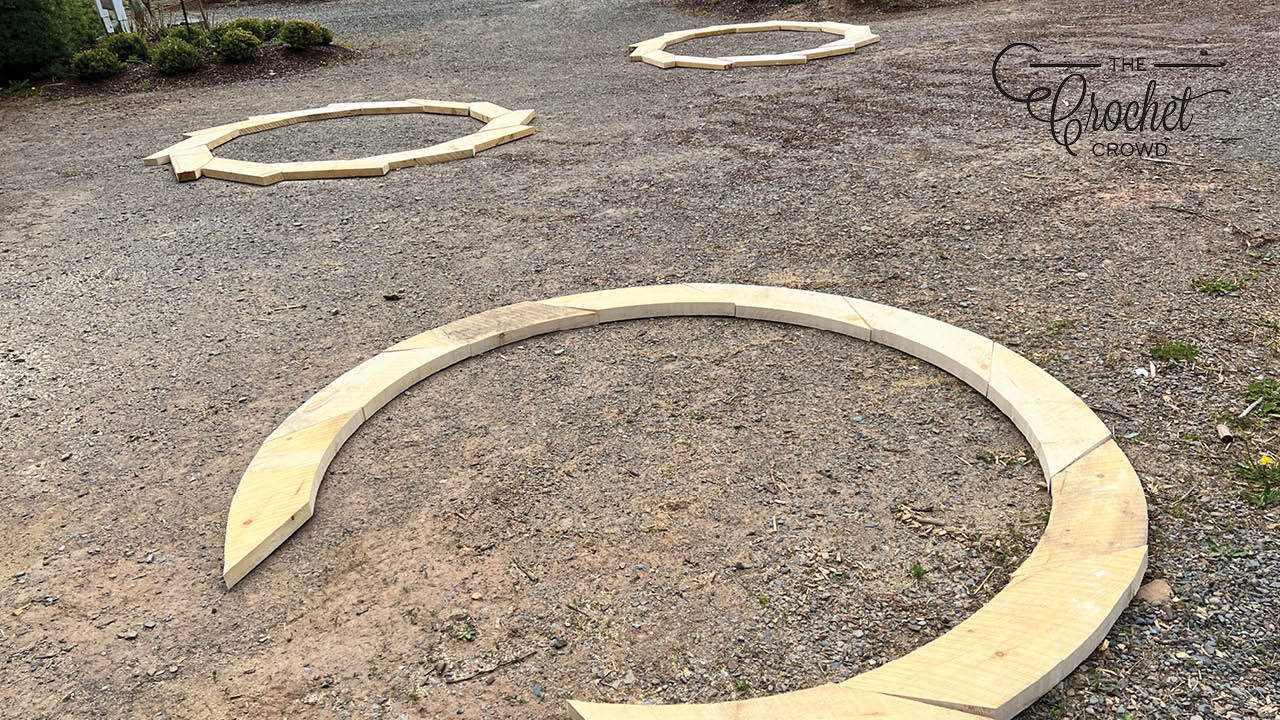
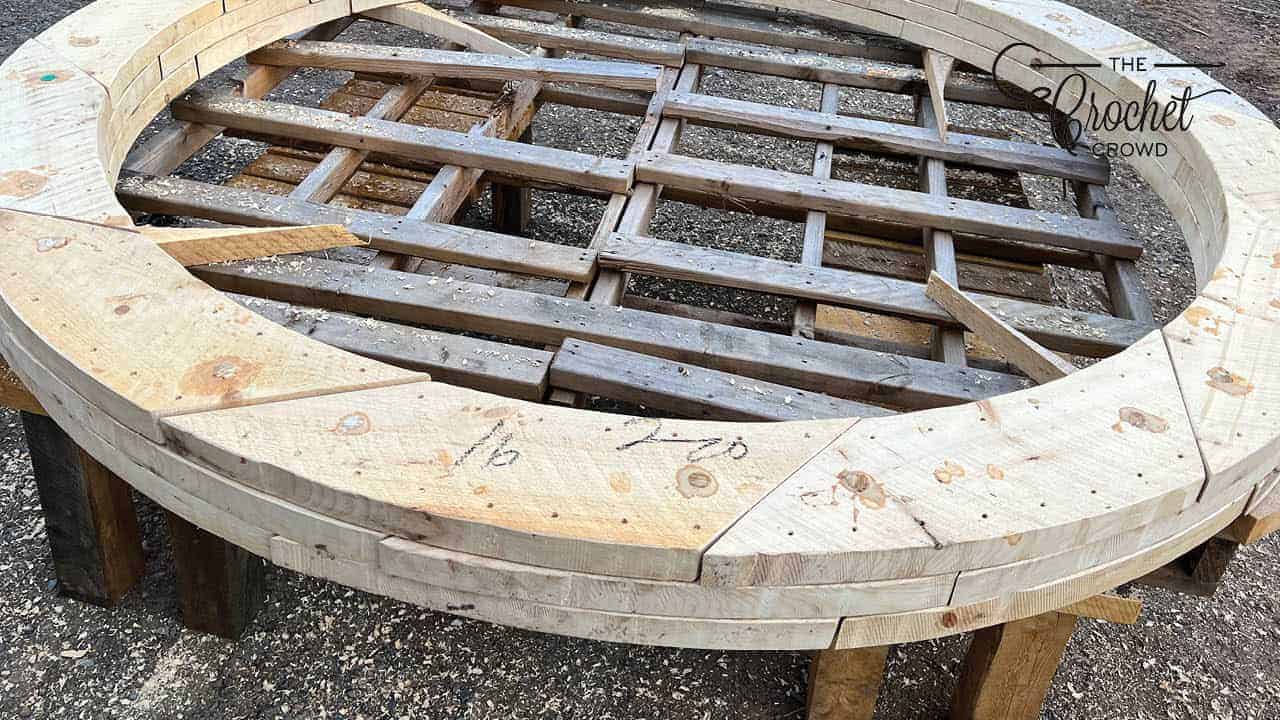
Each circle is made up of 12 pieces. I needed at least 12 of the same thickness for the middle layer.
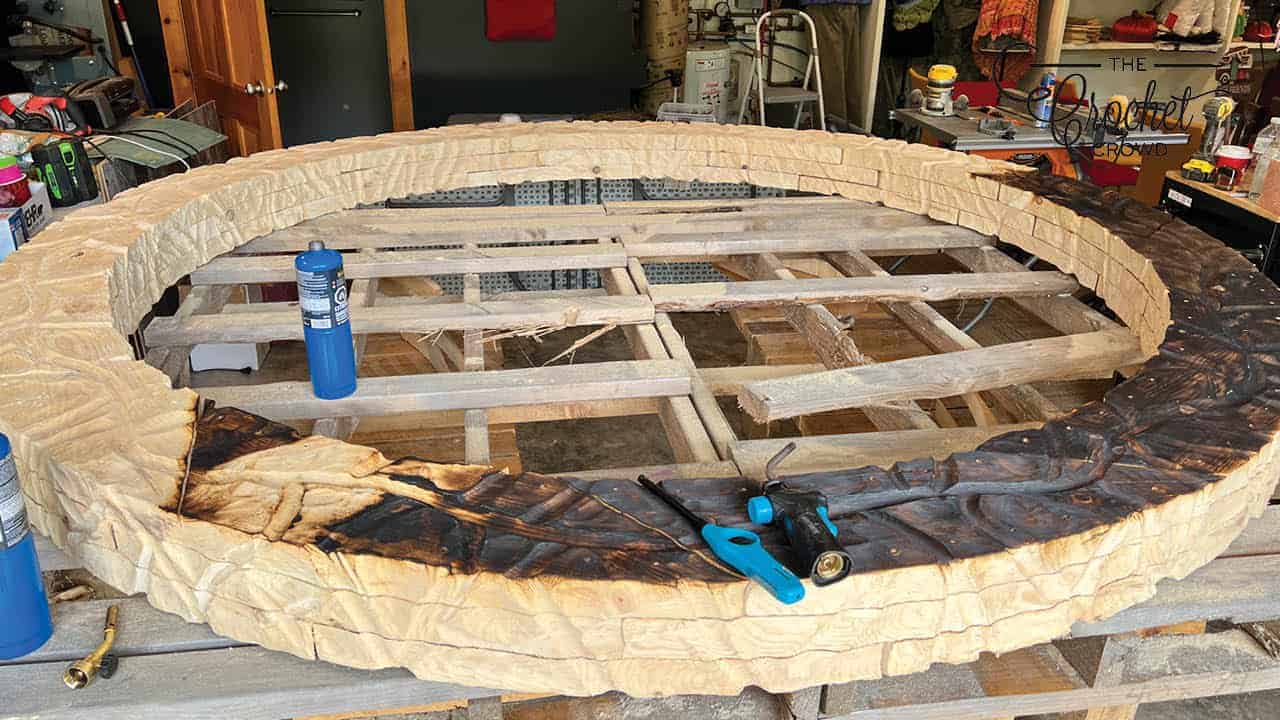
Assembly
There is a bottom on this and I have marked it so I will always know where it is.
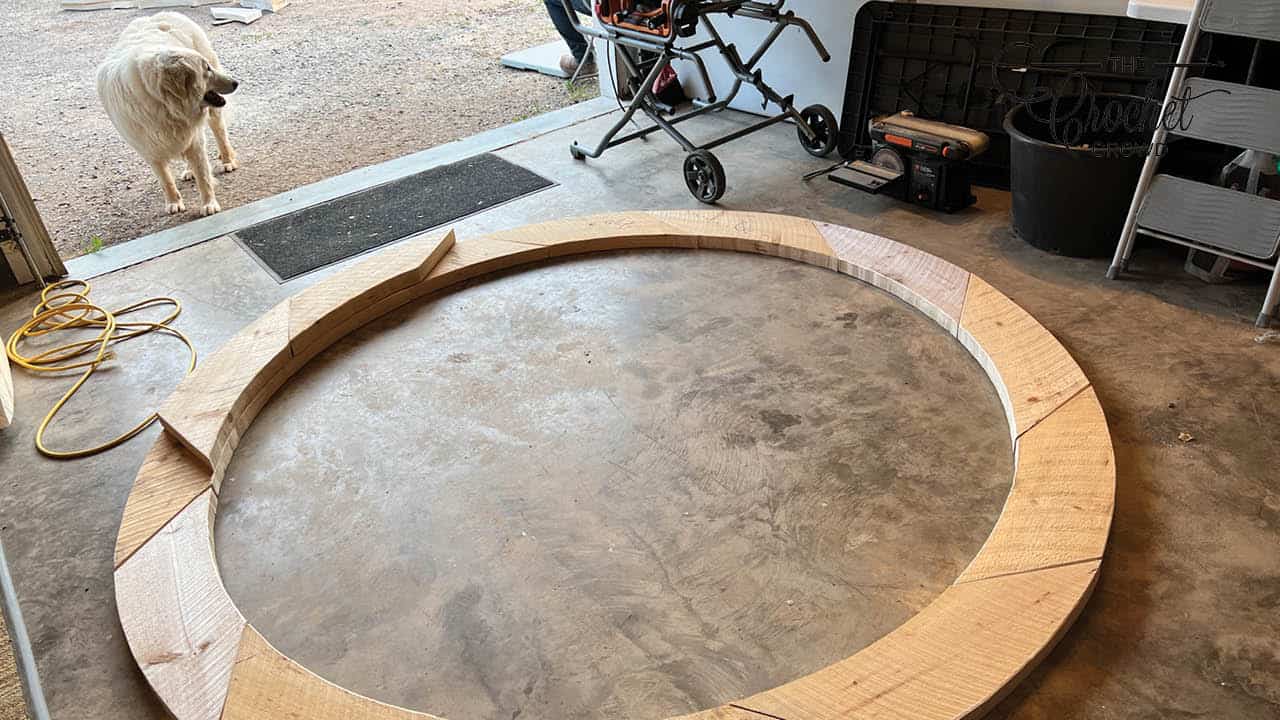
I laid the middle layer down as each thickness is the same. I then placed the second layer over top. Using my template, I marked the screw locations and worked my way around.
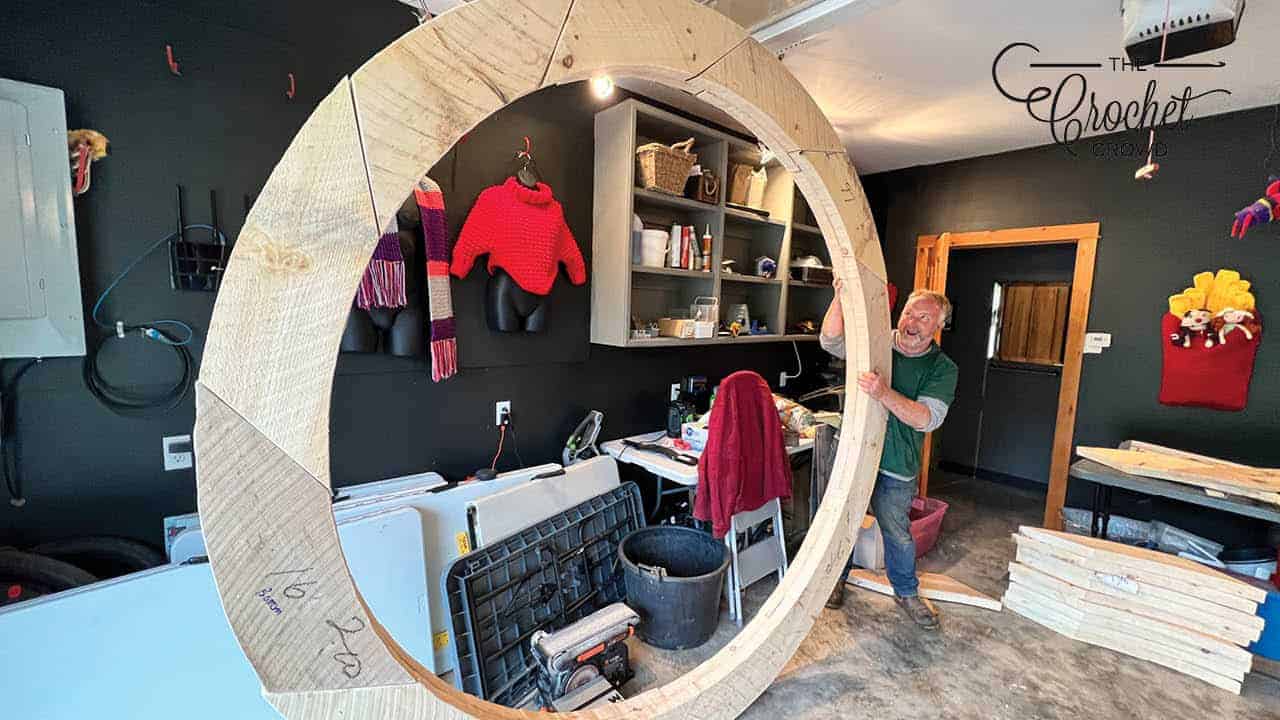
We picked it up and it was stable but flimsy. Deciding to do three layers was smart. We turned it over and applied the third layer to the middle ring. The layers are staggered so they don't match up to be more secure.
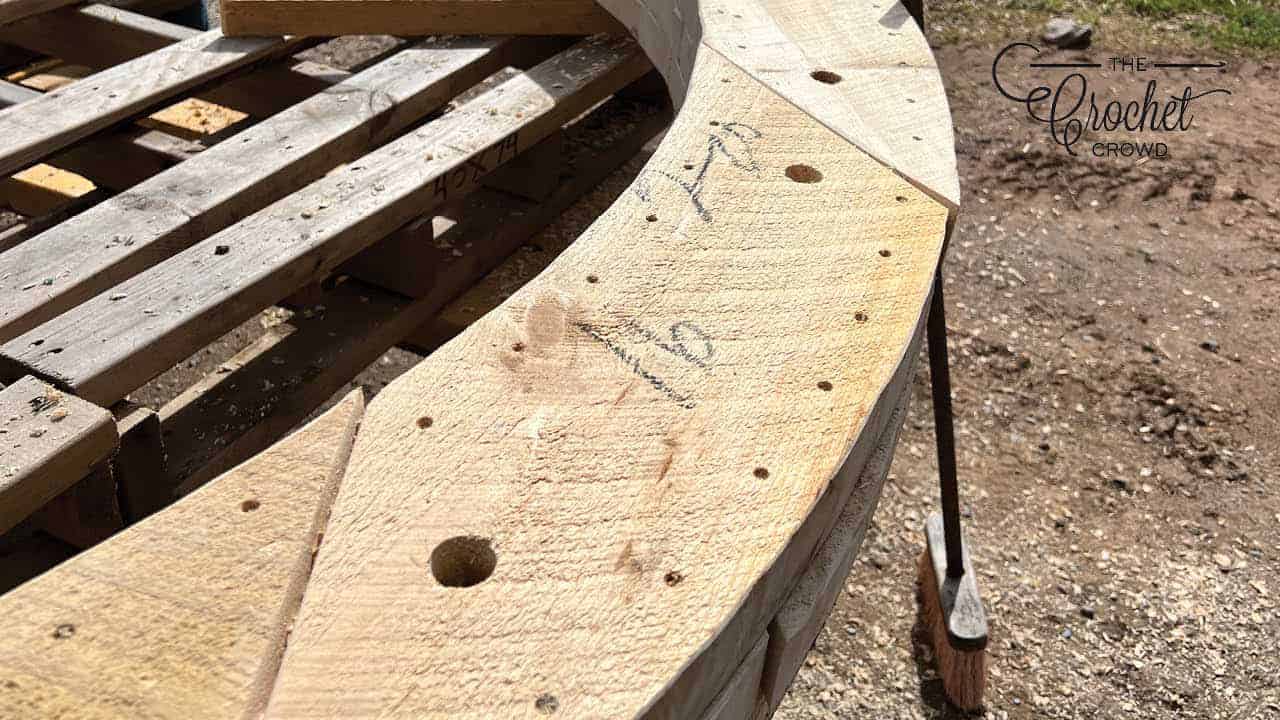
Adding Strength Support
We added 2 dowels per section. On the opposite side, the dowel locations are in a different positions and you may notice it on the final sample. Daniel drilled 1" holes all the way through it. I glued cut the 1" dowels into position. The dowels completely solidified the shape without much warp when moving around. It keeps the pieces locked together if the screws decide to fatigue.
The Thicknesses Vary
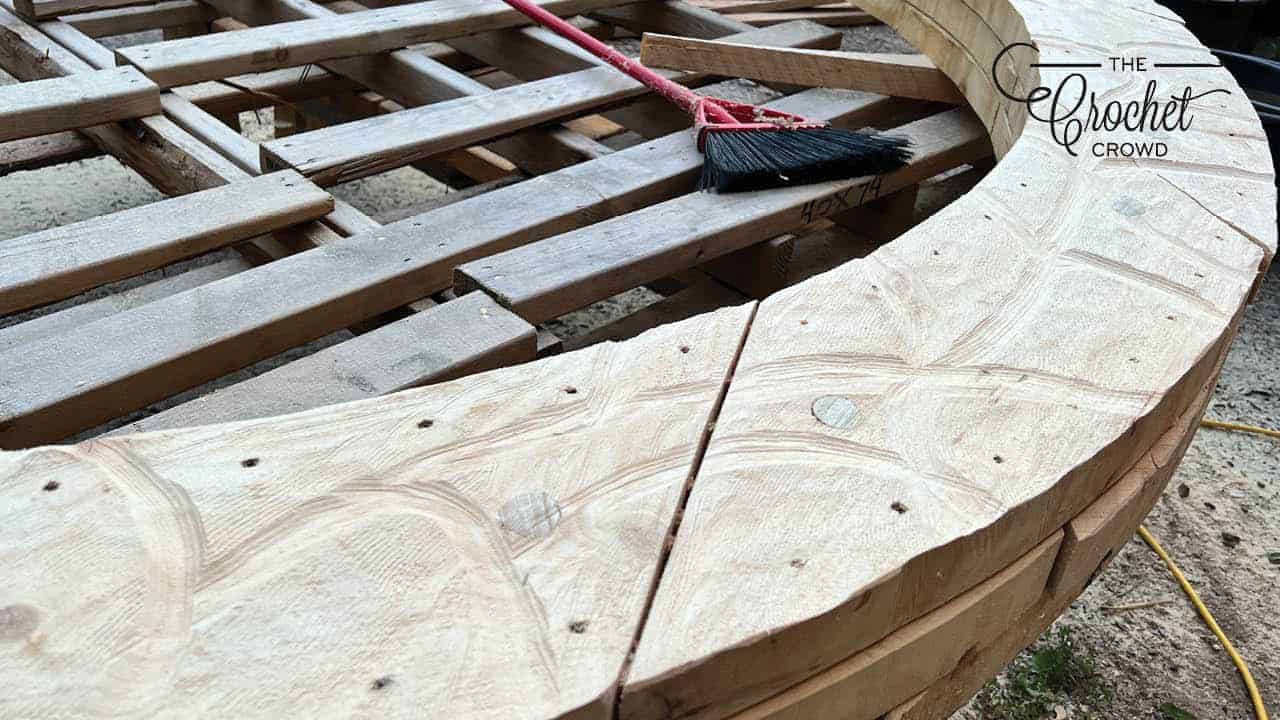
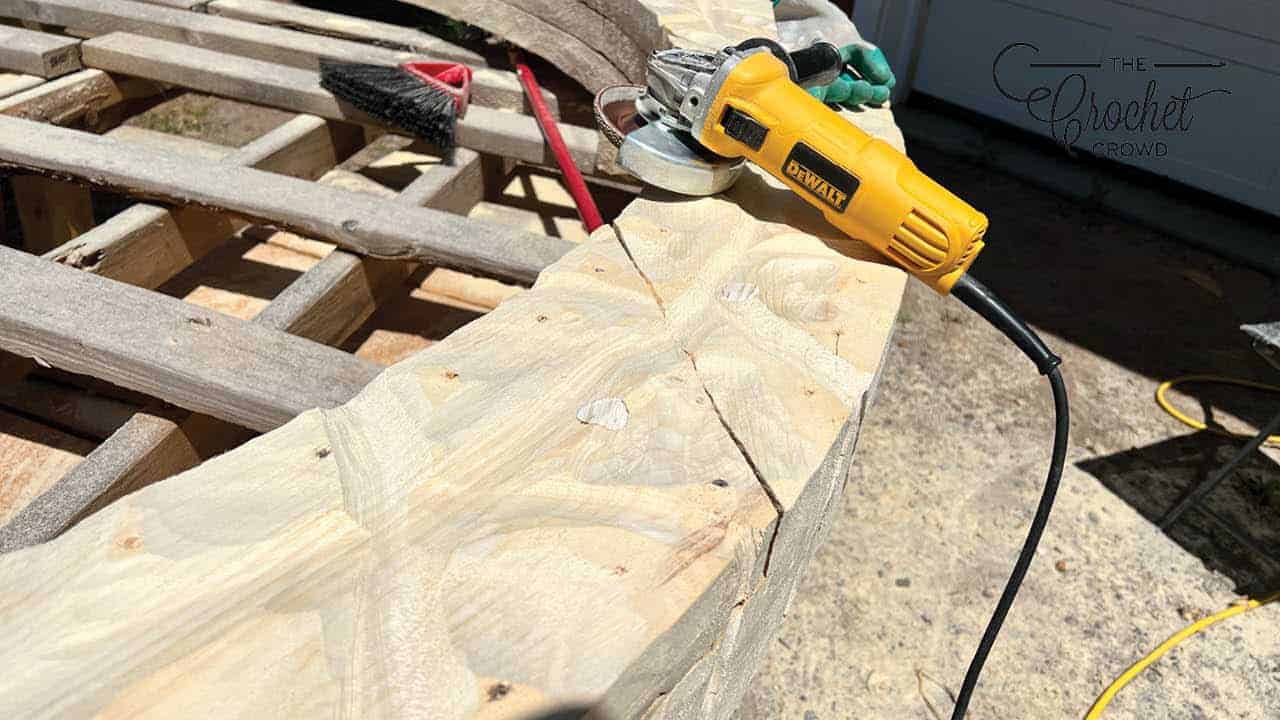
With the thicknesses of the planks vary from each other. Daniel discovered the Dish Cutter for an angle grinder. The grinder is very abrasive and rips wood off very quickly. I dish to cut the entire surface to match the heights at the joining spots as a priority to make it look like they puzzle together.
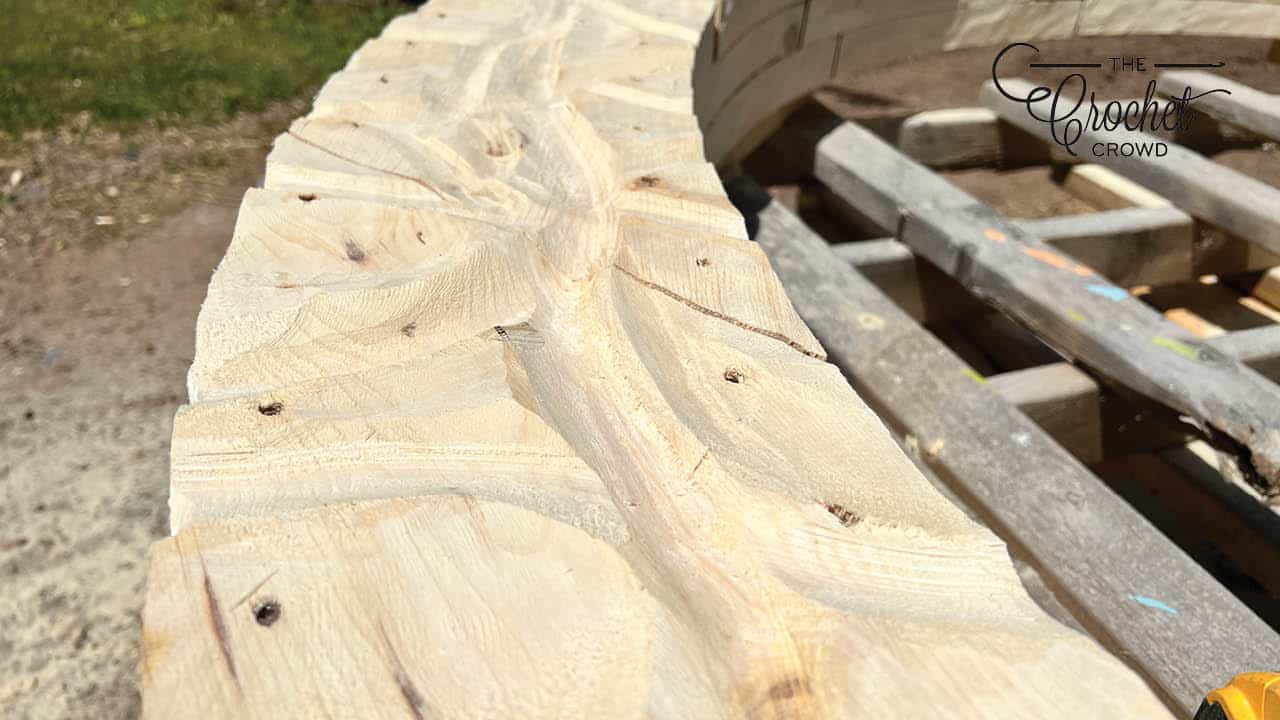
With a pencil, I drew on the lines and then used the dish cutter to start forming the grooves. I dish cut the interior, exterior and both sides of the ring. I started to get serious about the grooves.
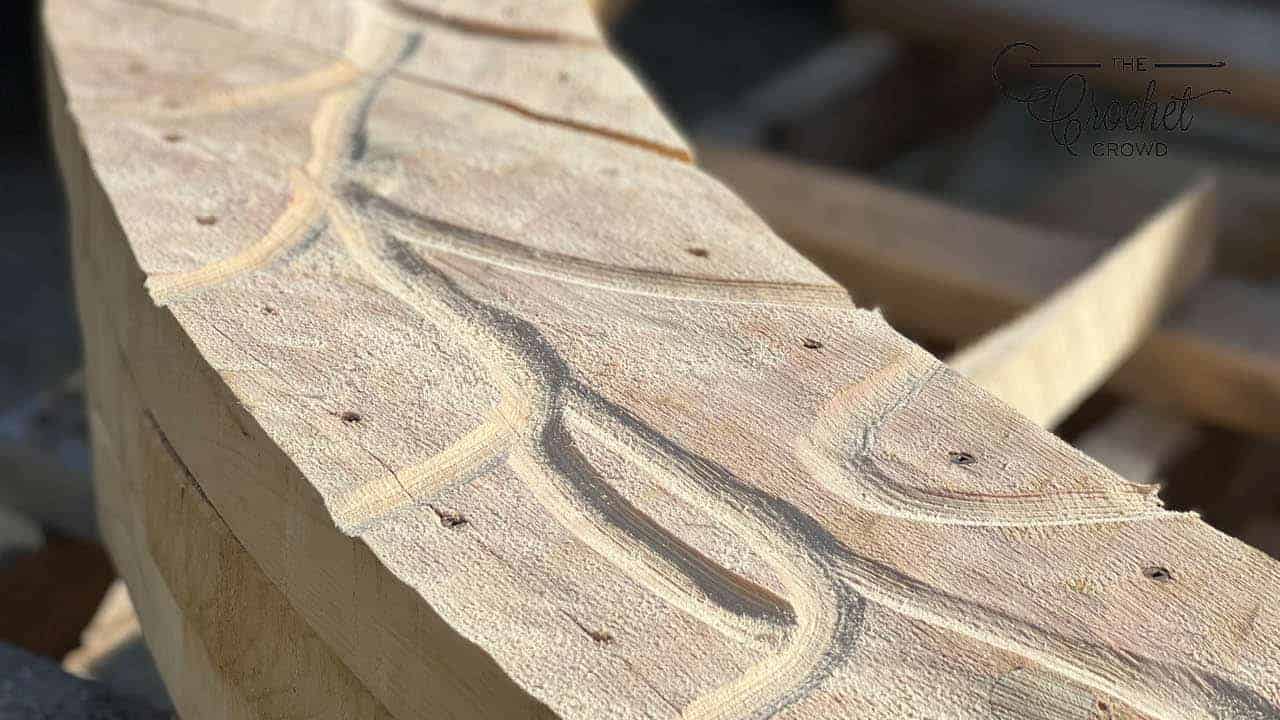
Making the grooves wider and deeper to let the contour show up. I sank down the flat spots to be contoured inward so there is no flat surfaces on the ring.
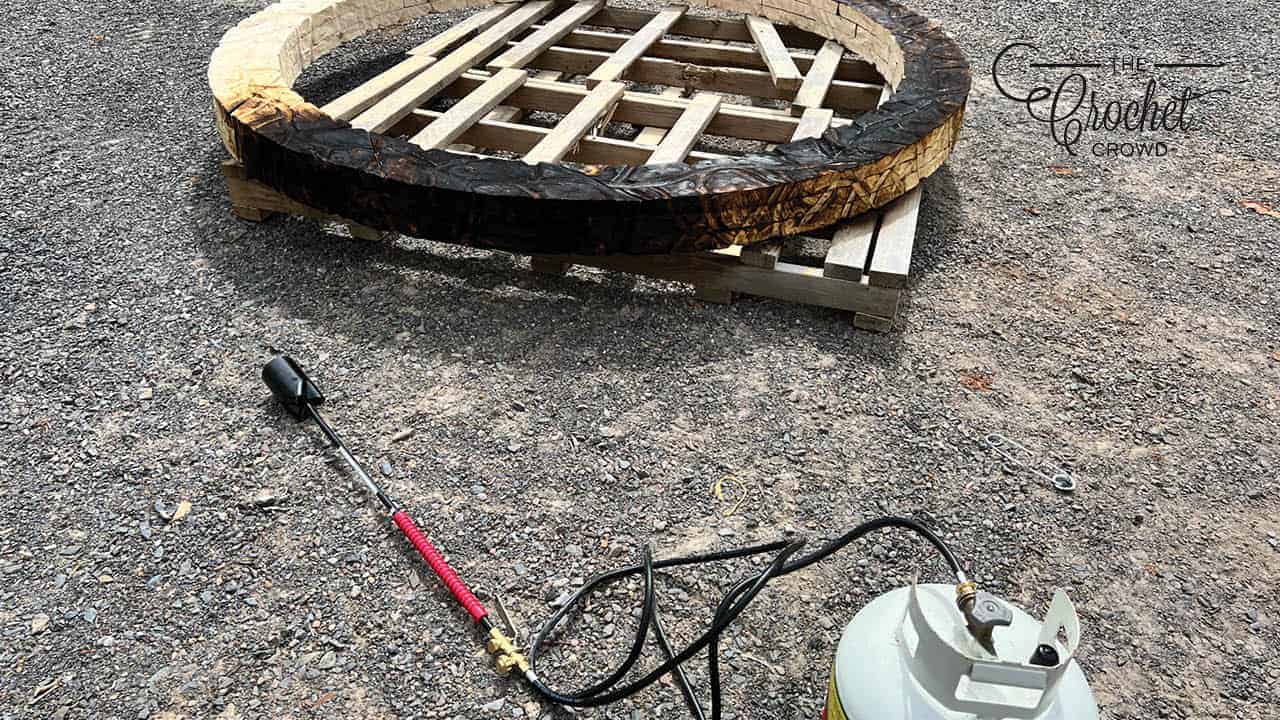
Burning The Surface
Burning the surface is called Shou Sugi Ban developed by the Japanese. It's where you torch the exterior to burn the wood. I had a lot of issues with the small torch. It kept malfunctioning and was extremely slow. It got to the point based on holding a propane tank in my hand that I felt I was personally in danger of the flame to back fire. I was so upset.
In looking up the technique, we saw that this technique could be done using a flame torch. It took mere minutes to torch the surface. If flames stay on, just lightly blow them out. This tool was insane and scary to use but I did it. Yes, the skid got blasted too and I did have to blow out flames if it started. Probably when I flipped it over, I didn't leave the skid under it. Learn as you go, right!? You really have to be careful. I did this in the middle of the driveway away from anything so I didn't accidentally light something on fire that I couldn't control.
Wire Brush
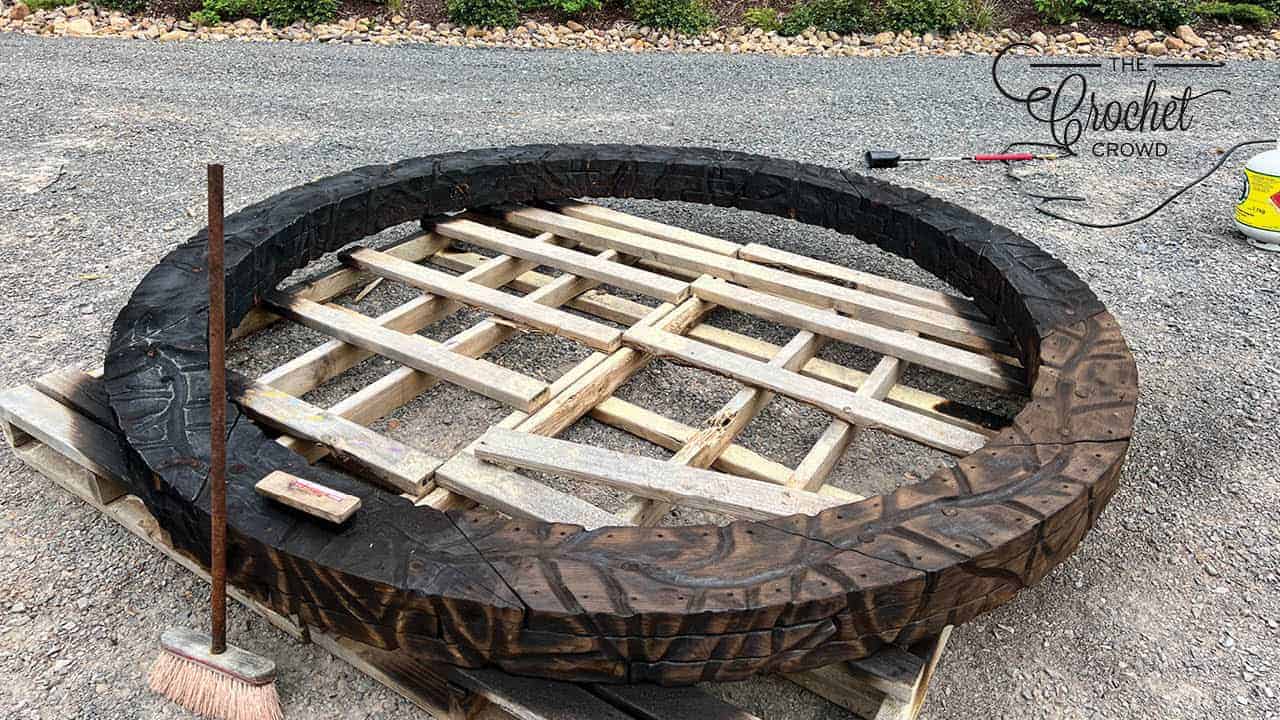
With a wire brush and not much effort, it removes the char off the surface instantly. The more you brush, the lighter the wood will become. I didn't want to be over-aggressive with the brushing. I think in retrospect, it could have been brushed more but that's a lesson for another time.
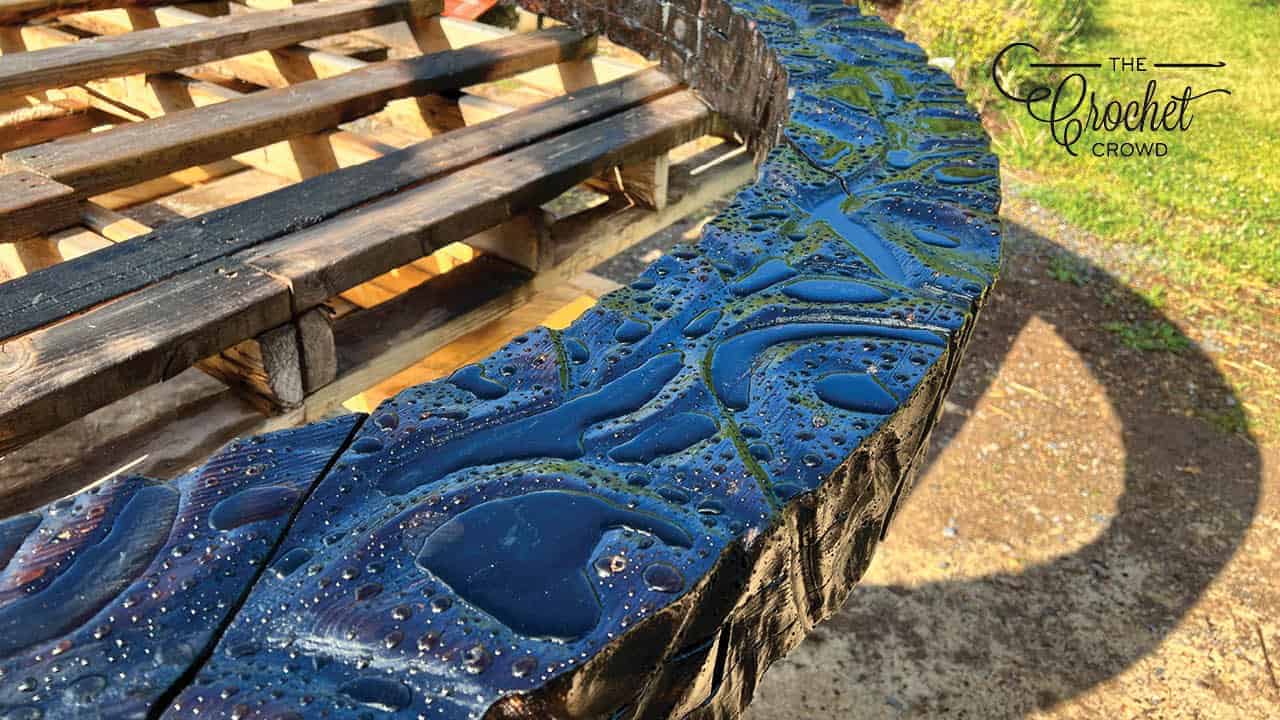
Time to Seal The Surface
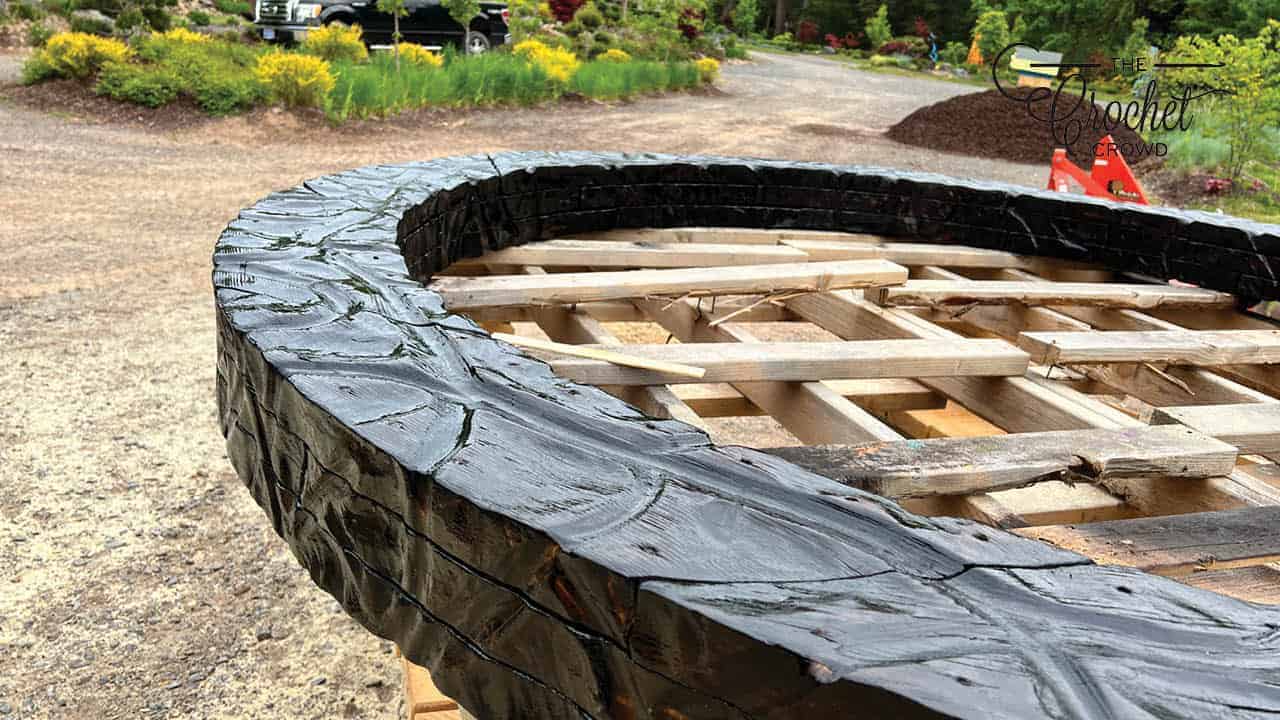
I used 2 layers of gloss Verathane to punch up the surface. It darkened the wood substantially.
Next Steps
Daniel began the pond in 2021 and is finishing it this year, 2022. Being in Nova Scotia on the side of a ridge of the valley, we have clay soil conditions. It's very difficult to grow anything on it and the water takes its sweet time to sink through. The pond naturally filled up with water on its own as it's in a position to gather rain water from the property for better water management as we live on a side of a valley ridge with our property on a slope.
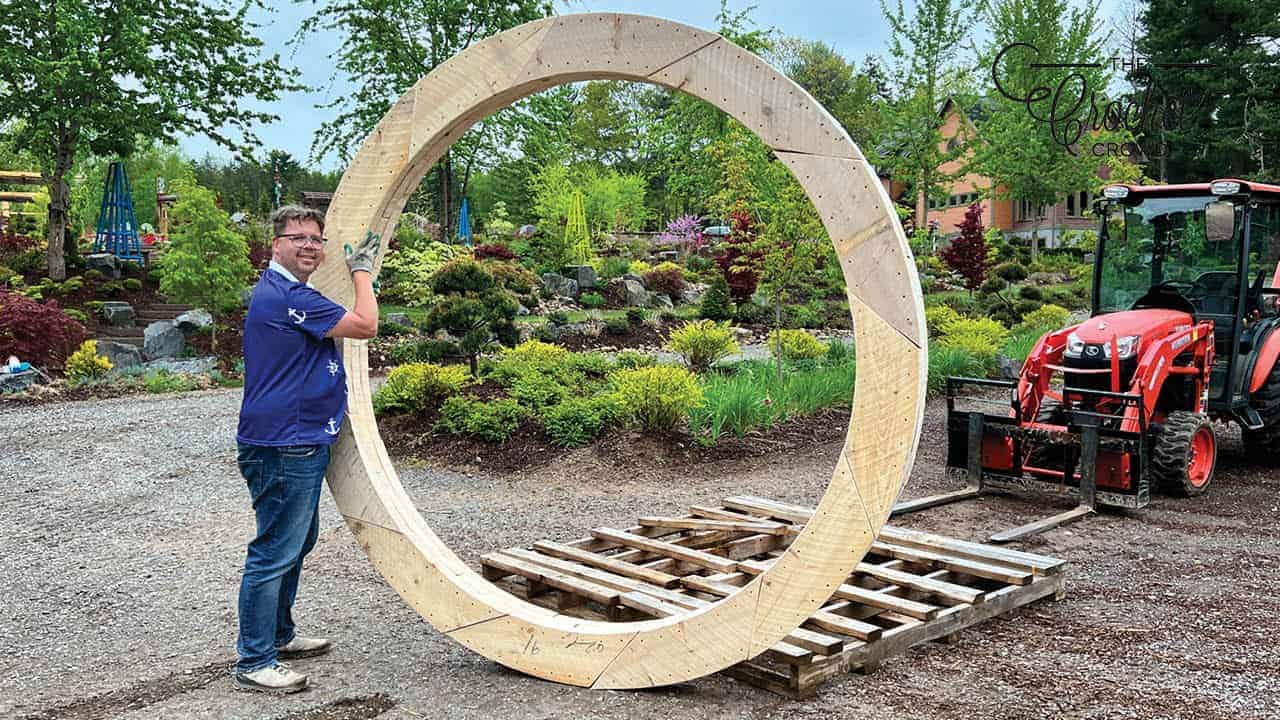
The moon gate will be positioned with a lower section sunken into the ground with 3 supports bolted to the bottom and then pushed deep and secured with concrete. With boulders, the boulders will be placed where it comes out of the ground for the support from front to back that looks natural. It will be free-standing like you see in Bermuda.
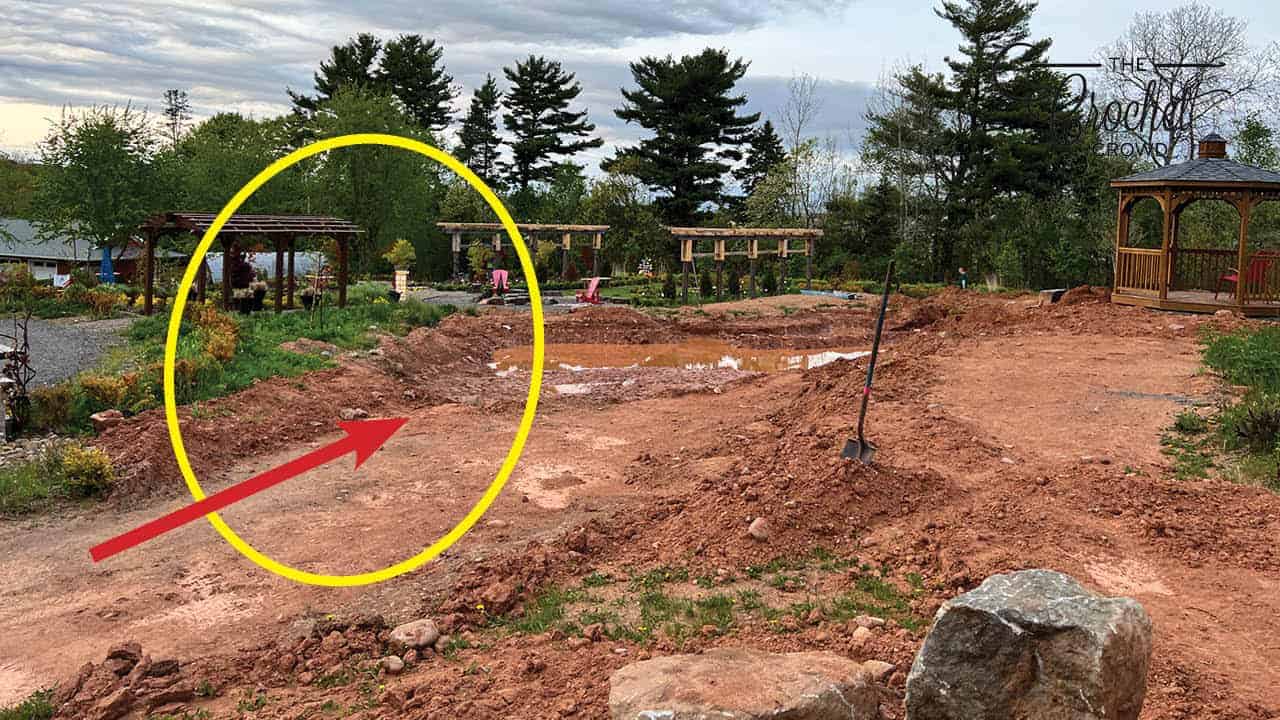
The pond is about 100 feet x 60 feet with varying depths as deep as 8 feet down. The depth of the pond matters. If it's too shallow, it warms up to a soup and is a breading ground for algae. The deeper, the colder it will be further down which keeps the algae manageable.
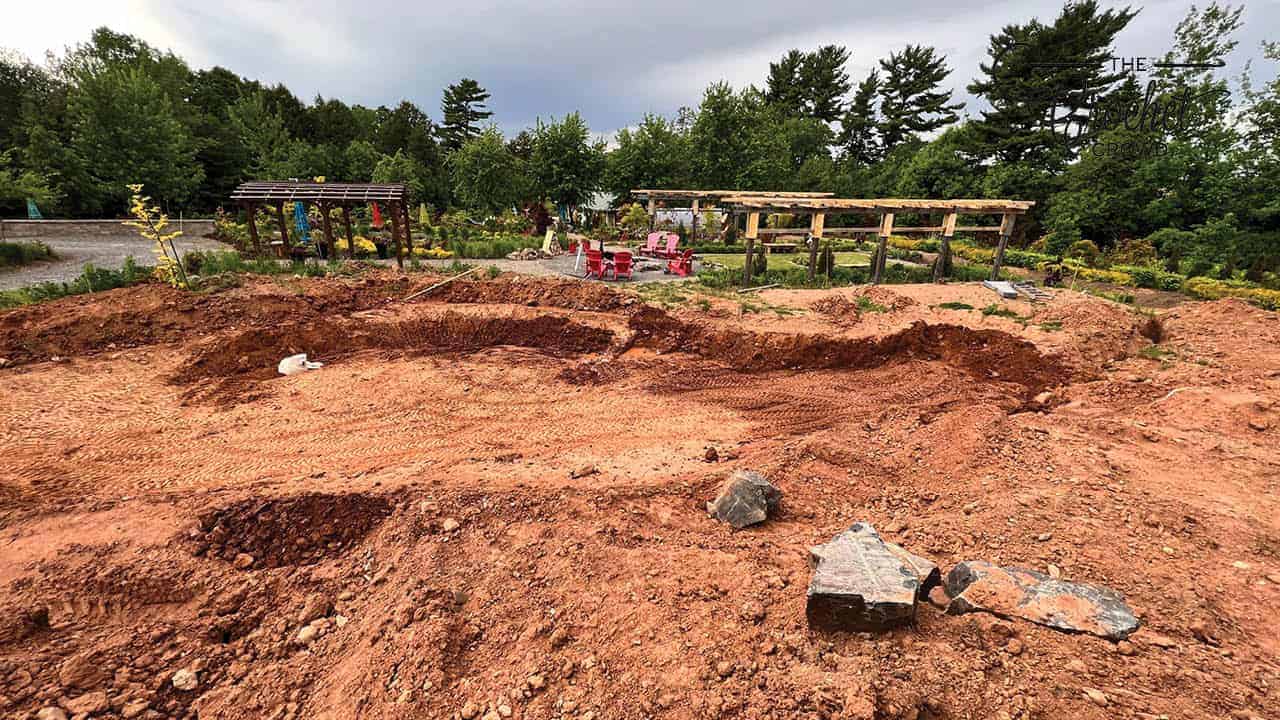
We are checking the depths with survey equipment and balancing the ridges to ensure the rim of the top of the pond is balanced. In future, there will be a bridge that will jump over the middle of the pond connecting the gazebo to the pathway of the community fire pit. We plan on a Michael Angelo Bridge Concept that will build ourselves. I believe we have to get that done while we can walk on the based of the pond.
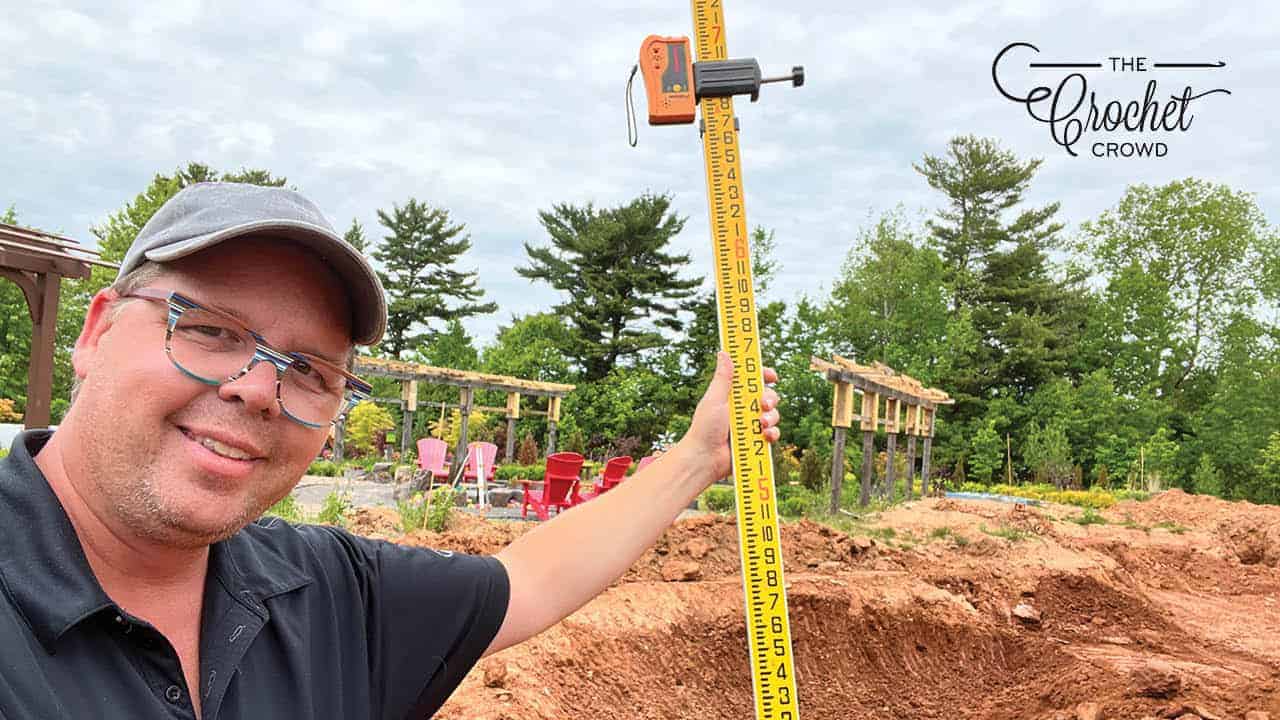
Daniel is down 7 feet at this point and has hit the sand. This is ideal for the base of the pond. It saves us from having to prep to order sand.
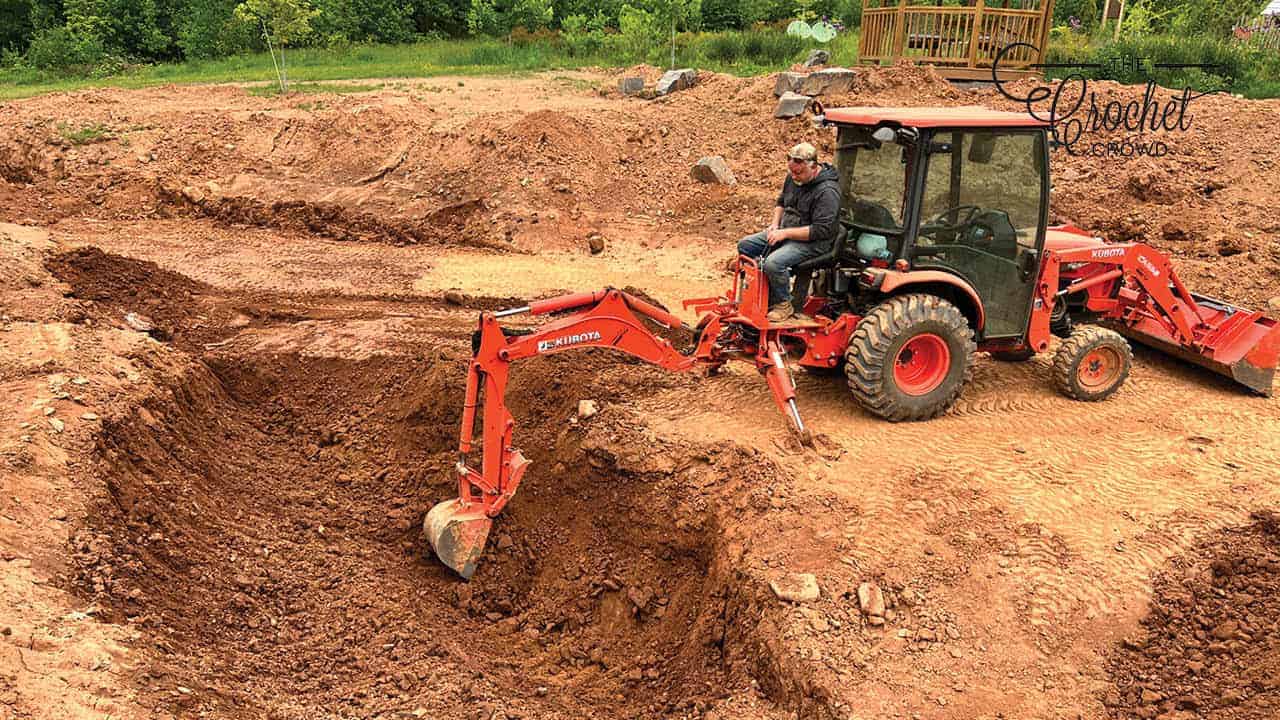
Yes, the pond will be lined with filtration with waterfalls on the slope on the gazebo side. He has to quickly dig this so it doesn't fill with water so the liner can be placed and into position.
Nancy Farrell says
I just have to say you have changed my life in so many ways. First is yarn and crochet, but how you go about building and figuring out anything and not giving up is very inspiring. Thank You
Holos says
Mikey, you are a genius!! So creative, ambitious, industrious and successful. Can you tell I’m impressed?
Kathleen Van Orden says
How creative! And a wonderful adventure for both of you. I will love to see it completed.