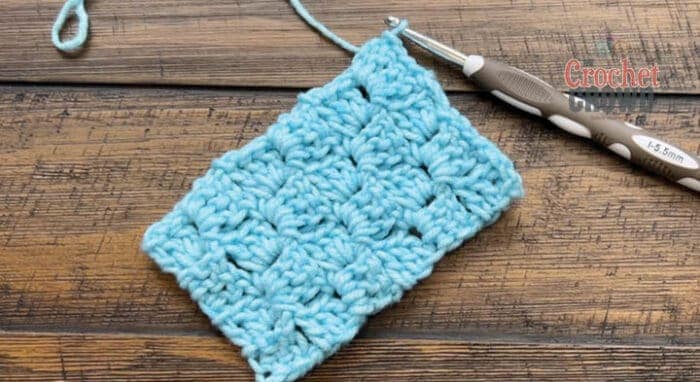
Are you ready to heave your crochet in the trash when it comes to corner to corner? Why does it not shape right!? This is a solution method. Besides punching someone in the mouth while you are watching your crochet mishaps, this is a better non-violent option.
The Problem
Some of us, including myself, have a tension issue that causes this nonsense. My decreasing ends up looking like a diamond shape. It's due to the spacing of the stitches when I start a decrease or finish a row.

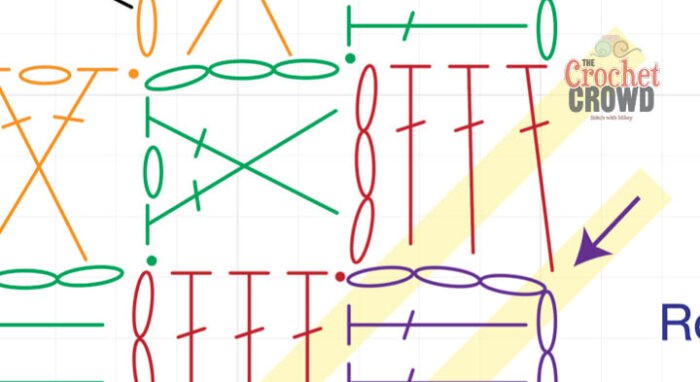
When I finish a row, like the red double crochet, I don't use the same space as the two double crochet before it. For the last stitch, I use the chainwork itself so it will anchor itself and lock into position. It prevents the last stitch from sliding on the same space as the other two double crochet.
The purple arrow shows where I am anchoring the stitch.

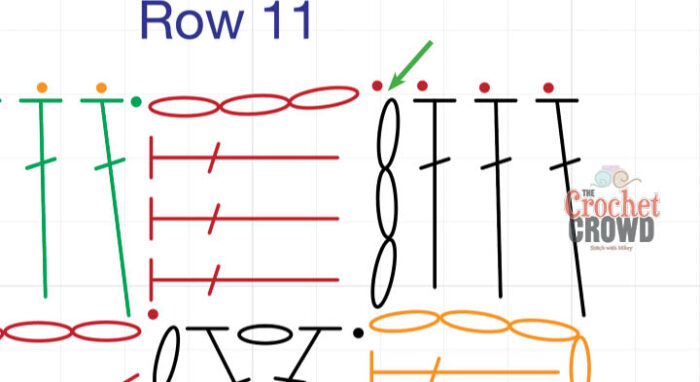
When I am starting a row in the decrease, see the red slip stitch (dots). I slip across the top and anchor the last slip stitch into the chain itself, not the space the three double crochet will use. This prevents the first stitch from grouping and sliding with the other 3 dc to create an indent in the side.

Tutorial
A new tutorial will showcase this to prevent your stitches from going wonky.
Have You Seen this Corner to Corner?

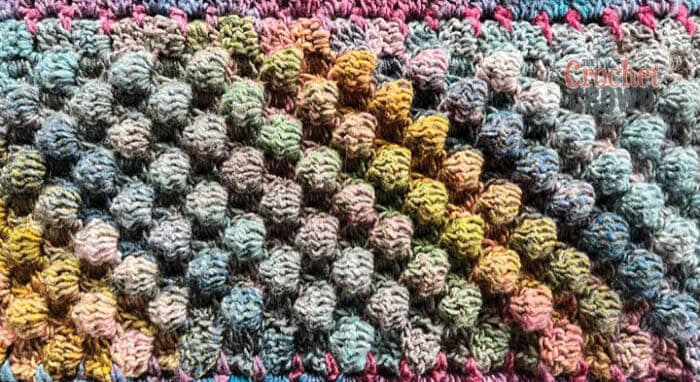
This type of Corner to Corner is very heavy in texture. It is used in the Inspired by Friendship Blanket. You can find this stitching concept on our YouTube Channel as well.
With colour transitioning yarn, this type of corner to corner was really addictive for me.

Leave me your thoughts...