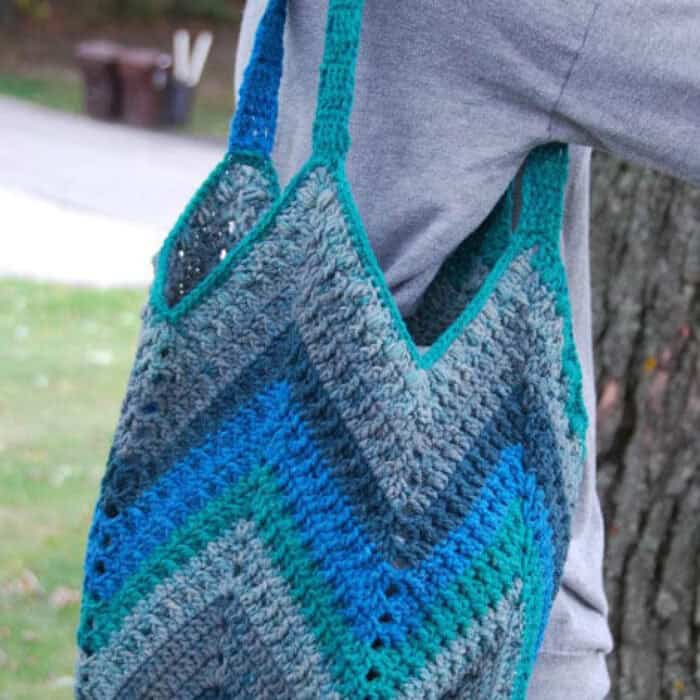
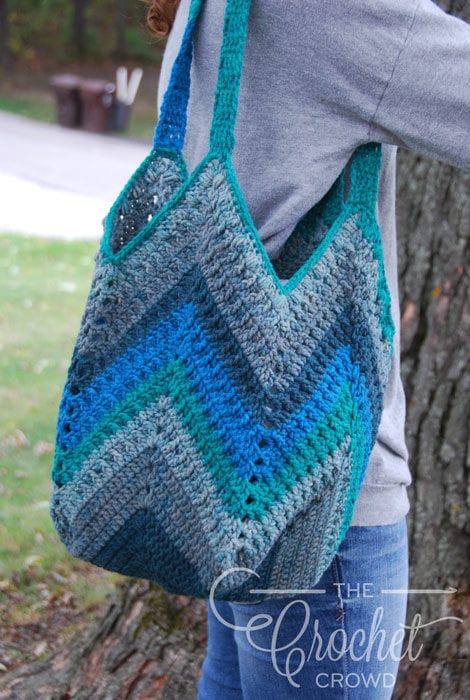
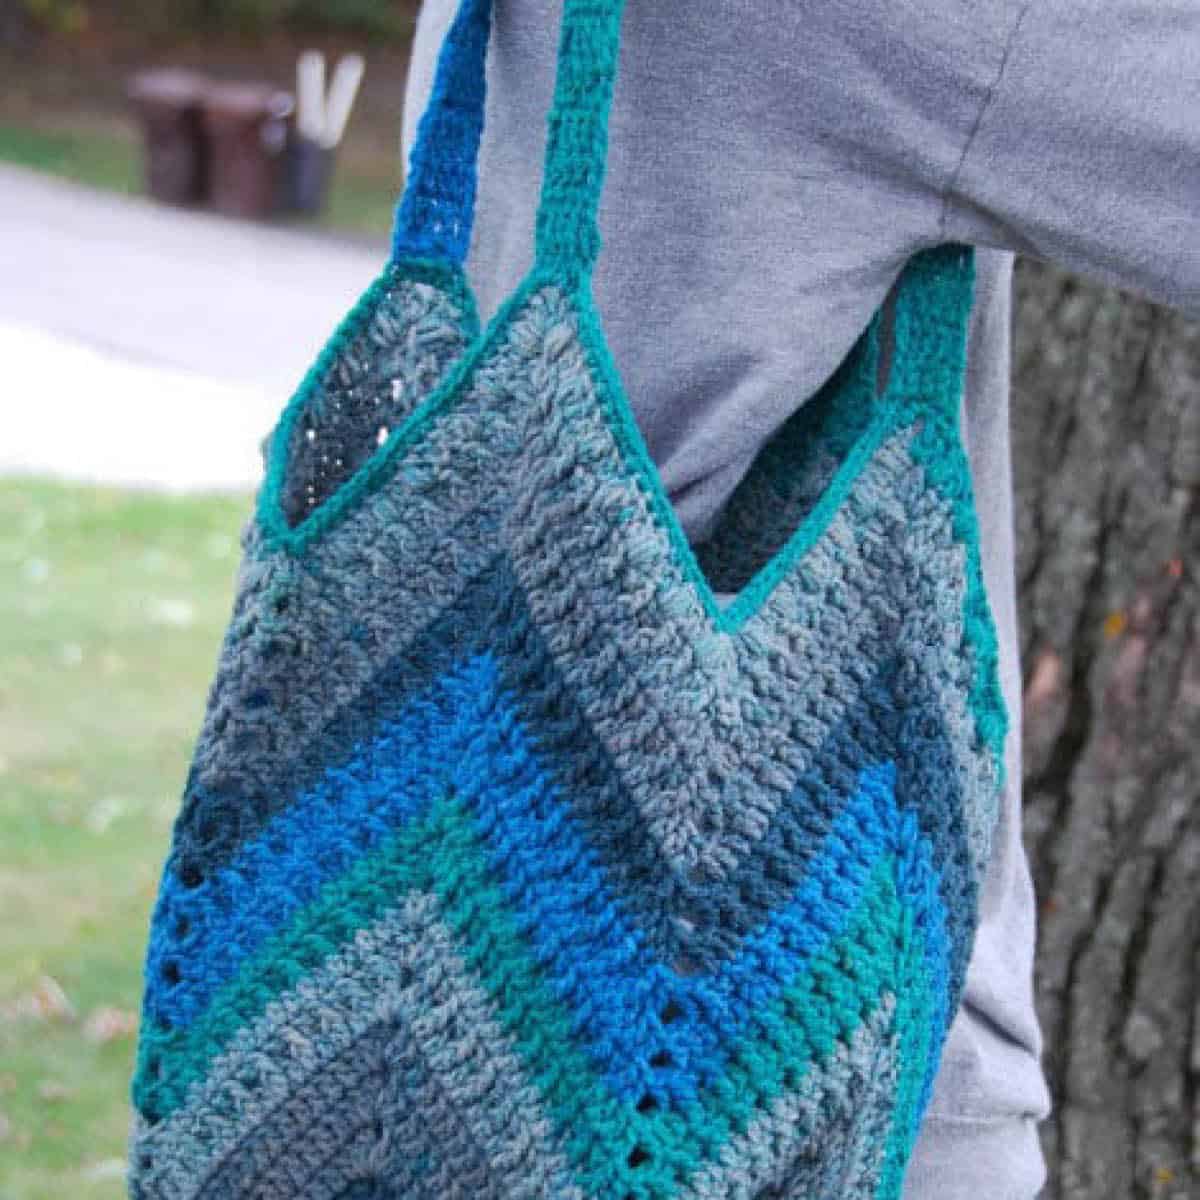
This is the Crochet One Big Cake Chevron Bag. I love crocheting with self-striping yarn. The Caron Big Cakes is great because the ball size is so generous. You can make a nice tote or market bag without having to change colours and still have a pretty striped effect. I made this bag using Shadowberry because I think it looks great with a pair of blue jeans.
This pattern was revised in June 2024.

Chevron One Big Cake Bag
- Caron Big Cakes - 1 ball in colour called Shadowberry.
- Crochet Hook 4.5mm / Size US 7
Abbreviations
- Beg = Beginning
- Ch(s) = Chain
- Dc = Double Crochet
- Lp = Loop
- Rep = Repeat
- Rnd = Round
- Sc = Single Crochet
- Sk = Skip
- Sl st = Slip Stitch
- Sp = Space
- St(s) = Stitch(es)
- Yo = Yarn Over Hook
Special Stitch
Special Stitch: Puff stitch - Yo, pull up a lp, yo, pull up a lp, yo, pull up a lp, (should be 7 lps on hook), yo, pull thru 6 lps on hook, yo pull thru last 2.
The bag is made by starting with a solid double crochet square, then skipping stitches in the middle of the row to pull the square into a chevron.
Ch 5. Sl st in first ch to form a ring.
1st rnd: Ch 3, into ring, 3 dc. *Ch 2, 4 dc, into ring. Rep from * twice more. Join with hdc to the top of the first beg ch-3.
Note: Ch 2 in the row below counts as the first dc. It makes the stitches tighter.
2nd rnd: Ch 2. Dc in same sp below. 1 dc in each st to next corner. *(2 dc. Ch 2. 2 dc) in ch-2 corner sp. 1 dc in each st to next corner. Rep from * around. 2 dc is beg corner space. Join with hdc to top of beg ch-2.
3rd to 11th rnds: Rep 2nd rnd.
Begin chevron. You will be skipping 4 sts in the middle of each side to form the valley of the chevron. You will also want to start changing colors to stripe as desired.
12th rnd: Ch 2 (counts as dc), dc in same sp, *[FPdc next st, dc in next st] 10 times. Sk 4 sts, **[dc in next st, FPdc in next st] 10 times. (2 dc, ch 2, 2 dc) in ch-2 sp, rep from * all 4 sides to beg sp. 2 dc and join with hdc to top ch-2.
13th rnd: Ch 2 (counts as dc), dc in same sp, dc in next 20 sts, sk 4 sts, dc in next 20 sts to corner (2 dc, ch 2, 2 dc) in ch-2 sp; rep all 4 sides to beg sp, 2 dc, ch 1, sc to beg ch-2.
14th to 24th rnds: Rep 12th and 13th rnds.
25th rnd: Rep 12th rnd.
26th rnd: Ch 2 (counts as dc), dc in same sp, *dc in next st, puff st in next st, dc in next st; rep * 5 more times, sk 4 sts, rep * 6 more times to corner (2 dc, ch 2, 2 dc) in ch-2 sp; rep all 4 sides to beg sp, 2 dc, ch 1, sc to beg ch-2.
27th rnd: Ch 1, sc in same sp, sc in next 20 sts, sk 4 sts, sc in next 20 sts to corner, 3 sc in ch-2 sp, rep all 4 sides to beg sp, 2 sc in sp, sl st to beg sc. Break yarn.
Handles
Attach yarn with a sl st, 1st to the right (if right handed) or 1st stitch to the right (if left handed) of any 3 sc corner group.
1st row: Ch 3. 1 dc in next 4 sts. Turn. 5 sts.
2nd to 34th rows: Ch 3, 1 dc each st across. Turn. 6 sts.
Match stitches to the next corner and sl st to attach the handle to corner with whip stitch.
Repeat handle on next two corners. Finish off.
.
.


Martha Anne Moore says
No blue button
Mikey says
updated