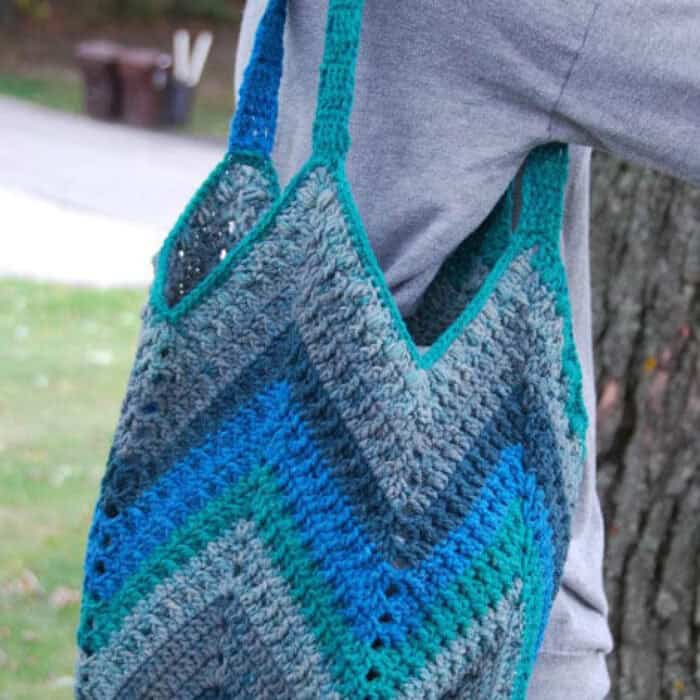
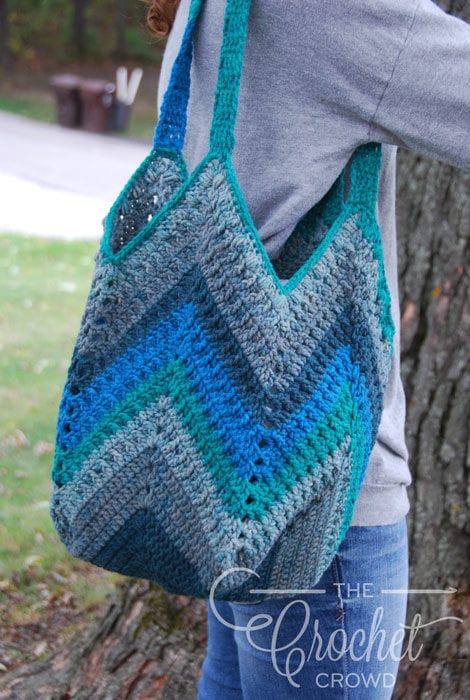
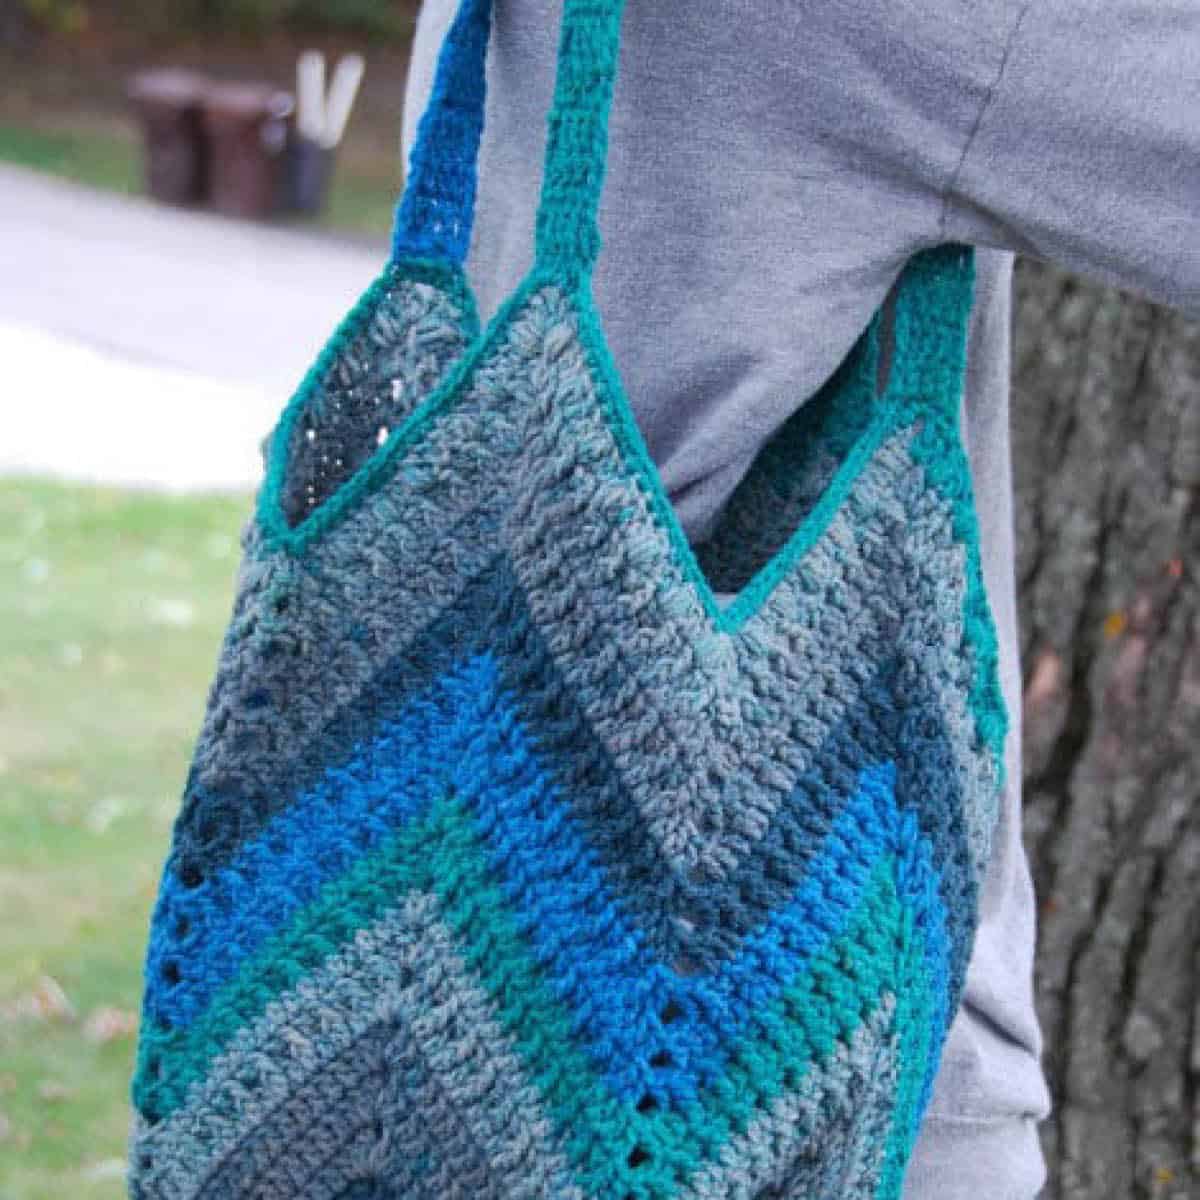
This is the Crochet One Big Cake Chevron Bag. I love crocheting with self-striping yarn. The Caron Big Cakes is great because the ball size is so generous. You can make a nice tote or market bag without having to change colours and still have a pretty striped effect. I made this bag using Shadowberry because I think it looks great with a pair of blue jeans.
This pattern was revised in June 2024.

Chevron One Big Cake Bag
- Caron Big Cakes - 1 ball in colour called Shadowberry.
- Crochet Hook 4.5mm / Size US 7
Abbreviations
- Beg = Beginning
- Ch(s) = Chain
- Dc = Double Crochet
- Lp = Loop
- Rep = Repeat
- Rnd = Round
- Sc = Single Crochet
- Sk = Skip
- Sl st = Slip Stitch
- Sp = Space
- St(s) = Stitch(es)
- Yo = Yarn Over Hook
Special Stitch
Special Stitch: Puff stitch - Yo, pull up a lp, yo, pull up a lp, yo, pull up a lp, (should be 7 lps on hook), yo, pull thru 6 lps on hook, yo pull thru last 2.
The bag is made by starting with a solid double crochet square, then skipping stitches in the middle of the row to pull the square into a chevron.
Ch 5. Sl st in first ch to form a ring.
1st rnd: Ch 3, into ring, 3 dc. *Ch 2, 4 dc, into ring. Rep from * twice more. Join with hdc to the top of the first beg ch-3.
Note: Ch 2 in the row below counts as the first dc. It makes the stitches tighter.
2nd rnd: Ch 2. Dc in same sp below. 1 dc in each st to next corner. *(2 dc. Ch 2. 2 dc) in ch-2 corner sp. 1 dc in each st to next corner. Rep from * around. 2 dc is beg corner space. Join with hdc to top of beg ch-2.
3rd to 11th rnds: Rep 2nd rnd.
Begin chevron. You will be skipping 4 sts in the middle of each side to form the valley of the chevron. You will also want to start changing colors to stripe as desired.
12th rnd: Ch 2 (counts as dc), dc in same sp, *[FPdc next st, dc in next st] 10 times. Sk 4 sts, **[dc in next st, FPdc in next st] 10 times. (2 dc, ch 2, 2 dc) in ch-2 sp, rep from * all 4 sides to beg sp. 2 dc and join with hdc to top ch-2.
13th rnd: Ch 2 (counts as dc), dc in same sp, dc in next 20 sts, sk 4 sts, dc in next 20 sts to corner (2 dc, ch 2, 2 dc) in ch-2 sp; rep all 4 sides to beg sp, 2 dc, ch 1, sc to beg ch-2.
14th to 24th rnds: Rep 12th and 13th rnds.
25th rnd: Rep 12th rnd.
26th rnd: Ch 2 (counts as dc), dc in same sp, *dc in next st, puff st in next st, dc in next st; rep * 5 more times, sk 4 sts, rep * 6 more times to corner (2 dc, ch 2, 2 dc) in ch-2 sp; rep all 4 sides to beg sp, 2 dc, ch 1, sc to beg ch-2.
27th rnd: Ch 1, sc in same sp, sc in next 20 sts, sk 4 sts, sc in next 20 sts to corner, 3 sc in ch-2 sp, rep all 4 sides to beg sp, 2 sc in sp, sl st to beg sc. Break yarn.
Handles
Attach yarn with a sl st, 1st to the right (if right handed) or 1st stitch to the right (if left handed) of any 3 sc corner group.
1st row: Ch 3. 1 dc in next 4 sts. Turn. 5 sts.
2nd to 34th rows: Ch 3, 1 dc each st across. Turn. 6 sts.
Match stitches to the next corner and sl st to attach the handle to corner with whip stitch.
Repeat handle on next two corners. Finish off.
.
.


Martha. Anne Moore says
No blue buttonn
Mikey says
updated
Michelle says
As everyone said, the pattern is not well written, and the stitch counts are incorrect. You start with 4, and you add 4 each side as you go around, so you end the increase at row 11 with 44 on each side... simple math. You then add 4 and decrease 4 after that, keeping the stitch count the same... 44 on each side, which means you need 10 FPDC followed by a DC, not 9... then skip 4... then 10 again. This makes it correct. It’s working out well for me after fixing this.
Sílvia Silva says
I'm using a different yarn weight and a 7mm hook. Can anyone tell me the measurements of the bag, please? At least the width.