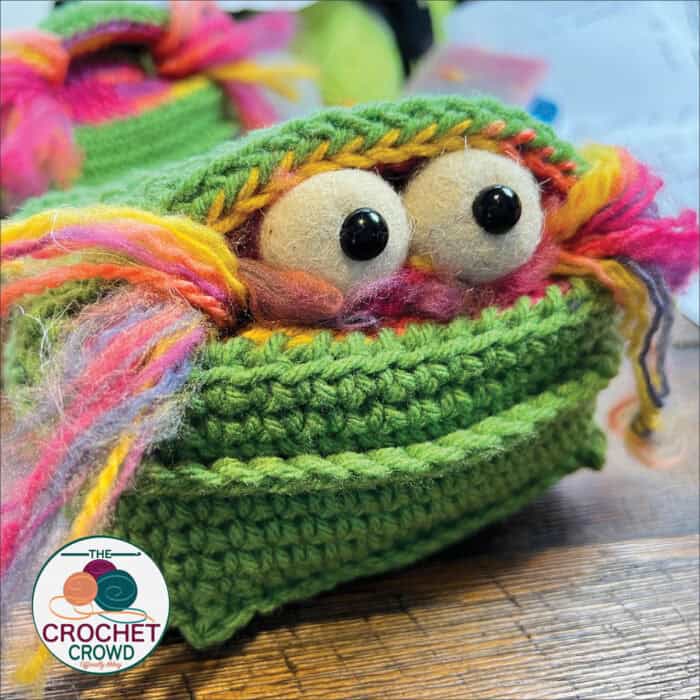
Life is that bad eh! Let's hook it out with a Crochet Emotional Dumpster Fire with Caron One Pound and Caron Jumbo yarn.
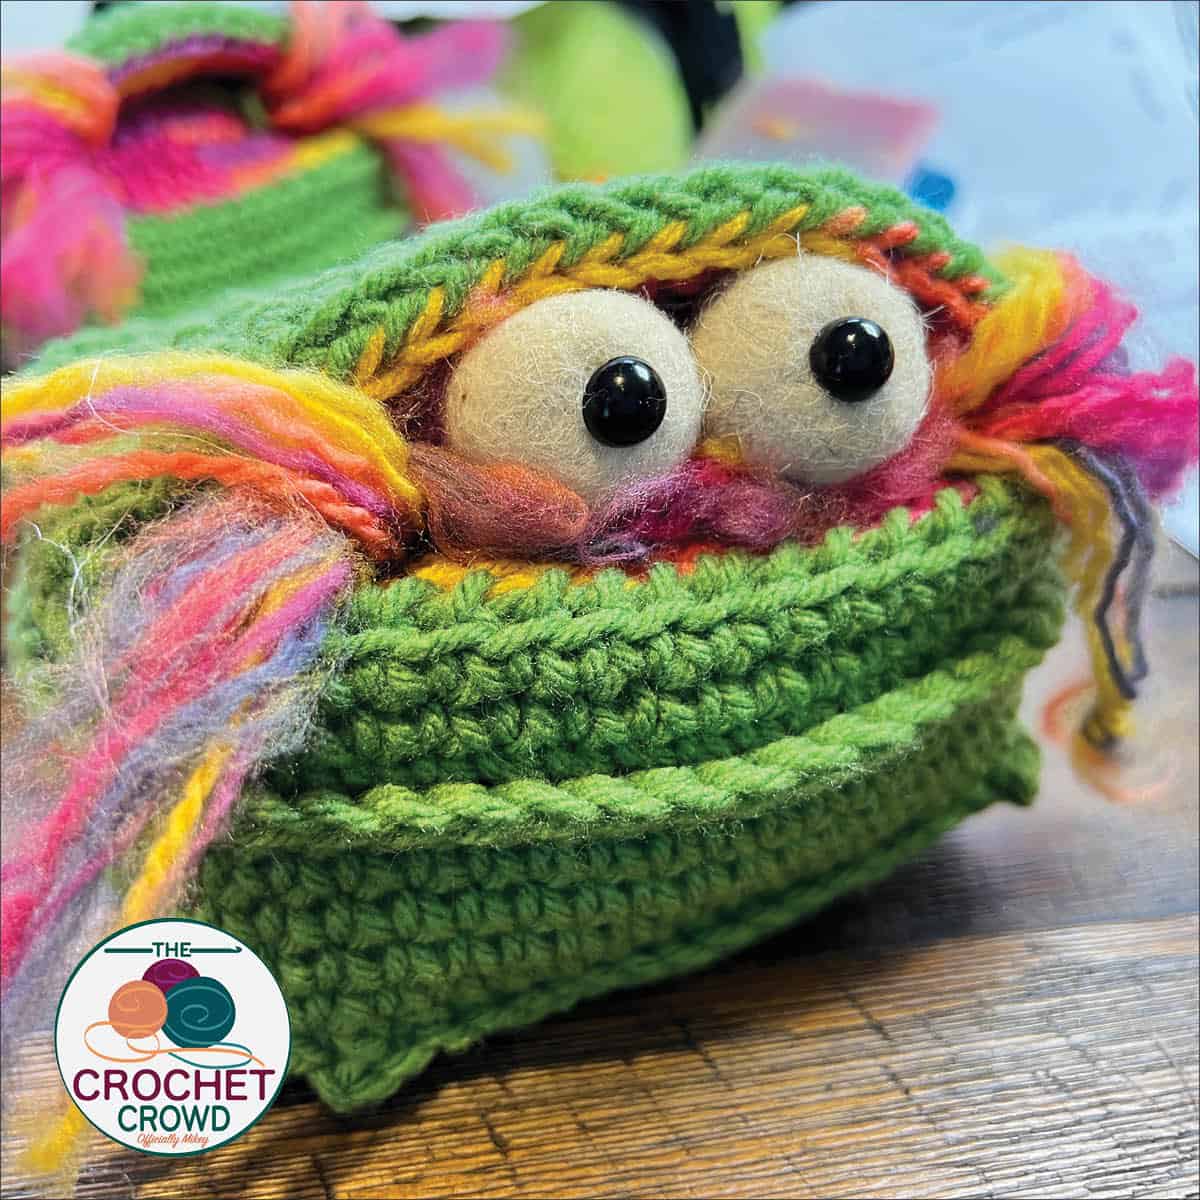
Inspired by the pleasant Oscar the Grouch, living life in a garbage can and razzing people walking by. My interpretation is that I am in the dumpster and peeking out at the world. The dumpster is on fire and there's not a whole lot I can do about it.
This little dumpster fire of madness is intended for me to be an emotional amigurumi support creature for my office.
This pattern has enlarged photographs and a tutorial to take you through the process.
Yarn
Caron One Pound, 454g / 16 oz, 742 meters / 812 yards
- A - Grass Green (you don’t need a lot of it.)
Caron Jumbo, 340g / 12 oz, 544 meters / 595 yards
- B - Zinnias (may be discontinued but was used in a past stitch along, you don’t need much of it.)
HOOK: 4.5 mm / US 7
Size: 7” wide x 5” deep by 5” high.
Gauge: 7 sc and 8 rows = 4” [10 cm]
Extra Materials Needed
- 16" Caron One Pound Denim to make 2 - 8" Strands
- 6 - 8" strands of Caron Jumbo Zinnias
- Stitch Markers
- Polyfil
- Tapestry Needle
- 10 mm - Safety Eyes (1 pair)
- 1.25" diameter Felted Balls (2)
- Hot Glue
- Brush to Comb Yarn
- 4.5 mm / US 7 Crochet Hook
Abbreviations
- Beg = Begin(ing)
- Blo - Back loop only
- Ch = Chain(s)
- Flo = Front loop only
- Rep = Repeat
- RS = Right side
- Sc = Single crochet
- Scbp = Single crochet back post
- Sl st = Slip stitch
- Sp(s) = Space(s)
- St(s) = Stitch(es)
Instructions
Bottom of Dumpster
With A, ch 21.
1st row: (RS). 1 sc in 2nd ch from hook. 1 sc in each ch across. Turn. 20 sts.
2nd to 12th rows: Ch 1. 1 sc in each st across. Turn. 20 sts.
Do not fasten off.
Side of Dumpster
Turn the project like you are about to start a new row.
1st rnd: Ch 1. 1 scbp evenly around the created panel. Join with sl st to beg scbp.
2nd to 6th rnds: Ch 1. 1 sc in each st around. Join with sl st to beg sc.
7th rnd: Ch 1. 1 sc flo around. DO NOT join with the first sc.
8th rnd. 1 sc blo around using the remaining back loops from the 6th rnd. Join with sl st to beg sc.
9th and 10th rnd: Ch 1. 1 sc in each st around. Join with sl st to beg sc.
Fasten off.
Lid of Dumpster

With the slip stitching joins facing you. Look straight down on your dumpster and mark the 1st and 20th stitch closest to the corners with stitch markers.
1st row: With A, join with sl st to first stitch marked stitch. Ch 1. 1 scbp around each st to the next stitch marker. Turn. 20 sts.
2nd to 13th rows: Ch 1. 1 sc in each st across. Turn. 20 sts.
Fasten off.
Fire Panel
With B, ch 21.
1st row: (RS). 1 sc in 2nd ch from hook. 1 sc in each ch across. Turn. 20 sts.
2nd to 14th rows: Ch 1. 1 sc in each st across. Turn. 20 sts.
Fasten off.
Fire and Smoke (Make 2)
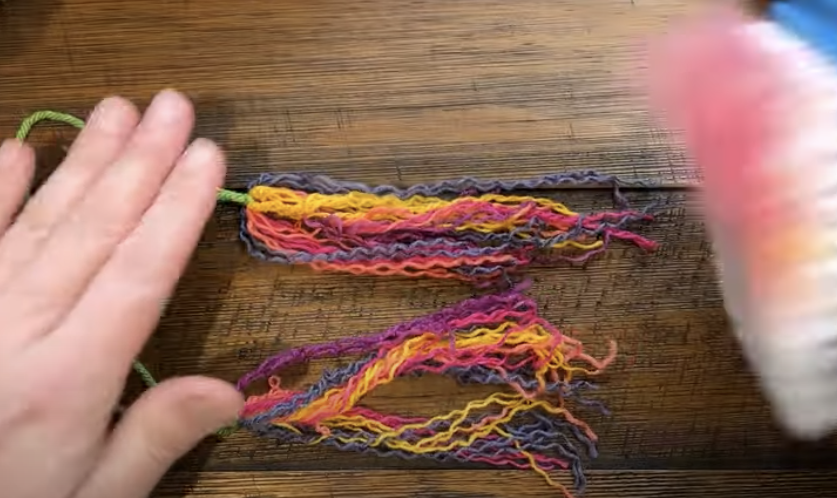
Each flame consists of 3 strands of B and 1 strand of demin colour. Each strand is approximately 8”.
- Using A, created a 6” long strand and tie the 4 strands at the middle point.
- Using tapestry needle, separate the plies from each other.
- Brush out the plies. Save the fibres from the brush to use as filler.

Use A and tie the flames midway down and about 1” from the edges.
Fold the fire panel in half with the flames inside the fold. Sew both side edges shut.
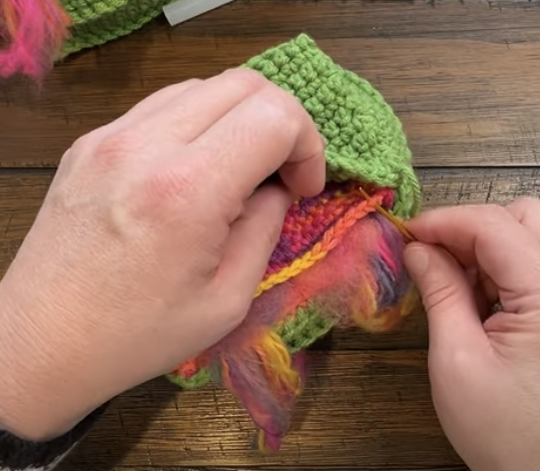
Sew Fire to The Interior of the Dumpster
Have the fire match the front edge of the dumpster. Space behind the fold will allow you to fill the dumpster with polyfil.
Use the backloops on the top edge of the green dumpster when sewing the fire into position.

Fill the dumpster with polyfil.
Sew the lid of the dumpster down starting on a side and using the remaining front loop of the side of the dumpster to the first corner.
Using the upper loop of the fire panel to the front loop of the dumpster's lid to go across.
Turn the corner and sew the side shut using the front loop of the side.
Secure off.
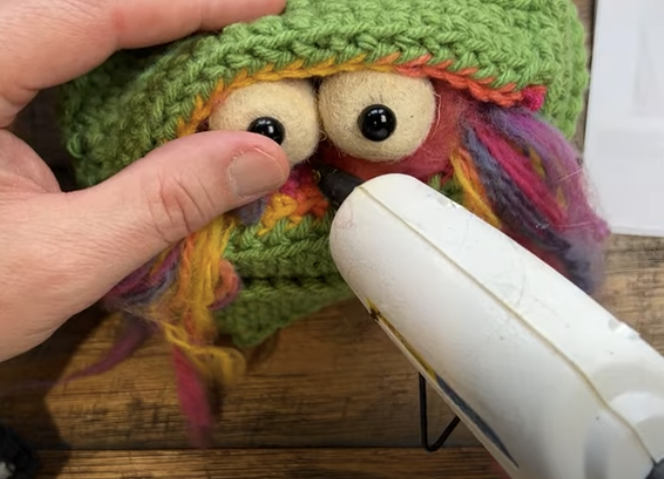
Eyes
- Using a pair of safety eyes. Carefully cut off most of the safety backing.
- Using 1.25 dia felted ball, open up a hole in the felted ball to insert the remaining section of the safety eye.
- Hot glue the eye into the hole of the felted ball. Repeat for the 2nd eye.
Position the eyes and use hot glue to position the top and bottom of the eye. Carefully apply the glue not to get it onto other fibres.
Left over fibres from the brush are inserted into the pocket and spread. Use hot glue to hold it in its position.
Trim the flames and use hair spray to stiffen up the flame to hold.
.
.
Tutorial
Leave me your thoughts...