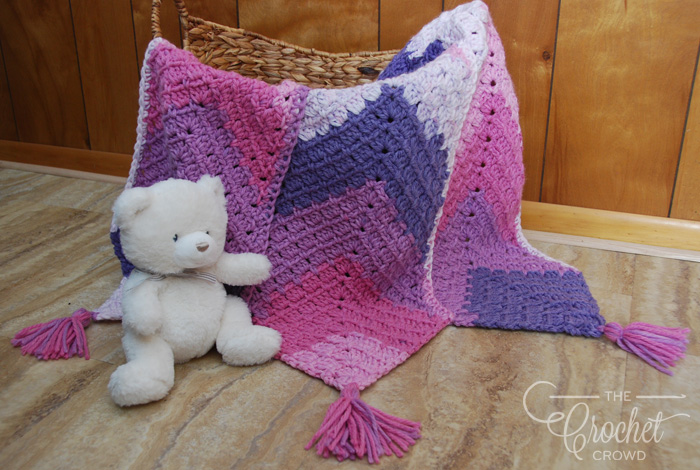
Crochet Triple Mitered Modern Granny Baby Blanket
I love projects that are easy to take along with you and these ones really fits that category. This Crochet Triple Mitered Modern Granny Baby Blanket is worked in 3 separate panels using the Mitered Modern Granny technique, then is quickly single crocheted together. I made this quick blanket in just a few hours using Caron Chunky Cakes in Ballet Sorbet, but you could substitute a worsted weight yarn, match your hook size and just widen it a few more rows before working the straight size.
I like using self-striping yarn because it's fun and easy to create colour, but you can use any yarn to create your own custom colours if that's what you would prefer. The finished size is 33" x 37".

Triple Mitered #MG Baby Blanket
Designed by Jeanne Steinhilber
- Caron Chunky Cakes ~ Ballet Sorbet 3 Balls
- Crochet Hook 8.0mm Size L
Abbreviations
Beg = Beginning
Ch = Chain
Dc = Double Crochet
Dc2tog = Double Crochet 2 Together
Rep = Repeat
Sc = Single Crochet
Sl st = Slip Stitch
Sp = Space
Project Size
33” x 37”
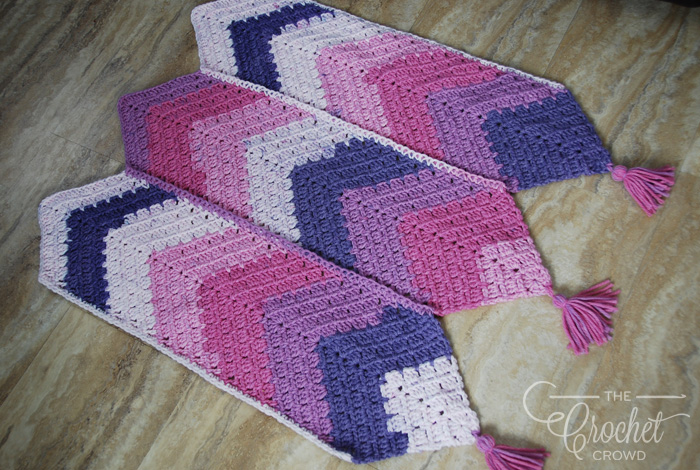
This project is worked in 3 separate panels, then single crocheted together to join.
Instructions
Panel 1
Round 1: Ch 4, in 4th ch from hook, 2 dc, ch 1, *3 dc, ch 1; rep * 2 more times, sl st to beg ch. Turn.
At this point, you will work in rows over only 2 sides of the square with only one corner between the sides.
Row 2: Sc into ch-1, ch 2, (sc, ch 3, sc) in ch-1, ch 2, sc in ch-1. Turn.
Row 3: Ch 3 (counts as dc now and throughout), 3 dc in next ch-2 sp, (3 dc, ch 1, 3 dc) in the corner, 3 dc in next ch-2 sp, 1 dc in last sc. Turn.
Row 4: Ch 1, sc in the gap between dc and first 3-dc group, ch 2, sc in the gap between the 3-dc group, ch 2, (sc, ch 3, sc) in the corner, ch 2, sc in the gap between the 3-dc group, ch 2, sc in the gap between the 3-dc group and last dc. Turn.
Row 5: Ch 3, 3 dc in each ch-2 sp to the corner, (3 dc, ch 1, 3 dc) in the corner, 3 dc in each ch-2 sp to end, dc in last sc. Turn.
Row 6: Ch 1, *sc in the gap, ch 2; rep * to corner, (sc, ch 3, sc) in the corner, rep * again to end. Turn.
Rows 7 - 12: Rep rows 5 & 6. Turn.
Row 13: Ch 2, dc in ch-2 sp (counts as dc2tog), 3 dc in each ch-2 sp to corner, (3 dc, ch 1, 3 dc) in the corner, 3 dc in next 5 ch-2 sps, dc2tog with the first post in ch-2 sp and second post in last sc. Turn.
Row 14: Ch 1, sc in the gap between dc2tog and first 3-dc group, ch 2, sc between each gap to the corner, (sc, ch 3, sc) in the corner, ch 2, sc in each gap to end, finishing with sc in the gap before dc2tog. Turn.
Rows 15 - 48: Rep rows 13 & 14. Turn.
Row 49: Rep row 13. Finish off.
Make the next 2 panels the same way.
Joining
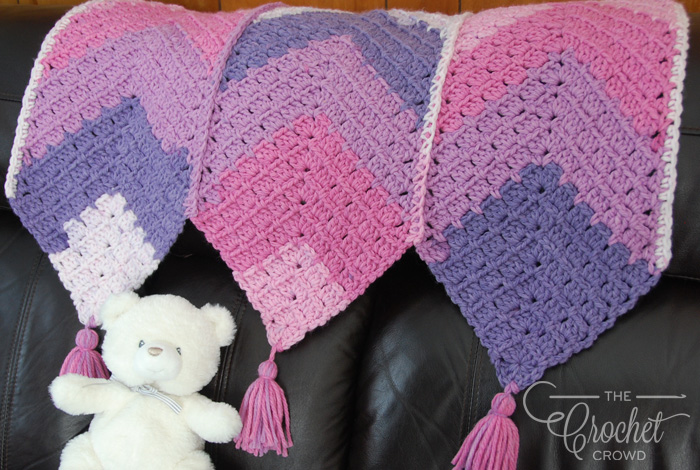
Line up 2 panels with wrong sides together, matching up the ends of the rows. Sc together the ends stitches, working evenly across. Line up the third panel and repeat the join to the next panel. Sc on the outer end of the blanket if you wish for a finished look. Add tassels or pom poms to embellish.
You can follow the beginning to learn how to create the Mitered Modern Granny from this Tutorial


heather says
grid
Mikey says
THanks
Martha Anne Moore says
No blue button
Marina King says
button added