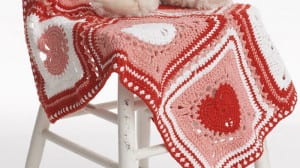
Heart Squares
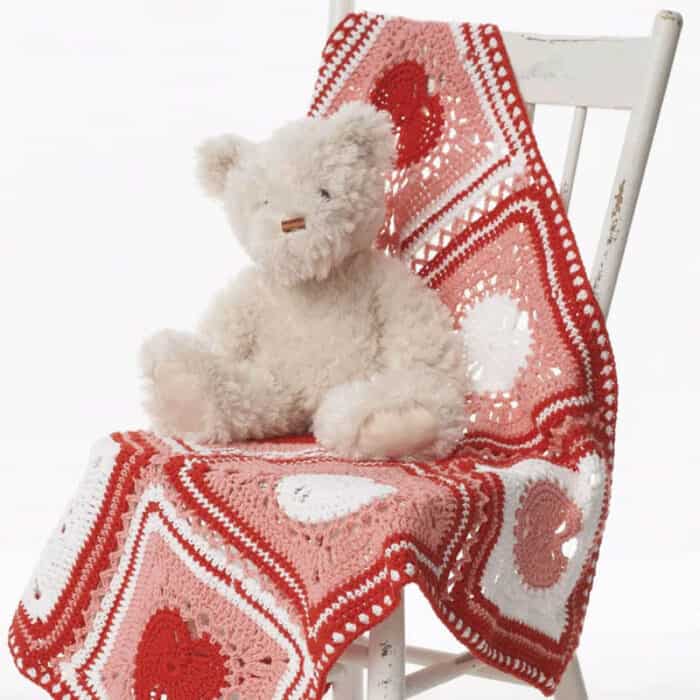
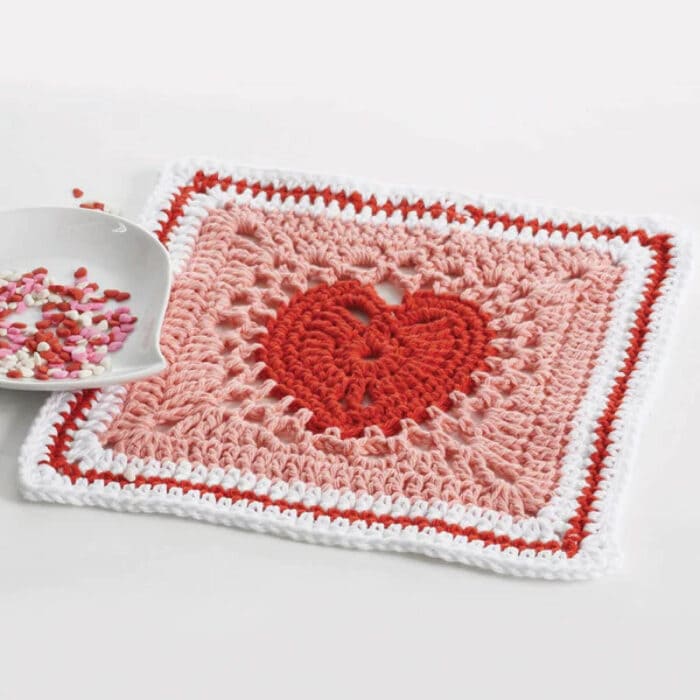
This free pattern by Yarnspirations is called the Crochet Heart Dishcloth / Afghan. The concept is pretty versatile. Do one square for a dishcloth or do many squares and attach them together to make an afghan.
.
.
For myself, I did a few tweaks to the pattern.
My Pattern - Tweaked from Original
Please note that my changes to the pattern do not make this my own design. The original designer at Yarnspiration did the work for geometry and more. My tweaking is considered and adaptation to the pattern. With being sponsored by Yarnspirations, I am to tweak with their patterns without breaking copyright laws.
I tweaked the pattern after round 6 in the original pattern. For myself, I couldn't get the pattern to have the heart stay balanced in the middle. My heart kept tipping to the right with both my middle top and bottom being one ch-3 space out. In the video tutorial, I explain this and what you are looking for more carefully. It will make sense once you see it in the tutorial.
I have added an additional round to bring my heart back into balance so it's straight and centered.
Instructions
With Color 1, ch 4. Join with sl st to form a ring.
- Ch 2 (does not count as st). 13 hdc in ring. Join with sl st to first hdc.
- Ch 4 (counts as tr). 1 tr in same sp as last sl st. 2 tr in next hdc. 2 dc in each of next 2 hdc. 2 hdc in each of next 2 hdc. Ch 2. 1 tr in next hdc. Ch 2. 2 hdc in each of next 2 hdc. 2 dc in each of next 2 hdc. 2 tr in next hdc. 1 tr in next hdc. Ch 4. Sl st in same hdc as last tr.
- Sl st in first ch-4 sp. Ch 1. 4 sc in same ch-4 sp. 1 sc in each of next 11 sts. 2 sc in next ch-2 sp. 3 sc in next tr. 2 sc in next ch-2 sp. 1 sc in each of next 11 sts. 4 sc in last ch-4 sp. Join with sl st in first sc.
- Sl st in each of next 2 sc. Ch 1. 1 sc in same sp as last sl st. 1 sc in each of next 2 sc. 2 sc in each of next 6 sc. 1 sc in each of next 17 sc. 2 sc in each of next 6 sc. 1 sc in each of next 3 sc. Fasten off.
- Join Color 2 with sl st to first sc of last rnd. Ch 1. 1 sc in same sp as sl st. (Ch 3. Miss next sc. 1 sc in next sc) 22 times. Ch 3. 1 sc in last sc. Ch 1. Join with 1 hdc in first sc.
- Ch 1. 1 sc around last hdc. *Ch 3. 1 sc in next ch-3 sp. Rep from * around. Ch 1. Join with 1 hdc in first sc.
- Tweak, Round Has Been Added - Repeat Step 6. Fasten off.
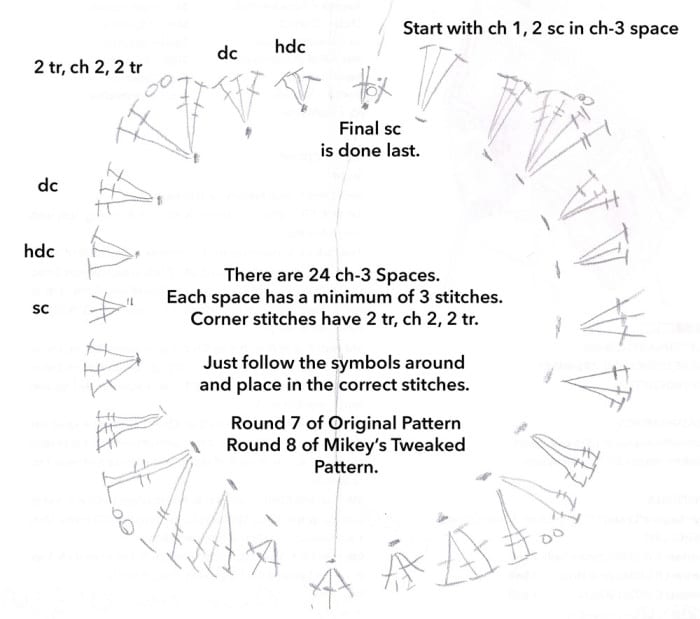
- Tweak, Slip Stitch to middle Ch-3 Space, See Diagram Below - Slip Stitch to middle ch - 3. Ch 1. 2 sc around last hdc. 3 hdc in next ch-3 sp. 3 dc in next ch-3 sp. (2 tr. Ch 2. 2 tr) in next ch-3 sp. 3 dc in next ch-3 sp. 3 hdc in next ch-3 sp. 3 sc in next ch-3 sp. 3 dc in next ch-3 sp. 3 tr in next ch-3 sp. (2 tr. Ch 2. 2 tr) in next ch-3 sp. 3 dc in next ch-3 sp. (3 sc in each next ch-3 sp) 3 times. 3 dc in next ch-3 sp. (2 tr. Ch 2. 2 tr) in next ch-3 sp. 3 tr in next ch-3 sp. 3 dc in next ch-3 sp. 3 sc in next ch-3 sp. 3 hdc in next ch-3 sp. 3 dc in next ch-3 sp. (2 tr. Ch 2. 2 tr) in next ch-3 sp. 3 dc in next ch-3 sp. 3 hdc in next ch-3 sp. 1 sc in first ch-1 sp. Join with sl st to first sc.
- Tweak, Start in Ch-2 Corner Space - Fasten on to ch-2 corner. Ch 3 (counts as dc). (2 dc. Ch 2. 3 dc) *1 dc in each st to next corner ch-2 sp. (3 dc. Ch 2. 3 dc) in corner ch-2 sp. Rep from * 3 times more. 1 dc in each st to end of rnd. Fasten Off.
- Tweak - Repeat Step 9
- Tweak - Repeat Step 9
- Tweak, Start in Ch-2 Corner Space - Fasten onto ch-2 corner. Ch 1. (sc, ch 2, sc) corner made *1 sc in each st to next corner ch-2 sp. (1 sc, ch 2, 1 sc) in corner ch-2 sp. Rep from * 3 times more. 1 sc in each st to end of rnd. Slip stitch to beginning sc. Fasten off and weave in ends.
Follow the instructions on the original pattern for edging and blanket assembly. Those remain the same.
Crochet Diagram
Showing Round 7 of Original Pattern. For my tweaked pattern, this is Round 8.
Lori S. says
Mikey,
What colors did you use in your tutorial?They are so pretty together! I couldn't tell by looking on the Yarnspiration's website ( but I am almost as blind as a bat anyway) Thank You!!
Kay isbell says
I need guide how to put my heart to patterns maybe you have better ideas kay isbell
Lori S. says
This is so cute ! Mikey, I love the colors you used in the video! I can't wait to make this into an afghan!!! Thanks for the awesome work you do on TCC!
Lee Ann Steinme says
I love this granny!