I was heavily inspired by the Troublemakers, they call themselves that, from Arizona, who are part of Project Linus and have been for many, many years.
They told me that much of their work comes from using Fleece to crochet borders around fleece to hand out to children in need. When we think of children in need, we think hospitals but Project Linus is much more than that. Blankets could be in the back of a police cruiser with a child being pulled out of a home due to domestic violence. We have been supporting Project Linus initiatives for years but these 3 ladies inspired me so much to try to do crochet around fleece.
Other Cruise Charity Projects We've Done
They save their chapter money and go into Joann Fabrics and Crafts to stock up on Fleece. These ladies, along with many others around North America cut up the fleece and crochet around the borders to stockpile them for Project Linus.
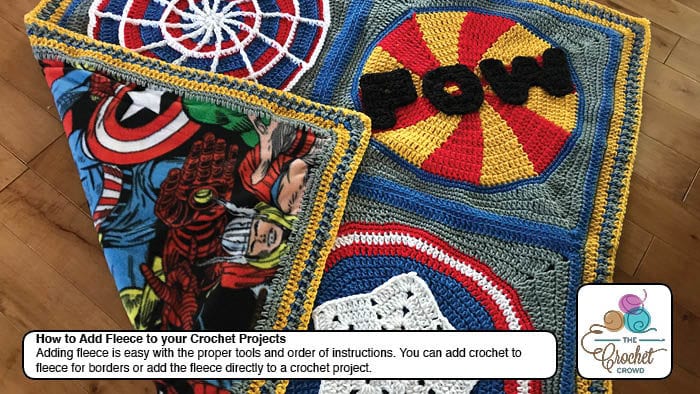
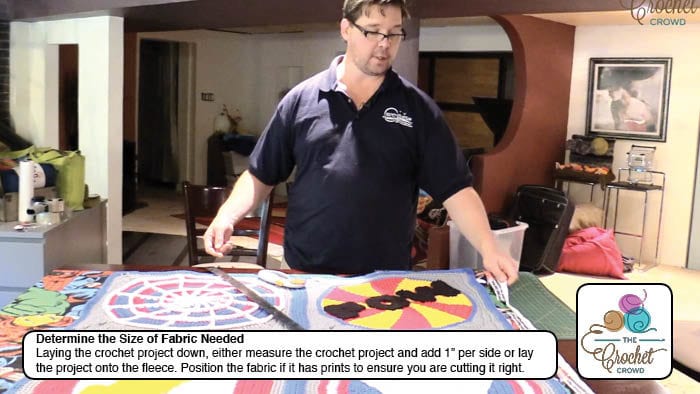
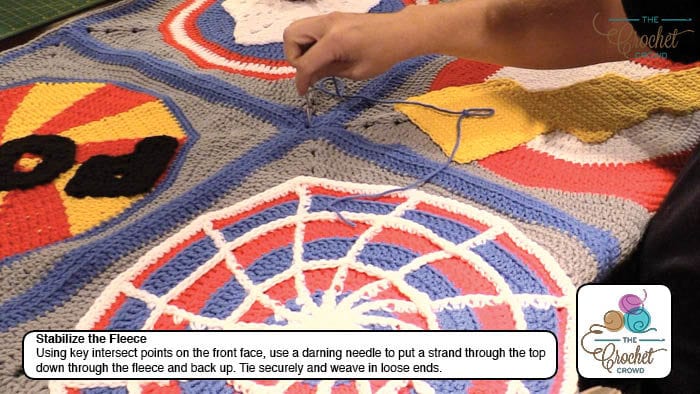
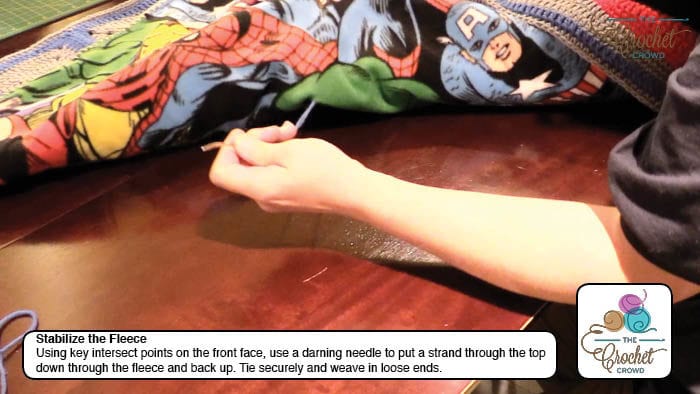
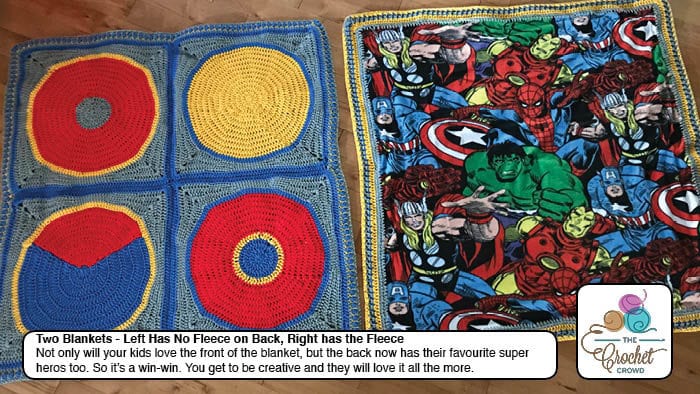
The tutorial shown below is demonstrating how to apply fleece to the back of an existing blanket. In the steps I demonstrate how to prepare the fleece to apply a border. The tutorial goes on to show you how to attach it to an existing blanket.
Inspiration
Easy Steps
The tutorial below shows all of these steps.
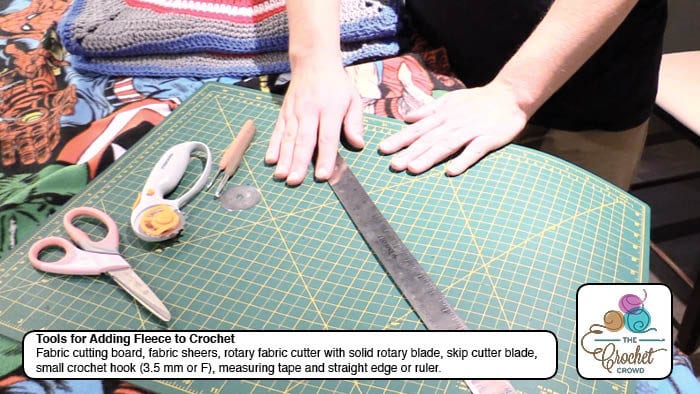
Tools Needed
- Rotary Cutter, Fabric Cutting Board, Straight Edge/Ruler, Measuring Tape, Scissors, Skip Cutter and Small Crochet Hook.
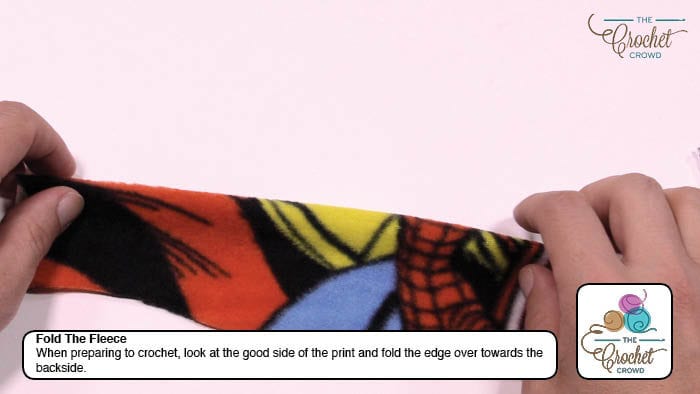
Preparing Your Fleece
- Choose your Fleece for either to match it to an existing blanket or big enough to do a dedicated fleece blanket with a crochet border.
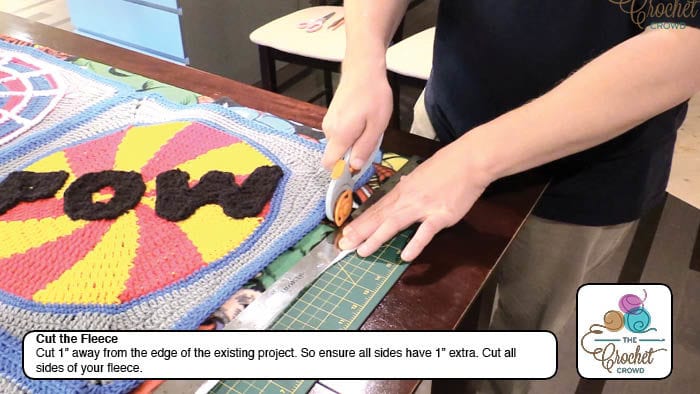
- If matching to an existing project. Using the rotary cutter, cut the fleece 1" extra per side.
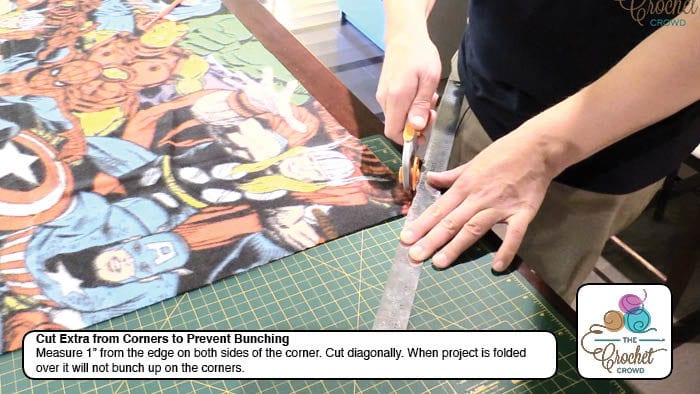
- In the corners, cut a diagonal out that is approximately 1" x 1" from the corner. When you are folded over the edge, the removal of fabric here will prevent bunching up in the corner.
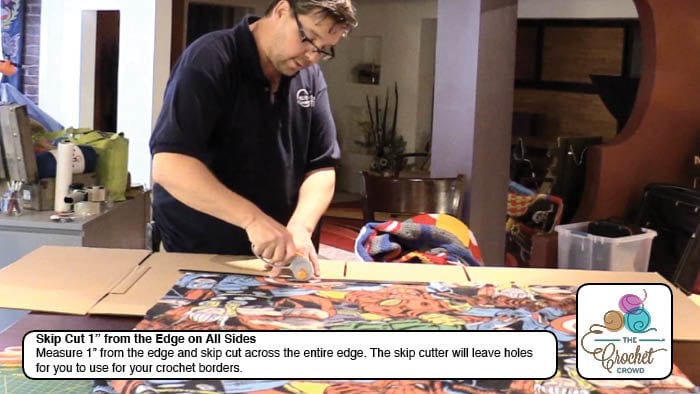
- Measuring 1" from each edge, use the Skip Cutter firmly to go across. DO NOT GO OVER MORE THAN ONCE or you will ruin your fleece. Be firm and exact.
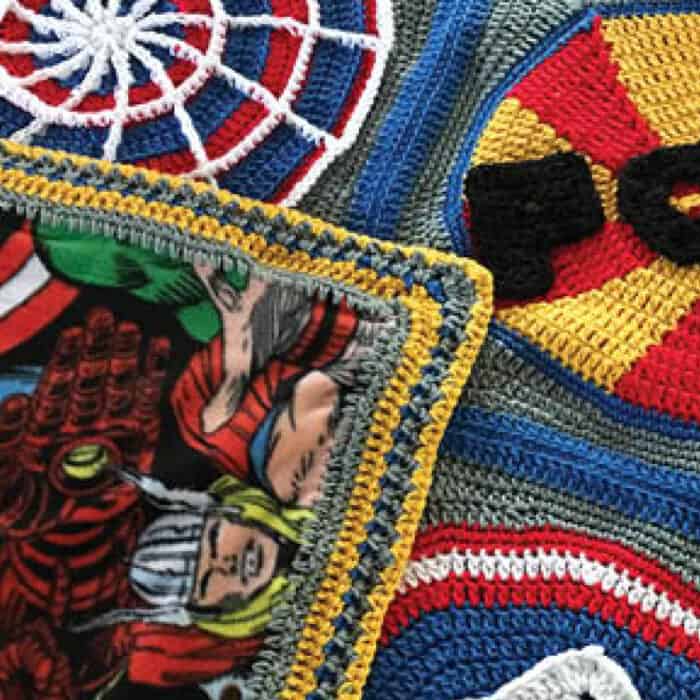
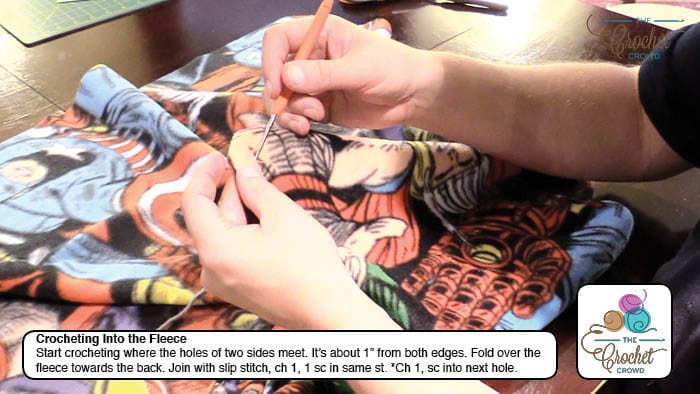
Crocheting into Fleece
- Looking at the good side of the fleece. Fold the edge away from you to the back side.
- Using a smaller crochet hook, 3.5 mm or F Hook and the same yarn you are using with your project and/or other Medium (4) Weight Yarn, insert hook into the first hole at the meeting points of where the skip cutter holes intersect. It's about 1" from top edge and side edge.
- Join yarn with a slip stitch, ch 1, 1 sc in same hole. *Ch 1, sc in next hole. Continue to * Around. In corners, ch 2. Be sure to stop where the next skip cutter holes are on the next side. Rotating your project and folding over the next edge as you crochet. Continue all the way around. Fasten off, weave in ends.
Continuing On Without Attaching to Existing Project
- You can continue to add more to your border by switching back to a regular size hook.
- Consider the border as a multiple of 1 unless you want to count them out to be sure. You can add as many rounds as you wish.
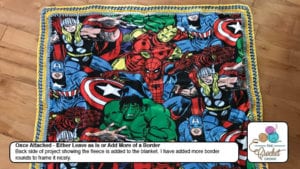
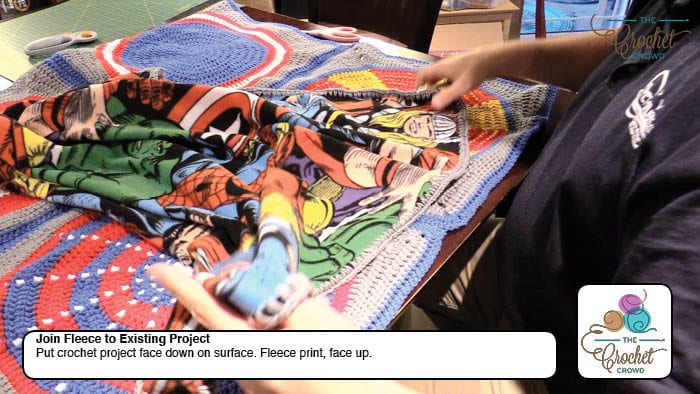
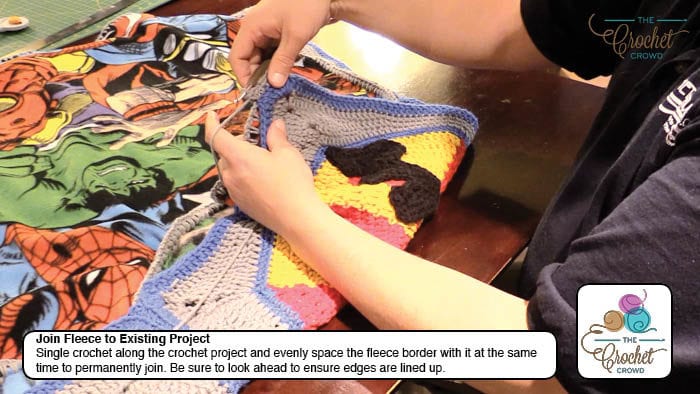
Attaching to Existing Blanket
- Lay the crochet project you want to join the fleece to face down.
- Lay the fleece project on top of the crochet project face up.
- Lift up the two panels together as if they are one and the crochet project should be facing towards you.
- Insert hook using the same size hook you were crocheting your project. Insert through both pieces at the same time and join with a single crochet. For the fleece side, only crochet into the single crochet stitches.
- Ensure to look ahead to ensure the fleece is matching up all the way to the other edge. In the case you are slightly too big or too small, just stretch the project out and align wth your stitches as you crochet if you are too small. If you are too big for the fleece, don't be afraid to advance a stitch on the crochet side but go into the same stitch on the fleece side. This will change the distance. Be random about it to prevent buckling.
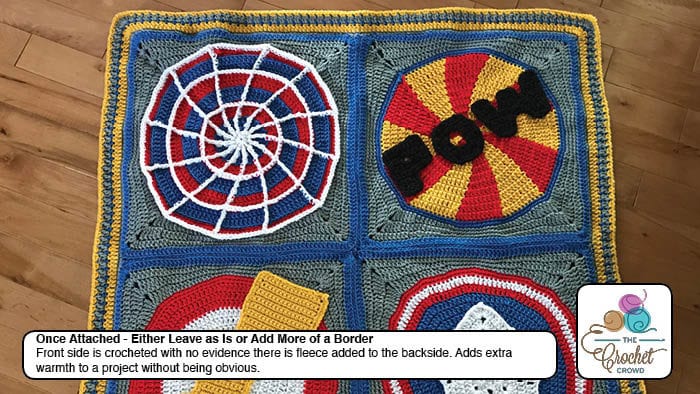
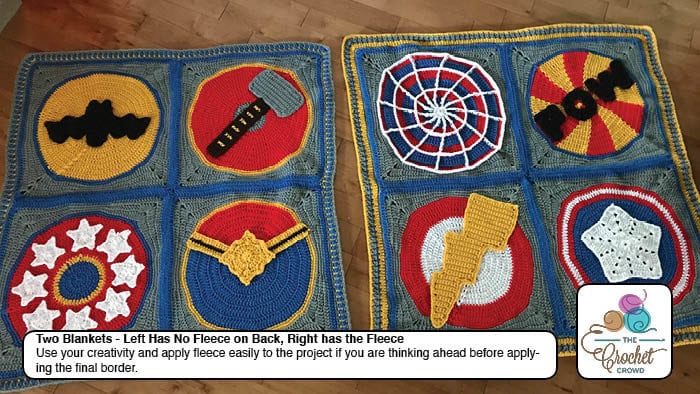
- Once you join, you can continue to add more to the border if you wish. Be creative and have fun.
Tutorial
Pictorial Tutorial in order of Procedures


Sue McVicker says
No Blue Button
Marina King says
no button for this one
Roxanne says
I’ve made a blanket using cotton and I’m worried the blanket itself will stretch but not the fleece. Will the stabilising stitches stop this from happening, and should I put more in?
Thanks
Loralee Wagstaff says
Thank you for this tutorial. I made an afghan for my autistic grandson, but he didn't like the feel of the yarn. I sewed flannel to the back, but didn't really like the way it ended up. This way looks easier and much nicer. I will use this method next time.