Crochet Join and Border for 7 Day Sampler Afghan

Join and Border time! Today we will join the squares and add the border to our 7 Day Sampler Afghan Stitch Along.
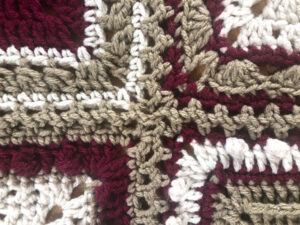
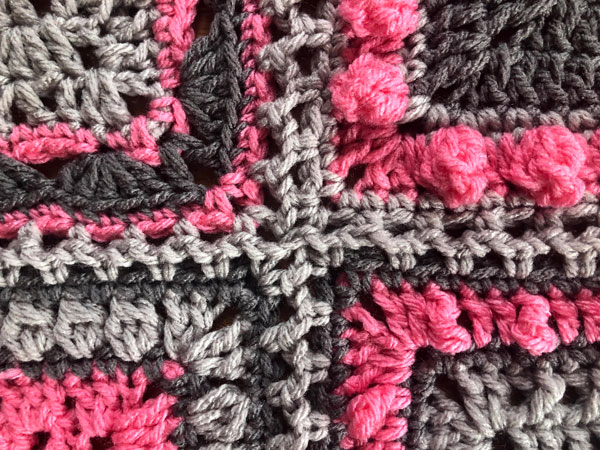
I choose the Zig Zag Horizontal and Vertical joining method for this motif because it's fast and no sewing required! The border is 3 rounds, using one of the textures from the squares. If you prefer using a different stitch on the border, go for it!
When you upload your project to The Crochet Crowd Stitch Social Group or Instagram, feel free to tag me so I can see what you have crocheted. Follow me on Instagram @ jeannestein or on Facebook. My designs can also be saved in your Ravelry favorites by following me HERE.

Tutorial
Zig Zag Horizontal and Vertical Joining
Joining Motifs
Be sure all motifs are right side up.
Join Motifs into 5 Strips, 6 Motifs long, as shown on diagram above as follows: Join C (for baby option, use B) in any corner ch-2 sp of first Motif. With WS tog, ch 1. 1 sc in corner ch-2 sp of second Motif. *Ch 1. Skip next st of first Motif. 1 sc in next st of first Motif. Ch 1. Skip next st of second Motif. 1 sc in next st of second Motif. Rep from * to end of row, always working into corner ch 2 sps.

Border
1st rnd: Attach C (for baby option, use A) to any ch-2 sp with a standing sc, *1 sc in each st to corner, working evenly into the joins between the squares,** (1 sc, ch 2, 1 sc) in ch-2 sp; rep from * twice, then from * to ** once, 1 sc in beg sp, join with hdc to beg sc. Break yarn.
Full Size
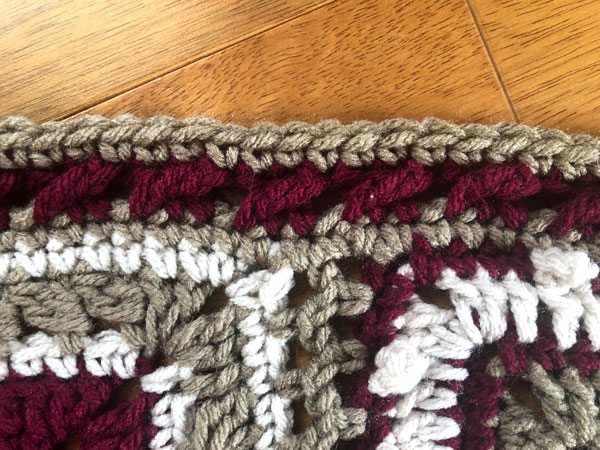
2nd rnd: Attach A to any ch-2 sp with a sl st, ch 3, 1 dc in same sp, *[sk 2 sts, 1 tr in next st, working behind tr, 1 dc in 2 skipped sts] to corner (adjust with an extra dc if necessary),** (2 dc, ch 2, 2 dc) in ch-2 sp; rep from * twice, then from * to ** once, 2 dc in beg sp, join with hdc to ch-3.
Baby Size
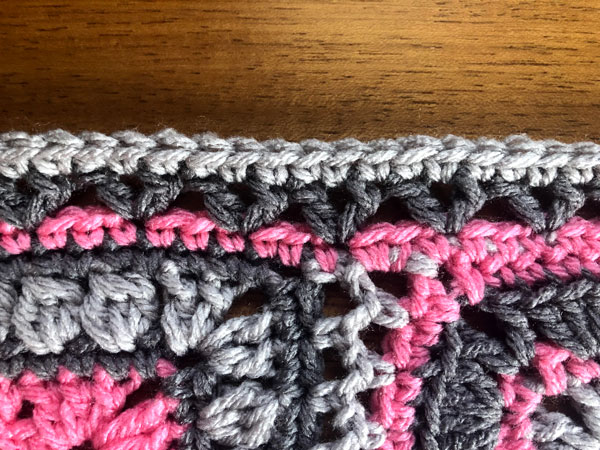
2nd rnd: Attach C to any ch-2 sp with a sl st, ch 3, 1 dc in same sp, *sk next st, [v-st in next st, sk 2 sts] to corner (adjust with an extra dc if necessary),** (2 dc, ch 2, 2 dc) in ch-2 sp; rep from * twice, then from * to ** once, 2 dc in beg sp, join with hdc to top of ch-3.
3rd rnd: Attach C (for baby option, use B) to any ch-2 sp with a standing sc, *1 sc in each st and/or sp to corner,** (3 sc) in ch-2 sp; rep from * twice, then from * to ** once, 2 sc in beg sp, sl st to beg sc. Fasten off.


Kelly Hansen says
Where can I find the layout for the baby blanket?
Jeanne says
In the video, Mikey shows it. I used:
1 2 3 4
4 5 1 2
3 4 5 6
Cheryl says
Love how quickly this join is coming together. And the border Jeanne has chosen is very beautiful ?. Thanks Jeanne and Mikey for sharing your wonderful talents.
Jeanne says
I'm glad you enjoyed it! 🙂
Liz Kidd says
Is there a suggested layout for the baby size?
Mikey says
Yes, if you see the tutorial. The baby size is on there. 😀 It's the same chart you see in the diagram but it's just a piece of the big one. See the video for more clarity.