Crochet Photography Tips
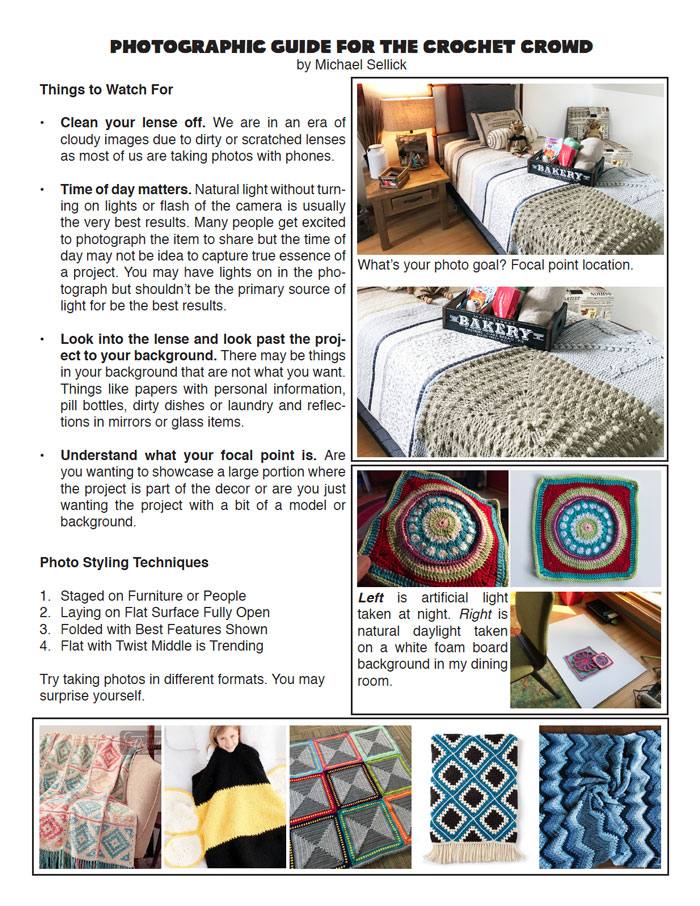
Taking the best photos to increase likes on social platforms require a bit of planning to think about lighting, angle and your goals. The same project can get far fewer likes when certain conditions are not considered. Here is our Crochet Crowd Photographic Guide.
Page 1 is about our Crochet Challenges when you are submitting photos to us. Many of you have emailed us photos for our galleries. We are not looking for the best quality for these types of photos. However, if a photo is too blurry, we will ask for a retake. Usually, it's dirty lenses, scratched lenses or lighting that can be a problem. We will email back if we are on the fence about a photo.
Page 2 is about really considering your lighting and staging for your project. I know myself, I get excited when I finish a project at 1 am when the night lighting in my home is dull and the camera is struggling. Sometimes, I need to wait for the next day. I have stalled launches of patterns when I cannot get the right lighting for a project and have to wait it out. For myself, it has to be a sunny day outside but there is no direct sunlight in my house to be on the project. It's easy to forget about a background. I'm not the cleanest person but I know how to move stuff out of an angle of a camera to give the illusion that I am.
Page 3 is about when I may ask for you to send me a photo for an eBook or Website Feature. I am particular on that as it appears on my website and eBook. The hardest message to convey is the fact of Landscape versus Portrait mode. I never take photos in portrait mode. I love options when people send me samples of photography. If I am removing background, I need the entire project in the picture so I can cut out the background without making the afghan looking like it's missing a section. Due to the removal of background, I need the project to sit on a background that is not the same colour as the outside edge of the afghan. It makes it easier to remove backgrounds.
Of course, like any advice, you may have your own secrets you wish to share.
More Photographic Tips & Ideas
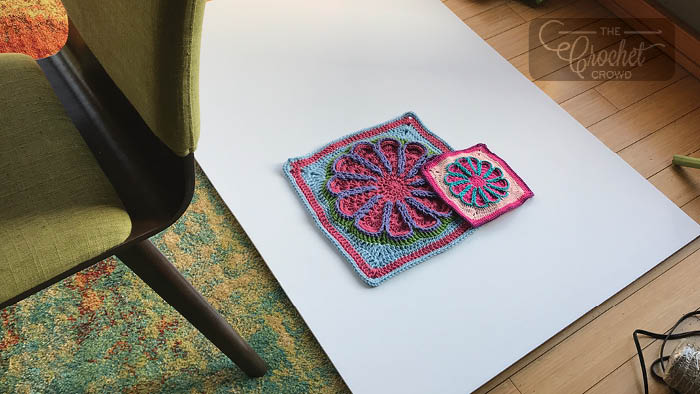
For my photo backgrounds that are white. I use two options. I used White Foam Board and white paper. I used to use a white sheet but I find that the sheet isn't always flat and wrinkles or fold marks are obvious in the photos.
I learn this trick from Sarah from Repeat Crafter Me. Laying down the project in front of a window with open curtains that has no direct sunlight.
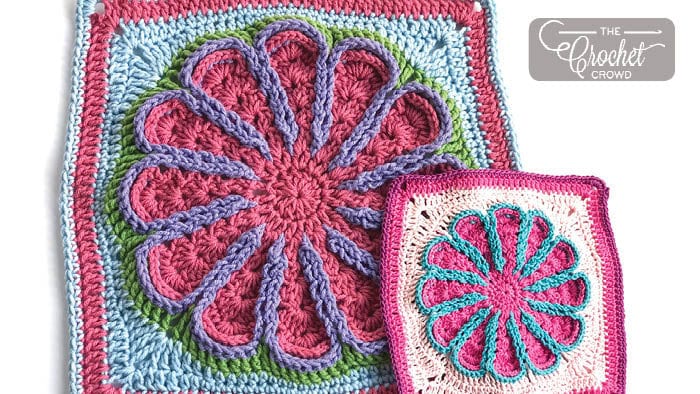
The shadow showing is from the natural light coming through the window. I can only take these photos in the morning here at home within a few hour time frame that I can take these photos. It must be full sun outside for this look. If it's overcast or raining, I cannot take these photos. There is no camera adjusts to my iPhone to get this quality.
If I need to take photographic tutorial shots at my desk. Again, I have natural windows to light up the project. I lay down paper behind the project where I am about to take the main focal point. I want to get the area with the hook the most.
So I may take the project further back so I can zoom in later or get closer in so it's just the project and white background.
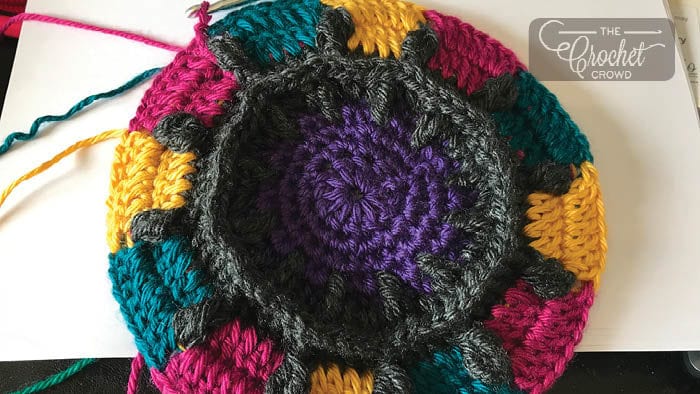
You wouldn't realize this is a piece of paper sitting on my keyboard as I take the photograph.
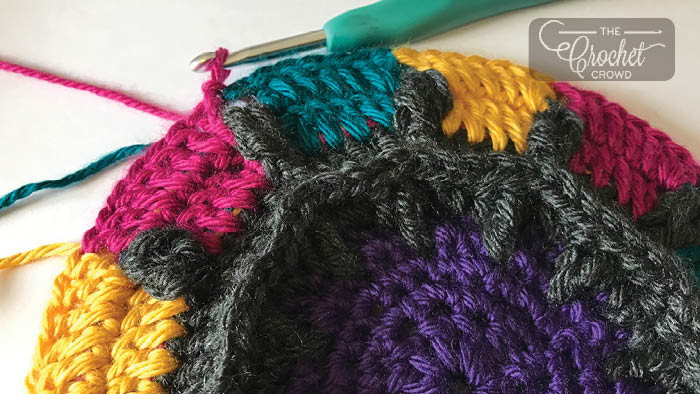
So these are taken with my iPhone. The phone takes great photos but it is the lighting and purposeful background that gives the project the attention it deserves.
Knowing the subject is where the camera should point to. In the shot below. Again, it's natural light from the windows. The article is about bed sizes. I'm not the main subject, so I am out of the way but showing with my hands that I am measuring which is the topic. So my face hiding behind a watermark works just fine for my purposes.
So myself measuring and the bed is the topic, not my face.

Annette says
Thank you crochet crowd for everything you do. The ideas are endless of what I can do , and, it’s thanks to you all.
Cheryl Bieber says
thank you i have been have trouble with trying to get a good picture
Michelle says
I would love to see the full painting behind you in the photo as well as info on the artist ;).
Stay inspired!
Michelle
(unable to crochet anymore, but still enjoy your posts)