DOWNLOAD FREE PATTERN
Introduction to Mosaic Crochet
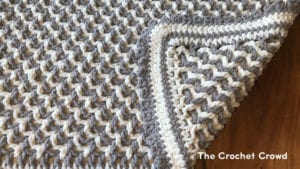
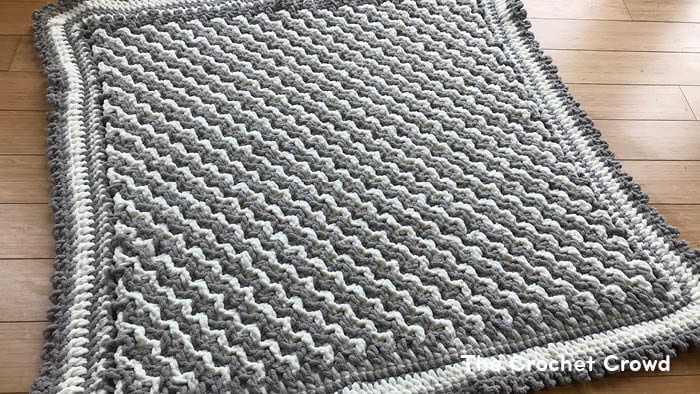
Mosaic Crochet is an old technique that has a useful purpose for today's crocheter. It is the art form of putting two filet meshes together to form intricate mosaic designs. To me, the sample baby blanket I did reminds me of a floor mosaic I saw in a hotel in Rome. To me, it seems timeless. This is the Beginner Introduction to Mosaic Blanket.
What Exactly is Mosaic Crochet?
It's when you have two different meshes in each their own colour mixing with each other without actually connecting directly. The stitches are working in and out of gap spaces in self-created meshes to form the incredible mosaic appearing shapes.
This concept allows for very creative breaks of colour for texture defining outlines that can appear.
Pattern Suggestions
- Crochet Sweet High Tops Pattern
- Crochet Flower Petal Cardigan Pattern
- Crochet Baby Tiles for Miles Blanket Pattern
- Crochet Mountain Peaks Scarf Pattern
- Crochet Chevron Self Striping Blanket Pattern
Introductory Mosaic Crochet Tutorial
This tutorial is showing the steps involved in beginning to do Mosaic Crochet Techniques. It is showcasing the Zig-Zag Design as a beginner sampler tutorial if you want to try one. All the pictures seen below are directly from this tutorial.
What Are the Meshes
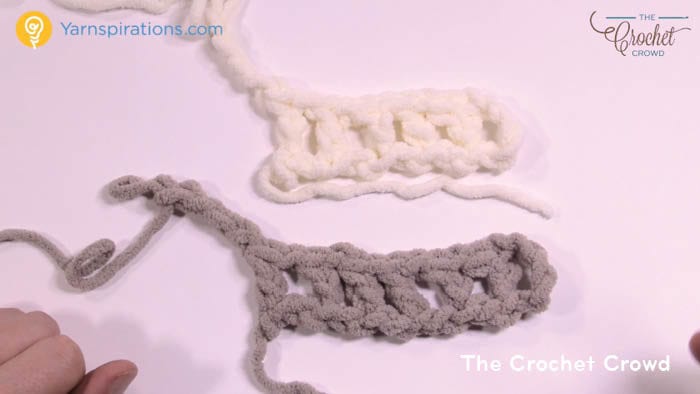
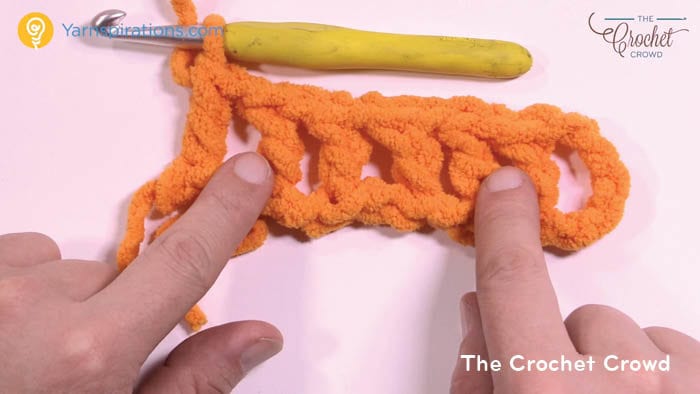
The meshes are double crochet followed by ch 1 to create a ch-1 gap space. The secondary mesh will puzzle into the gaps of the first mesh. So to puzzle, the meshes have to be slightly different from each other.
The main colour mesh is the colour that appears at the border of the sides of the project. The secondary colour is the other colour that appears in between the gaps in the main colour mesh. The secondary colour will never be a border colour.
To help you do the meshes, the main mesh should be an even number. Like 16 or anything in the even number family for the starting chain count. For the secondary mesh, the chain count will be exactly 2 chains shorter. So for example, say 14. The shortage of 2 chains for the secondary allows the secondary mesh to puzzles in between.
Thicknesses of Projects
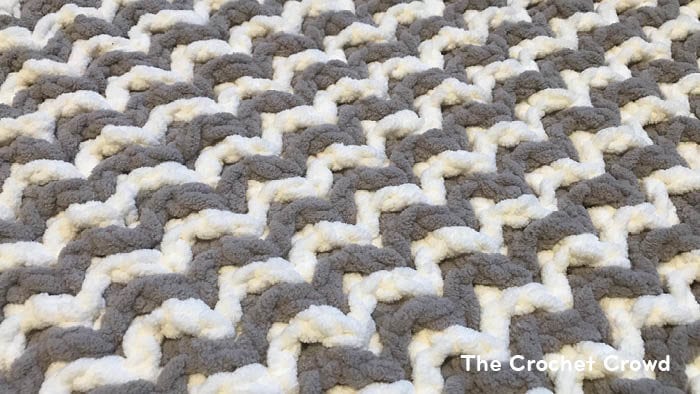
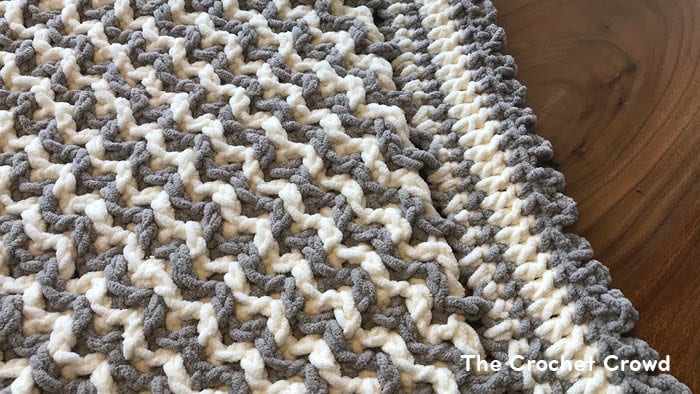
The puzzling of the meshes together will form the project to be thicker than just using a standard yarn for a project. It can nearly double the thickness of a project with this concept. The stitches working around the meshes cause raised ridges and textures to create the looks achieved.
Photographs from The Tutorial
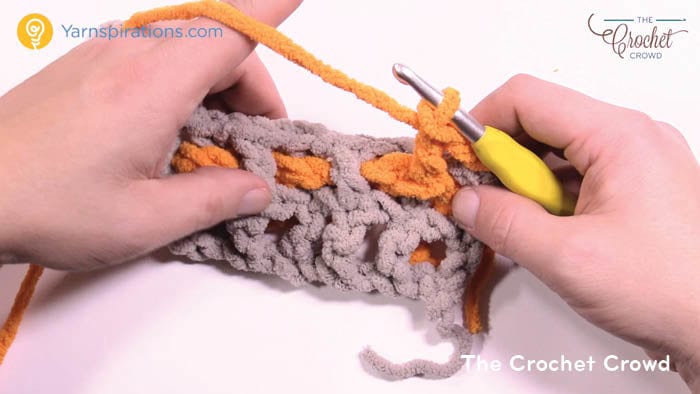
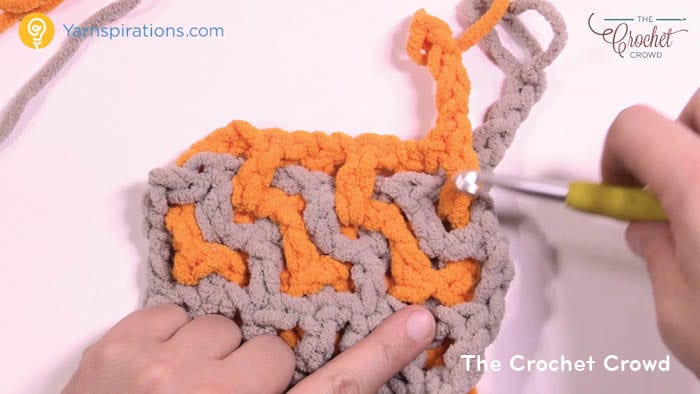
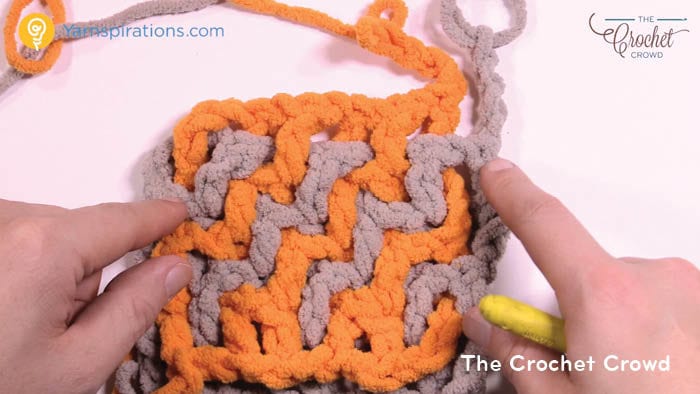
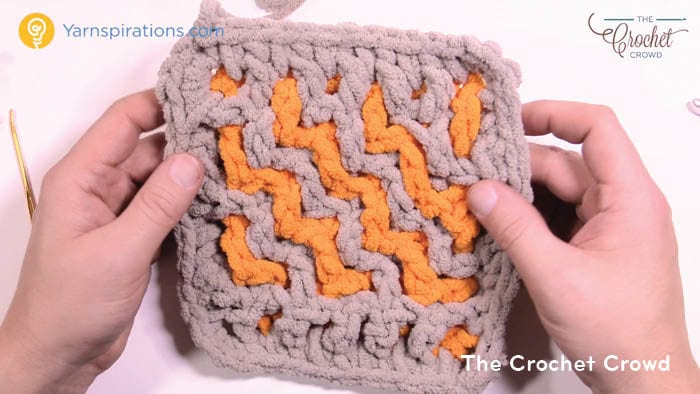
Mosaic Crochet Baby Blanket
The tutorial will show you how to create the Zig Zag as an example. The tutorial will walk you through what you need to know and key tips to identify the stitchwork to make it easier for you.
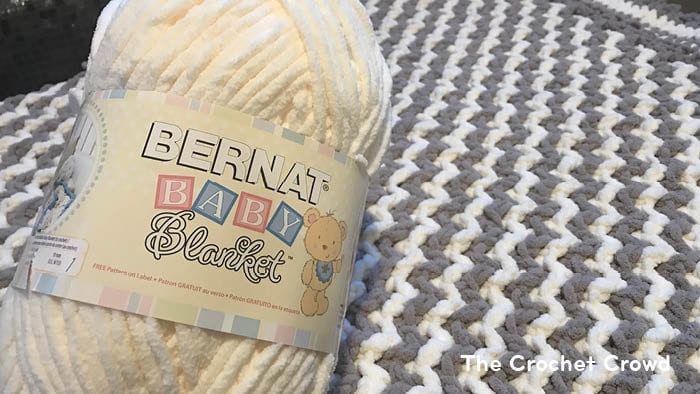
I am working with 8 mm / L Hook using Bernat Blanket as an example.
- 1.5 balls of Bernat Blanket Grey
- 1.5 balls of Bernat Baby Blanket Vanilla
Create your Meshes
- Chain 76 for the main mesh (Grey).
- Chain 74 for the secondary mesh (Vanilla.
Follow the tutorial on mixing them together to form the zig-zag. The only difference is the baby blanket will be wider.
- Do the zig-zag until the sample appears square.
- Finish off the sample as shown in the tutorial.
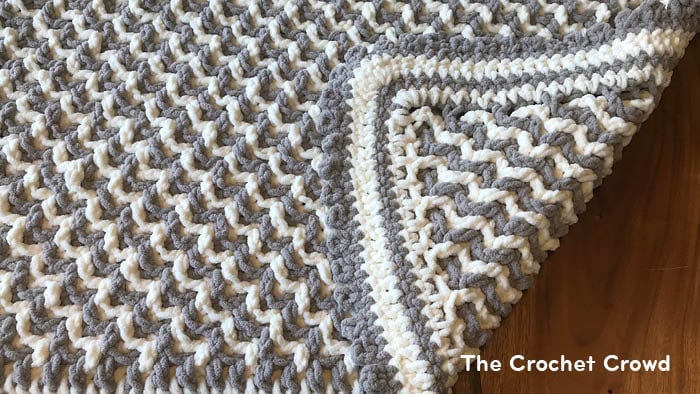
- Follow the border with doing sc in each stitch around. In corners place 3 sc.
- There is 1 round of dc in vanilla white. 1 dc in each, corners place 5 dc.
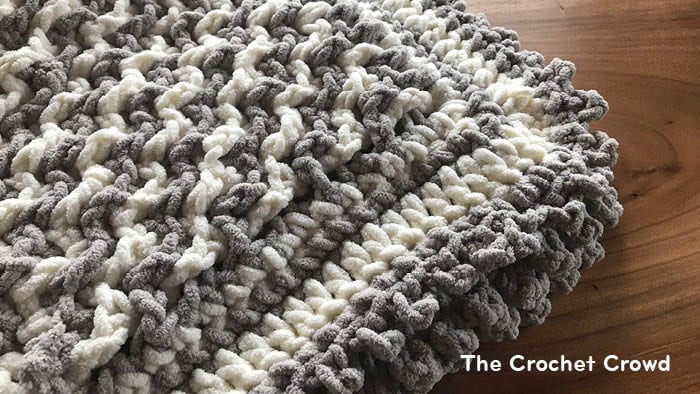
- The final round with grey is extended sc picot stitches.
The final round of this border has extended sc picot stitches. Fast forward to the 34:29 minute marker.
Sample Photos of the Mosaic Crochet Baby Blanket Zig Zag
Debra Ruhl Wallace says
Bang on. Caught my interest right away. Friends just had a baby girl and this is perfect.
ASquared says
yes lovely technique. Your the best Mikey, really fantastic teacher ! You have a huge love fest from your a south of the Border fans !
- IG Crafting Club
Cathy Lewis-Williams says
Bang on. Thank you.