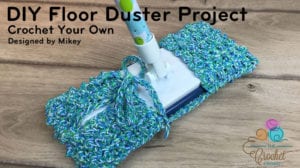
DIY Crochet Floor Duster Mop
Learn how to make your own reusable cotton floor duster mop for your cleaning kits. The cover for you dusters is made of cotton, which means it can be machine washable in between cleanings and quickly attaches back onto the duster due to the design elements I have made to this.

I used an existing pre-made store duster from a dollar store as my inspiration for designing this duster. It took me two tries to get the right dimensions so it mounts to the duster as snug as a bug.
Pattern Suggestions
- Crochet Wedding Umbrella Pattern
- Crochet Baby Tiles for Miles Blanket Pattern
- Mikey's Crochet Vest
- Crochet Baby's First Gown
- Crochet Baby Sneakers Pattern
What Do You Need?
- Size 5 mm or H Crochet Hook
- Tapestry Needle
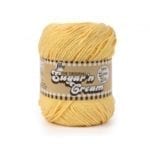
The duster unit was purchased at a dollar store for $2 and the handle was $1.50 CDN. For the $3.50 investment into the unit, I could crochet a cover using Bernat Handicrafter or Lily Sugar'n Cream yarn.
You need only one ball of Lily Sugar'n Cream.
- Ball Size - Solids: 113g / 4 oz, 184 meters / 200 yards
- Ball Size - Ombres: 85g / 3 oz, 138 meters / 150 yards
OR
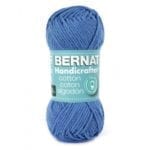
You will need two small balls of the Bernat Handicrafter.
- Ball Size - Solids: 50g / 1.75 oz, 73 meters / 80 yards
- Ball Size - Ombres: 42.5g / 1.5 oz, 62 meters / 68 yards
For me, I used Sugar'n Cream Twists and made additional dishcloths and potholders with it.
Design Elements
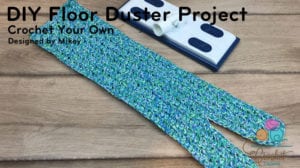
I designed this as a one-piece unit to avoid it from falling apart at the critical areas such as the sides where it wraps around the unit.
When laying flat before sewing up, it will measure the following dimensions:
- It will measure 20" Across.
- It is 4.5" Wide. It's imperative to not made it two wide because it will not sit on the duster snug. This is was part of my redo for this pattern.
- The foldovers are each 4".
- The sewing up and the sizing of 4.5" allows the cover to round up with the seams to be midway up the duster so it's not a snagging issue.
For me, we have cobwebs under the kickboards of our kitchen counters. Though we vacuum our floors, the vacuum doesn't get right into the corners and doesn't suck up the cobwebs that build under the lips of the cabinets where we stand to prepare meals. So the top of the duster is also having the raised bumps and covers most of the duster for maximum usage.
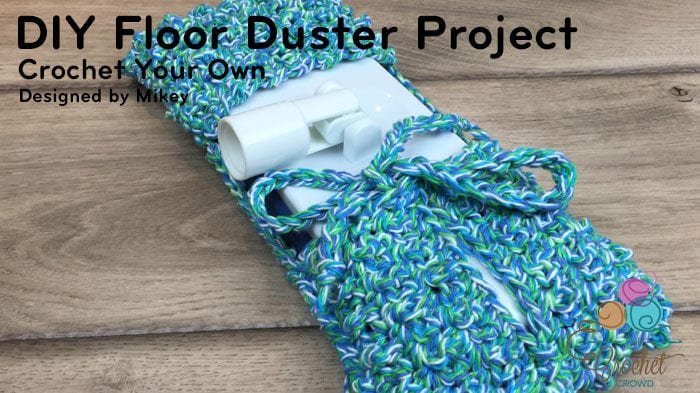
The duster unit slides into one side. The other side ties shut. To get the duster to be snug, the original design from the store made unit had velcro, in my case I used crochet chains to make ties.
The concept is simple and will crochet up quickly.

Stitch Used
I used the same stitch work from the Daisy Dish Cloth. It's raised bumps has the bumps only on one side of the project. Obviously, I have folded this over and sewn so the bumps are on the bottom of the crochet floor duster.
You can get the free pattern, it's called the Daisy Dish Cloth. You will need to chain the stitch counts and the instructions for making the cover are slightly different as we need to create that slit for the ties.
You can also view the free tutorial to see how the stitch is done.
Written Instructions
When doing the trebles for the bumps, the bumps will automatically fold towards the opposite side of the work. Just let it fold that way as it's natural.
I have highlighted the rows that are the same to make it easier to follow. The bold is the SC rows that are in between the treble rows.
Ch 64.
- 1 sc in 2nd ch from hook. 1 sc in each ch to end of the chain. 63 sts. Turn.
- Ch 1. *1 sc in next sc. 1 tr in next sc. Rep from * across to last sc, pushing tr to RS of work. 1 sc in last sc. Turn.
- Ch 1. 1 sc in each st to end of row. Turn.
- Ch 1. 1 sc in each of first 2 sc. *1 tr in next sc. 1 sc in next sc. Rep from * across to last sc, pushing tr to RS of work. 1 sc in last sc. Turn.
- As Row 3.
- As Row 2.
- As Row 3.
- This row is where we create the slit. As Row 4 but stop at the 15th stitch before the end. Ch 15.
- As Row 1.
- As Row 2.
- As Row 3
- As Row 4.
- As Row 3.
- As Row 2
- As Row 3. Fasten off and weave in ends.
Assembly
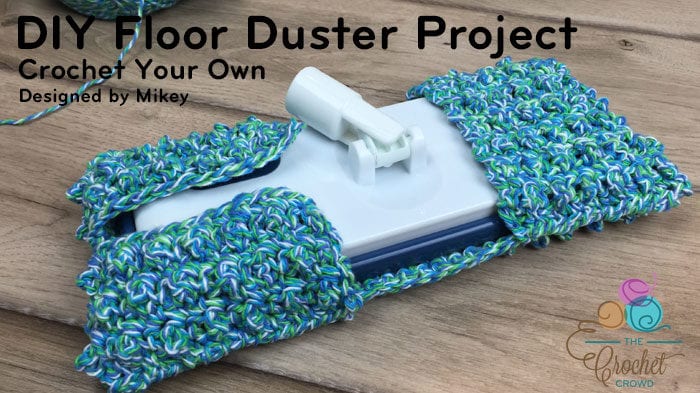
Place the duster onto the cover with the cover having the bumps facing toward the floor. Wrap cover around duster unit to see how it fits.
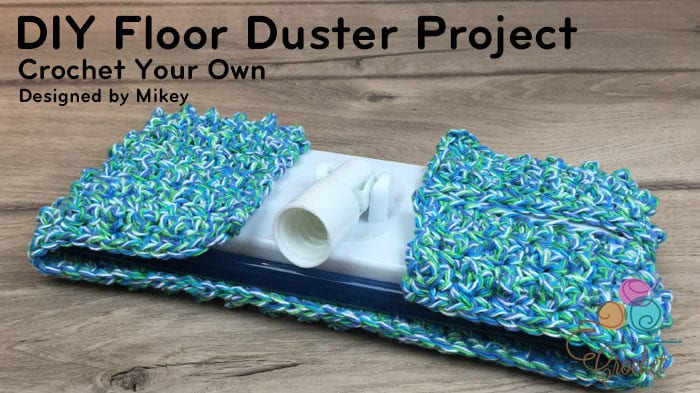
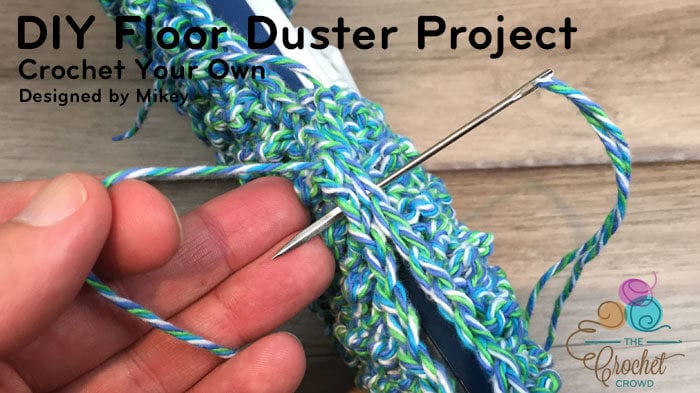
Using a darning needle and same colour yarn. Start by sewing together the edges with a whip stitch for the side that has no slit at the top.
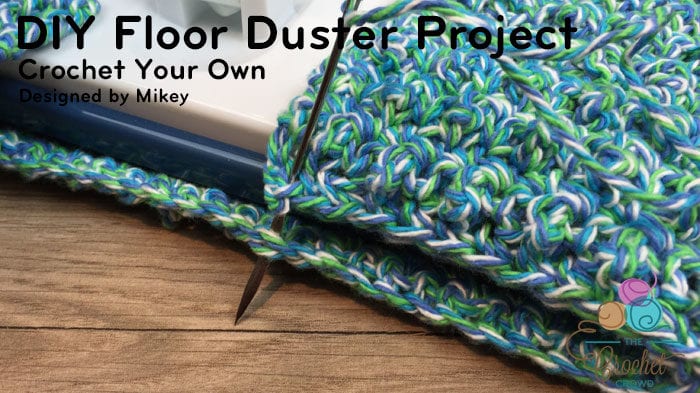
Sew both sides on this side of the duster to create the pocket that the duster slides into.
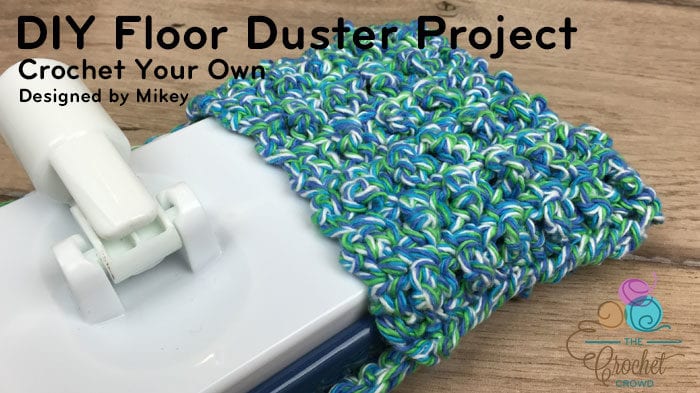
Go to the other side of the cover and sew the sides together.
Make the Ties
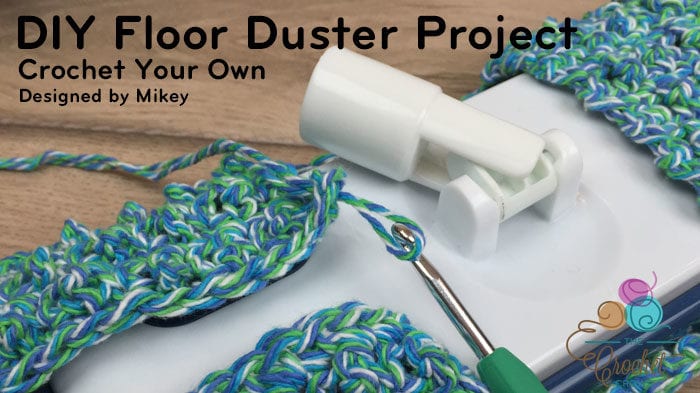
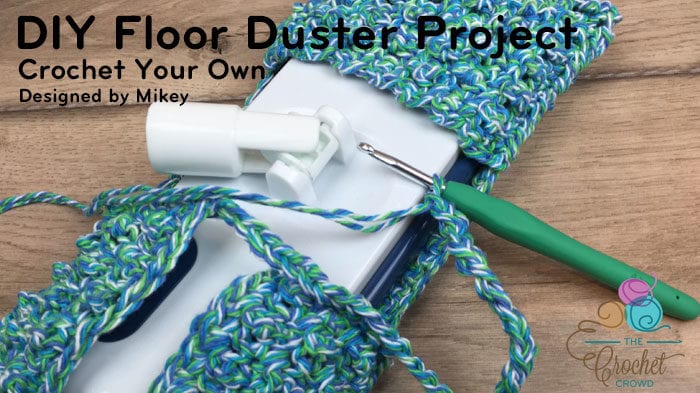
Cut 2 - 8-foot strands from the same yarn ball. I held my arms as wide as I could spread them had the string extend from one hand to the next hand and back to the original hand to cut. It was about 8 feet.
Fold the 1 strand in half and using the halfway point and with the fold, it appears to be a loop. Use a crochet hook and pull loop through one corner where the tie needs to go. Using the 2 strands, chain 30. Tie a knot and cut off the remaining yarn. Repeat on the other side.
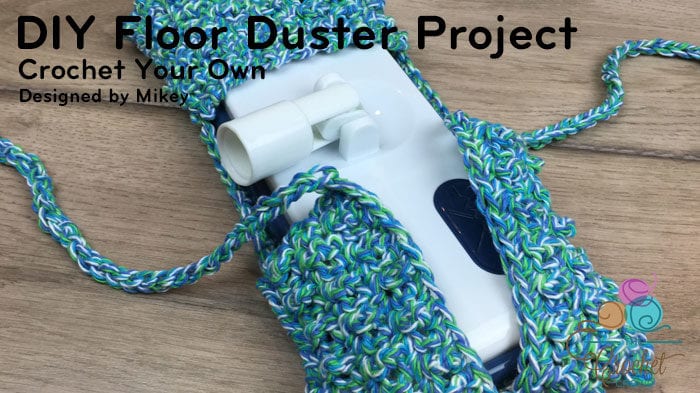
Your DIY Crochet Duster Mop is Ready
Tie the ties together using bow tie method so you can easily untie it between uses. Insert the handle into the bottom unit.

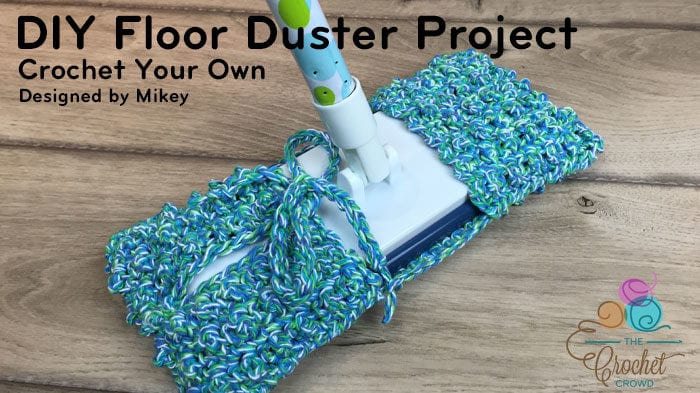
The duster mop can be wet, moist and because it's made with cotton, it will not shrink in the wash. Just throw it into the washing machine with your dishcloths and wash normally. Now you have a reusable solution that will save you money. Have fun!
Nancy I Sanchez says
no blue button