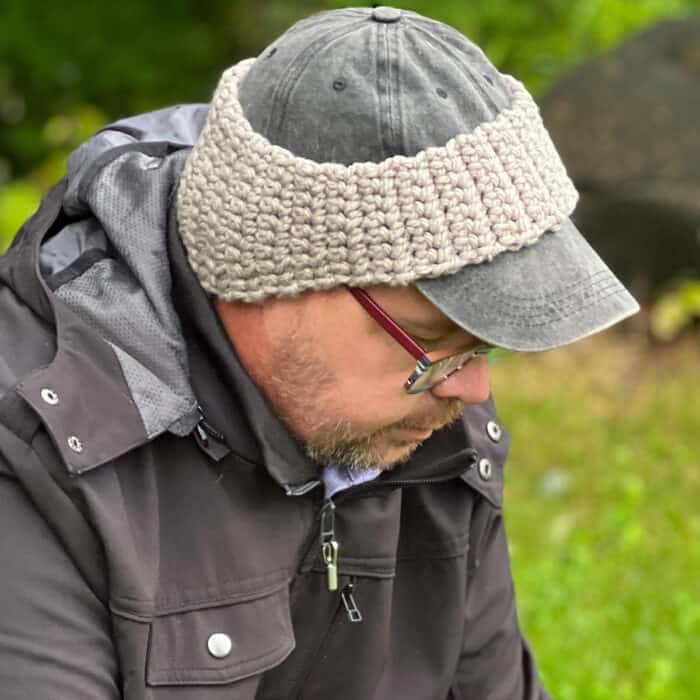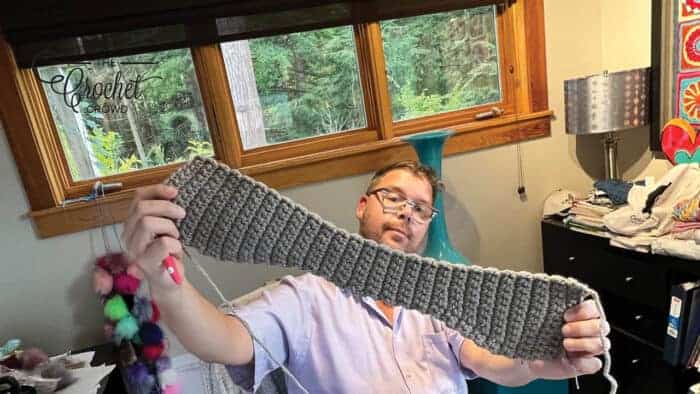
Crochet this fast and easy ear warmer that can be worn over a baseball cap or on your head. It's crocheted as a long contoured rectangle shape. See the picture below. This is the Ball Cap Contoured Ear Warmer for crocheters.
The project starts at the back of the head and contours around the head to a narrow part in the forehead area. It then contours back out for the thickness of the other side of the head and meets back at the back of the head in the centre.
If you think it's not going to fit, you can add or subtract rows near the end of the project.
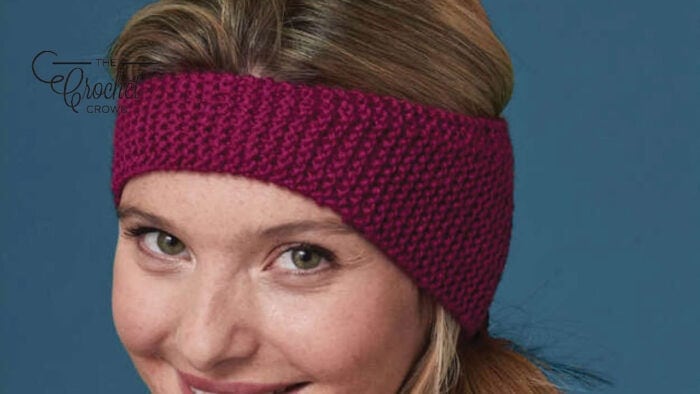
I used an existing design from Yarnspirations in knit format to get an idea of how thick the back end should be. The Knit Beginner Ear Warmer helped me to gauge sizing for average adults. I may just teach this also on our channel in the future. It's a beginner-level pattern which I know I am capable of doing.
Structure of Both Versions
Both versions are done in rows and joined at the back of the end region.

Pattern Details
- Project Size: 21" Diameter
- Gauge: 10 sc and 10 rows
- Designer: Michael Sellick, Mikey
- Stitch Multiple is not applicable.
- Hook Size on Pattern: 6 mm / J/10
- Yarn In Pattern: Bernat Softee Chunky. Colour is called Clay and 56 g (1.97 oz) are used.
- Pattern Date or Last Revision Known: September 26, 2022
Please use the pattern for details on yarn quantities, gauge and other details not listed here. This pattern may have been updated since the creation of this tutorial, and the information or presentation of the printable PDF may have been changed without notice.
Pattern
Abbreviations
- Ch = Chain(s)
- Rem = Remaining
- Rep = Repeat
- RS = Right side
- Sc = Single crochet
- St(s) = Stitch(es)
- WS = Wrong side
- Yoh = Yarn over hook
Notes:
We will be starting at the back of the head in the middle.
The stitches will be tight to make the project warmer with less space between stitches.
Ch 13.
1st row: RS. 1 sc 2nd ch from hook, 1 sc in each ch across. Turn. 12 sts.
Tip: I recommend marking the 1st row as the RS to make it easier to follow this pattern.
2nd row: Ch 1, 1 sc in each st across. Turn. 12 sts.
3rd to 8th rows: Rep 2nd row. Ending on the WS.
9th row: RS. Ch 1, 1 sc in first sc, sc2tog. 1 sc in rem sc across. Turn. 11 sts.
10th row: Ch 1, 1 sc in each sc across. Turn. 11 sts.
11th row: Ch 1, 1 sc in first sc, sc2tog. 1 sc in rem sc across. Turn. 10 sts.
12th row: Ch 1, 1 sc in each sc across. Turn. 10 sts.
13th row: Ch 1, 1 sc in first sc, sc2tog. 1 sc in rem sc across. Turn. 9 sts.
14th row: Ch 1, 1 sc in each sc across. Turn. 9 sts.
15th row: Ch 1, 1 sc in first sc, sc2tog. 1 sc in rem sc across. Turn. 8 sts.
16th row: Ch 1, 1 sc in each sc across. Turn. 8 sts.
17th row: Ch 1, 1 sc in first sc, sc2tog. 1 sc in rem sc across. Turn. 7 sts.
18th row: Ch 1, 1 sc in each sc across. Turn. 7 sts.
Mikey’s Note: 26th row is halfway across ahead with a slight stretch.
19th to 36th rows: Ch 1, 1 sc in each st across. Turn. 7 sts. Ends on WS.
37th row: RS. Ch 1, 1 sc in first sc, 2 sc in next sc, 1 sc in rem sc across. Turn. 8 sts.
38th row: Ch 1, 1 sc in each st across. Turn. 8 sts.
39th row: RS. Ch 1, 1 sc in first sc, 2 sc in next sc, 1 sc in rem sc across. Turn. 9 sts.
40th row: Ch 1, 1 sc in each st across. Turn. 9 sts.
41st row: RS. Ch 1, 1 sc in first sc, 2 sc in next sc, 1 sc in rem sc across. Turn. 10 sts.
42nd row: Ch 1, 1 sc in each st across. Turn. 10 sts.
43rd row: RS. Ch 1, 1 sc in first sc, 2 sc in next sc, 1 sc in rem sc across. Turn. 11 sts.
44th row: Ch 1, 1 sc in each st across. Turn. 11 sts.
45th row: RS. Ch 1, 1 sc in first sc, 2 sc in next sc, 1 sc in rem sc across. Turn. 12 sts.
46th row: Ch 1, 1 sc in each st across. Turn. 12 sts.
Tip: The remaining rows are for my version. If you need it tighter, eliminate out some rows at the end.
47th to 54th rows: Ch 1, 1 sc in each st across. Turn. 12 sts. Fasten off at the end of the 54th row. Leave long tail to use as sewing tail for finishing.
Finishing
With RS facing each other, sew edges together through back loops only using a whipstitch.
Weave in ends. Flip ear warmer to RS facing out.
More Ideas
- Jeanne's Crochet Textured Granny Baby Blanket Pattern
- Where Should I Start to Knit My First Hat?
- Prince Edward Island Mikey Scarf Pattern

Beverly stovall says
This is really great!! Thank you VERY Much!!!! I go to dialysis 3 days a week and wear a ball cap to help keep my head warm. (I get so cold while being dialized). My ears get really cold and this will be the solution!!! Thanks again and have a blessed holiday!
Mikey says
Take care of yourself. Sorry you have to deal with that. - Michael
Cyn says
Wonderful pattern! I made this for my father for Christmas 🙂
Darlene says
Can you make a pattern that has a slit for the brim to poke through, so the headband doesn't slip?
Mikey says
I am sure it can be done. Let me revisit that idea next year to put the time into it. It's a great idea.