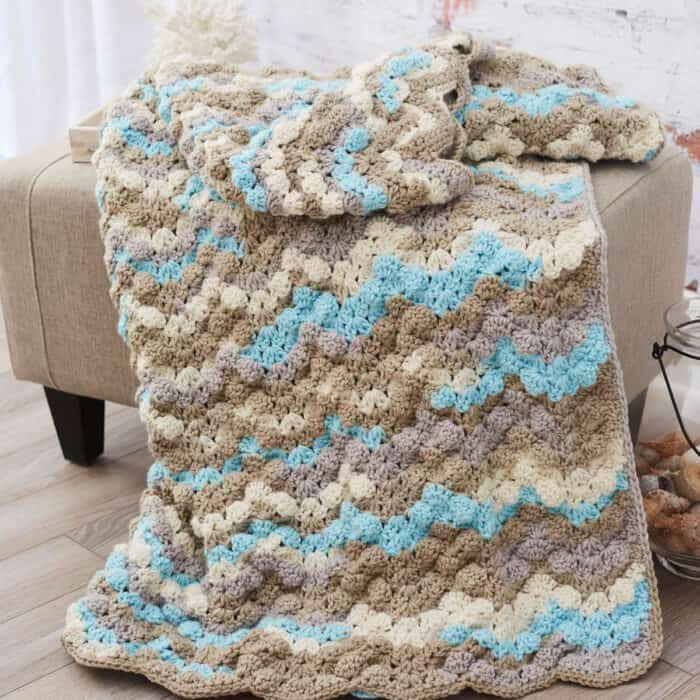
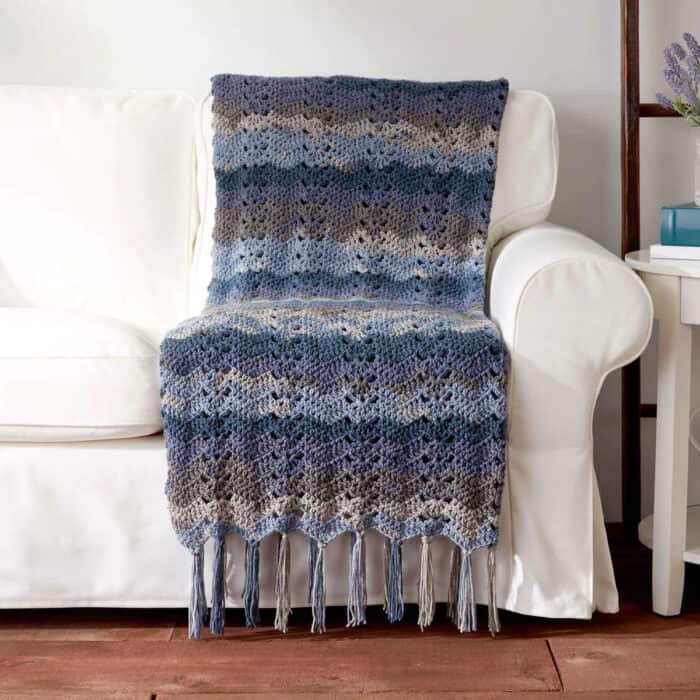
Calm yourself down with a look of water. For many of us, seeing open water can give a sense of inner peace and connectivity.
Waves can be daunting for new crocheters, as how the wave grows can be confusing. In the peaks, we add more stitches and in the bottoms of the valleys, we subtract stitches. It's what keeps the edges straight.
Below is a quick tutorial on understanding waves in a pattern.
Crochet Surfer Waves Throw
The Crochet Surfer Waves Throw has a subtle lift using five double crochets in the same stitch. In person, you can see it well. Once you get started on this pattern, the row is exactly repeated throughout the entire banket. You can add a simple border to the edging if you want. I don't think it's absolutely necessary.
The repeating to make this bigger is 16 chains + 18. Abbreviated, it would be 16 chs + 18. This will allow you to change the sizing. I don't know the chain count to make it for different sizes.
This blanket is using Red Heart With Love yarn.

Tutorial
In production.
Crochet Ocean Waves Big Cakes Throw
The Crochet Ocean Waves Afghan is pretty straightforward once you get the pattern in your mind. It's repeating just two rows over and over once you get started and established.

The key thing to watch for is the extended rows. Both sides of the project are not equal to make this an easy level. In the tutorial, I show you that because, during my initial trials of this pattern, I kept screwing up until the designer set me straight. Her version was simpler but I was thinking in one direction when in fact, it's something different.
To change the size of this blanket, the multiple is 16 chains + 9. In abbreviated terms it would be 16 chs + 9.
If you can read patterns and skip my tutorial, you may want to review the synopsis of the tutorial to understand this even more.
This is using Caron Big Cakes Yarn. The striping you see is directly from the yarn ball, with no alterations of cutting strands to make it look great. So it's easy and let the yarn ball do the self-striping for you.

Ann says
No blue button
Marina King says
button added
Dianne Larson Ward says
If, as you watch and crochet, you write down on your printed directions the TIME on the video where the rows change and the time where you shut off the video it will help you to not get lost. I was fine until I shut it off and had to return the next day. I had not noted the time where I left off. You will be able to go to exactly the correct spot to start (or review) where you left off. The video is a huge help. Watching it at half speed is even better for those like me who are left handed and insecure about exactly where to insert the hook! Get ready for some giggles when you hear Mikey talking at half speed! To change the speed clock on the SETTINGS icon at the bottom of the video screen. MICHAEL, I LOVE YOU!!! The design really is easy and goes quickly after you show us how!
Mashi says
I got completely lost on the second row. You went at a slow enough speed in the first row but went to fast on the second. I got frustrated and wanted to cry
Laura Jean Bartholomew says
Hi Mashi - have you tried slowing down the tutorial? Here is a link that shows you how. -LJ