Crochet and Fleece Mix
Back at the beginning of last fall, a friend introduced me to mixing crochet with fleece. I have seen it before but I hadn't given it much thought prior to talking with my friend.
I was heavily inspired by the concept and realized it's a great way to line crochet afghans with double thickness and too much more. I vowed to give it a go. Time has been very short for me, so things come in time for me to learn new skills.
In just coming back from the Aloha Crochet Cruise, the girls from Project Linus were telling me how they run to Jo-Ann's and pick up fleece, a ton of fleece! Together, the girls cut the fleece into 36" x 36" squares and use a few techniques to create a border. They were telling me how they crochet around the edge to give the blanket the homemade look and feel.
Daniel dug into the concept further and found more ideas through Pinterest in using fleece squares, just like granny squares. Then crocheting around each square and then assemble together like a granny square afghan. From the examples I saw over his shoulder, I was like "WOW!"
So today, I put some advice from my friend back in the fall. I mixed together the information from the Project Linus girls on my crochet cruise and dug into trying this for myself. I have never done anything like this before.
This example is my first square. I learned many lessons while doing this. I want to share with you my accomplishments but also lessons.
Pattern Ideas
- Crochet L'il Leaf Playmat and Lady Bug Pattern
- Crochet Bernat Red Blanket Pattern
- Crochet Pop-A-Minute Baby Blanket Pattern
- Crochet Watch Me Grow Blanket Pattern
- Crochet Little Trapper Hat Pattern
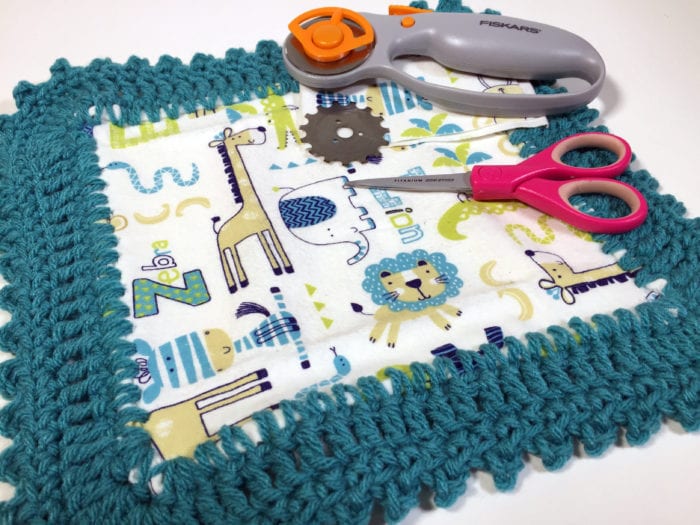
Materials Needed
- You clearly need fleece. You can buy pre-cut into squares such as Fat Quarters or buy it by the yard for you to cut into the sizes you need. Not all fleece is equal as fleece comes in different thicknesses. So consider that when deciding to try this technique. You may want to double up on the material to make the afghan reversible or just use one layer.
- You will need a cutting mat.
- You will need a long ruler.
- Recommending, highly, a rotary cutter to easily cut the fabric into squares.
- A Skip-Cut Rotary Cutter is highly recommended to make the holes in the fabric in equal increments. In the picture above, the skip-cutter is not in the holder. You can either buy two cutters and have each cutter ready or just change the blade. Be extremely careful changing the razor-sharp blades. The brand is Tailor found at Jo-Ann.
- Fabric worthy scissors for clean cuts.
- Crayon Marker.
- Iron & Iron Board
- Size 3 mm or Size D Crochet Hook.
- Size 5 mm or Size H Crochet Hook.
- 4 Ply Worsted Yarn such as Bernat Super Value.
Making the Squares - 1 or Many
You don't want to waste material. So you should measure your fabric in a way that has less yardage. For me, I had fat quarters that measured 22" x 18". To not waste yarn, I cut my squares into 9" x 9". Therefore, I had no waste in one direction and had only 4" waste in the other.
The squares need a 1" distance from the Skip-Cutter. This means there is 1" of material folded in half on each edge. So the 9" squares will turn into 8" squares with the folding over while crocheting.
Using the cutter mat, rotary cutter and measuring devices, make your squares to any size you wish. You can opt to make 1 big square or many little squares. It's your creativity. Go hog wild.
Cut a 45-degree angle on the corners that are about 1.5" wide. This will allow you to turn corners without bulk material getting in your way.
Once your square is finished. You will have 4 Sizes and each corner will have a 45-degree cut.
Iron, with steam, your squares so they are flat. You should not iron yarn as Acrylic or acrylic blends can melt by the iron. Iron the fleece first so it's picture-perfect when crocheting it.
Skip-Cutter Hole Making
Turn the squares to the back-side facing upward.
- Measure in from each edge 1".
- Use the marking crayon to draw the line using a ruler.
- Now use the skip-cutter to skip-cut along the 1" line. Use a ruler and rest the cutter against the ruler for a straight line.
Note: Don't be like me. You cannot use this cutter a second time on the same edge as the cuts will most likely not match up.
- Be confident and firm with skip-cutter to cut the material the first time.
The cuts will not appear obvious but the cuts will be in the same line as the crayon line.
Be Prepared
I would strongly recommend doing the steps in bulk and not one-by-one. For example:
- Cut your squares first.
- Iron them if needed.
- Mark the Skip-Cutter Line and Skip-Cut.
Crochet Around the Edge
Whether you are making mini squares or your blanket is 1 big square. The procedure is the same.
- The skip-cutter cuts small holes. Do not force a large crochet hook into the holes as it will tear the fabric.
- Using a 3 mm or Size D Crochet Hook. It will fit into the hole. It's technically not the correct gauge for a 4 Ply Worsted Medium Weight Yarn but you will get used to it.
- Looking at the back-side of the fabric.
- Start in one corner. Fold the material between the skip-cut line to the edge in half. It should be folded so the edge comes towards you and down.
- Do extended single crochet into the hole with the folded fabric material caught between the edge and the hole. Be consistent.
- Ch 1 between each hole and sc into each hold.
- In corners, place 3 sc into the last hole of the one edge taking extra care to keep the edge folded down. Next hole after the first side, place 3 sc. Ch 1, and sc into the next. Continue as Ch 1, sc into each hole.
- When you get back to the start, simply place 3 sc into the last hole on the side you are finishing and place 2 additional sc into the first stitch you started with.
More Rounds
You can now switch your hook back to 5 mm or size H to continue. Ignore the ch-1 spaces in the round below. Only use single crochet stitches.
Keep in mind about the 6 sc that is in the corner from the first round. You need to be consistent on the corners to keep the square from buckling.
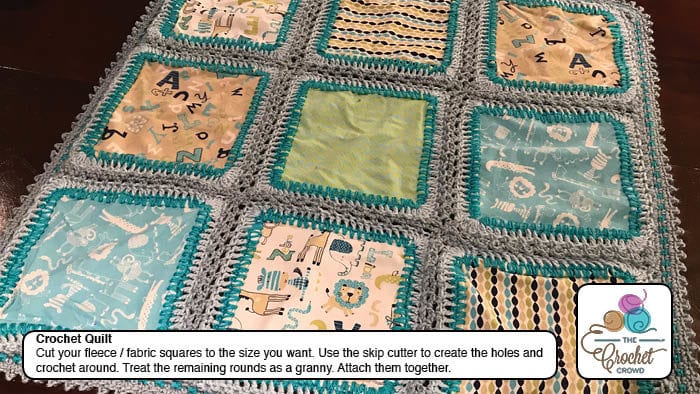
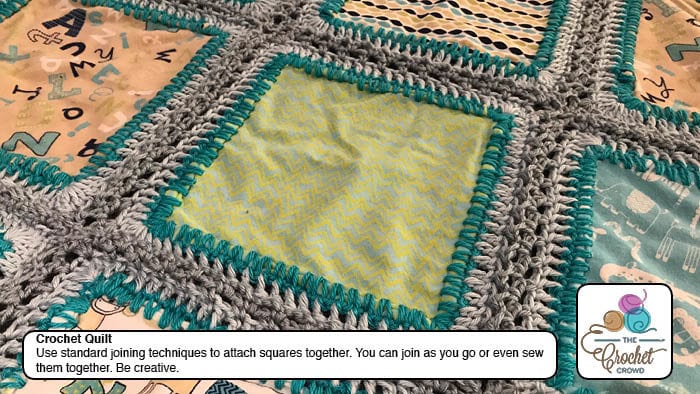
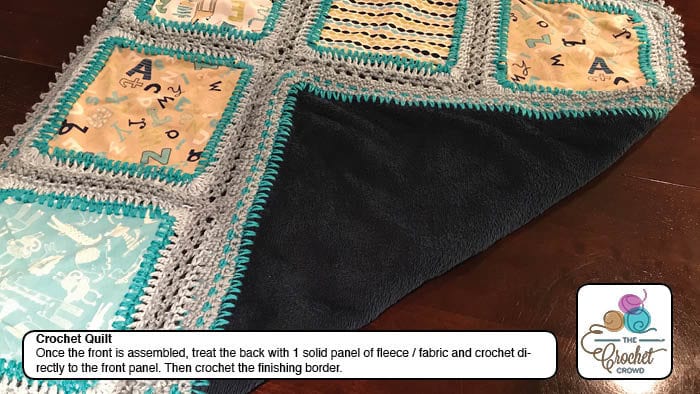
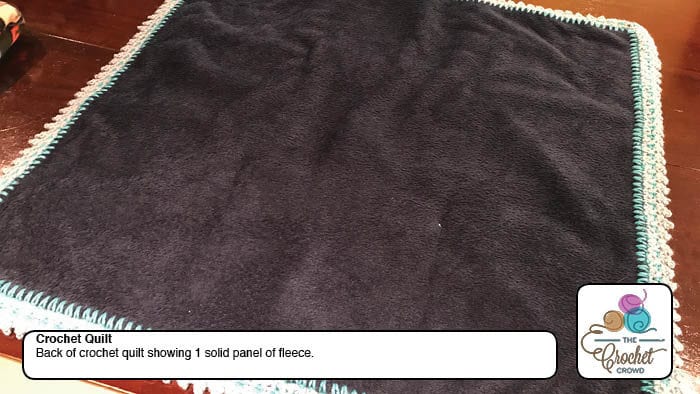
Crochet Quilt Pictures
heather says
grid
Mikey says
Thanks