The Crochet Crowd

  • PATTERNS
  • STITCH ALONGS
  • TUTORIALS & STITCHES
  • COMMUNITY & EVENTS
  • ABOUT US
menu icon
go to homepage
  • PATTERNS
  • STITCH ALONGS
  • TUTORIALS & STITCHES
  • COMMUNITY & EVENTS
  • ABOUT US
search icon
Homepage link
  • PATTERNS
  • STITCH ALONGS
  • TUTORIALS & STITCHES
  • COMMUNITY & EVENTS
  • ABOUT US
×
Home » Crochet Bag Patterns

How to Crochet Mikey's Yoga Bag Pattern

Sharing is caring!

  • Facebook
  • Email

Hey Boo Boo! Is that a Yoga Bag in your picnic basket? Ah huh! Introducing Mikey's Yoga Bag. This bag flies over your shoulder as you hold your donut and coffee in your free hand after you have attended a meditative yoga session.

The bag will fit an average-sized rolled yoga mat of 24" wide by up to 72" long.
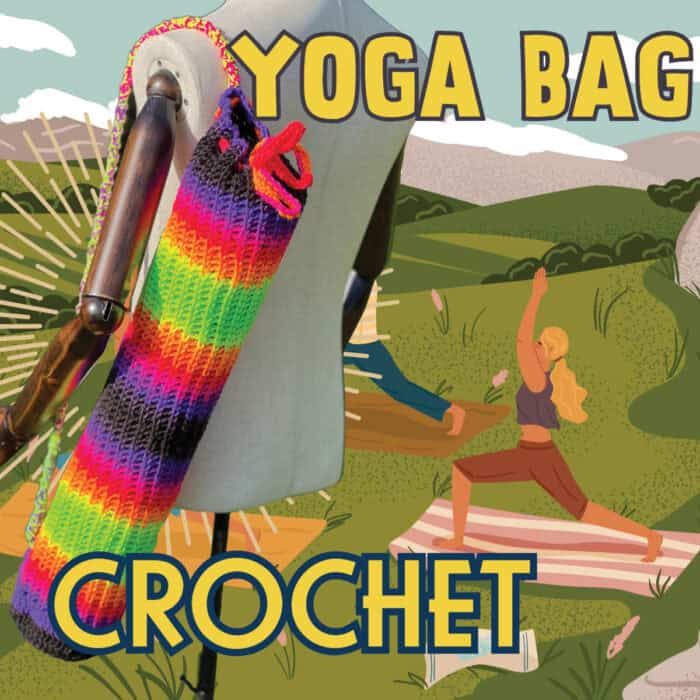
Crochet Yoga Bag Pattern by Mikey

The yarn is just one ball of Red Heart Super Saver Jumbo Stripes in the colour called Bright Stripe. Using 5.5 mm / I/9 crochet hook.

The pattern is fast as split single crochet and ch-2 spaces make up the bag's body.

When the mat is inside the bag, it measures 26" long and nearly 6" in diameter. The handle was unique and used on the Mermaid Tears Purse in 2012. It's a strong and durable handle.

How To Crochet Mermaid Tears Purse Pattern + Tutorial

The pattern is currently in development with writing out the steps and this is serving as a preview. There's not a lot of instruction to this majestic yoga bag.

Yarn

Red Heart Super Saver Jumbo Stripes, 283 g/10 oz, 440 meters/482 yards

Bright Stripe - 1 Ball

Using 5.5 mm / I/9 crochet hook.

Gauge: 13 sc and 14 rows = 4” [10 cm]

Abbreviations

Ch = Chain

Dc = Double Crochet

Splsc = Split Single Crochet aka Shallow Single Crochet

Sk = Skip

RS = Right Side

Sl st = Slip Stitch

Instructions

Ch 4. Join with sl st to beg ch to form ring.

1st rnd: Ch 1. 12 dc in ring. Join with sl st to beg dc. 12 dc.

2nd rnd: Ch 1. 2 dc in each dc around. Join with sl st to beg dc. 24 dc.

3rd rnd: Ch 1. 2 dc in first st as join, 1 dc in next. *2 dc in next dc. 1 dc in next dc. Rep from * around. Join with sl st to beg dc. 36 dc.

4th rnd: Ch 1. Ch 1. 2 dc in first st as join, 1 dc in next 2 dc. *2 dc in next dc. 1 dc in next 2 dc. Rep from * around. Join with sl st to beg dc. 48 dc.

5th rnd: Ch 1. Ch 1. 2 dc in first st as join, 1 dc in next 3 dc. *2 dc in next dc. 1 dc in next 3 dc. Rep from * around. Join with sl st to beg dc. 60 dc.

6th rnd: Ch 1. Ch 1. 2 dc in first st as join, 1 dc in next 4 dc. *2 dc in next dc. 1 dc in next 4 dc. Rep from * around. Join with sl st to beg dc. 72 dc.

Side

Going forward, continue in a continuous round without slip stitching at the end of each round.

1st rnd: Ch 1, 1 sc in first dc, ch 2, sk 2 dc. *1 sc in next dc, ch 2, sk 2 dc. Rep around and DO NOT join.
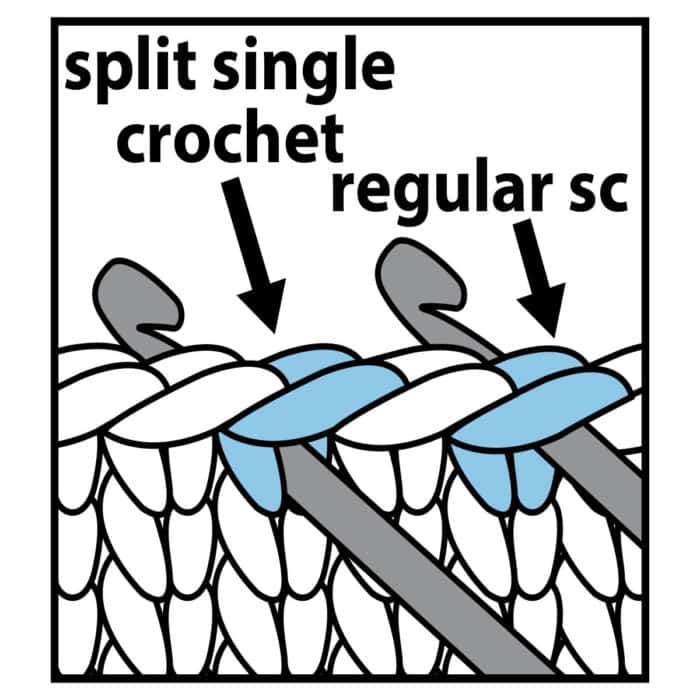
Split Single Crochet with Comparing to Regular Single Crochet

Continuous rnds: *Splsc in next sc, ch 2, sk ch-2 sp. Rep from * around and continue around until the project measures 24" from the end of the double crochet rounds to the opening of the bag. Fasten off.

Strap

The strap is 24" long, slightly stretched, but will stretch more when using. Using the interior strand and exterior strand of the same ball, you will use both strands together. This strap was used in the Mermaid Tears Purse Bag.

Leave a 14" strand gap between the slip knot and the starting of this to use to sew to the bag later.

This is confusing; watch the tutorial above to see how it's done. The instructions for writing this are a bit tough to follow.

With 2 strands ch 4.

1st rnd: Draw up a loop in 2nd ch from hook. Draw up a loop in each of next 2 ch (4 loops on hook).

2nd rnd: Drop all loops from hook. Pick up last loop worked (4th loop). Working from right to left, insert hook in 1st loop (this will cause a circle to form). Yoh and draw through loop. Insert hook into 2nd loop. Yoh and draw through loop. Insert hook into 3rd loop. (4 loops on hook).

Rep last rnd until work from beg measures 24" long. Break yarn, leaving a long end. Thread end through rem sts and fasten securely.

Sew the handle to the top of the last double crochet round at the bottom of the bag and the 2nd rnd from the top of the bag.

Tie

Using just 1 strand, ch 120.

1st row: 1 sc 2nd ch from hook. 1 sc in each ch across. Fasten off.

Weave the tie through the first row of ch-2 sps. When it's finished and tied, ensure the tie is directly across from the bag strap.

Tutorial
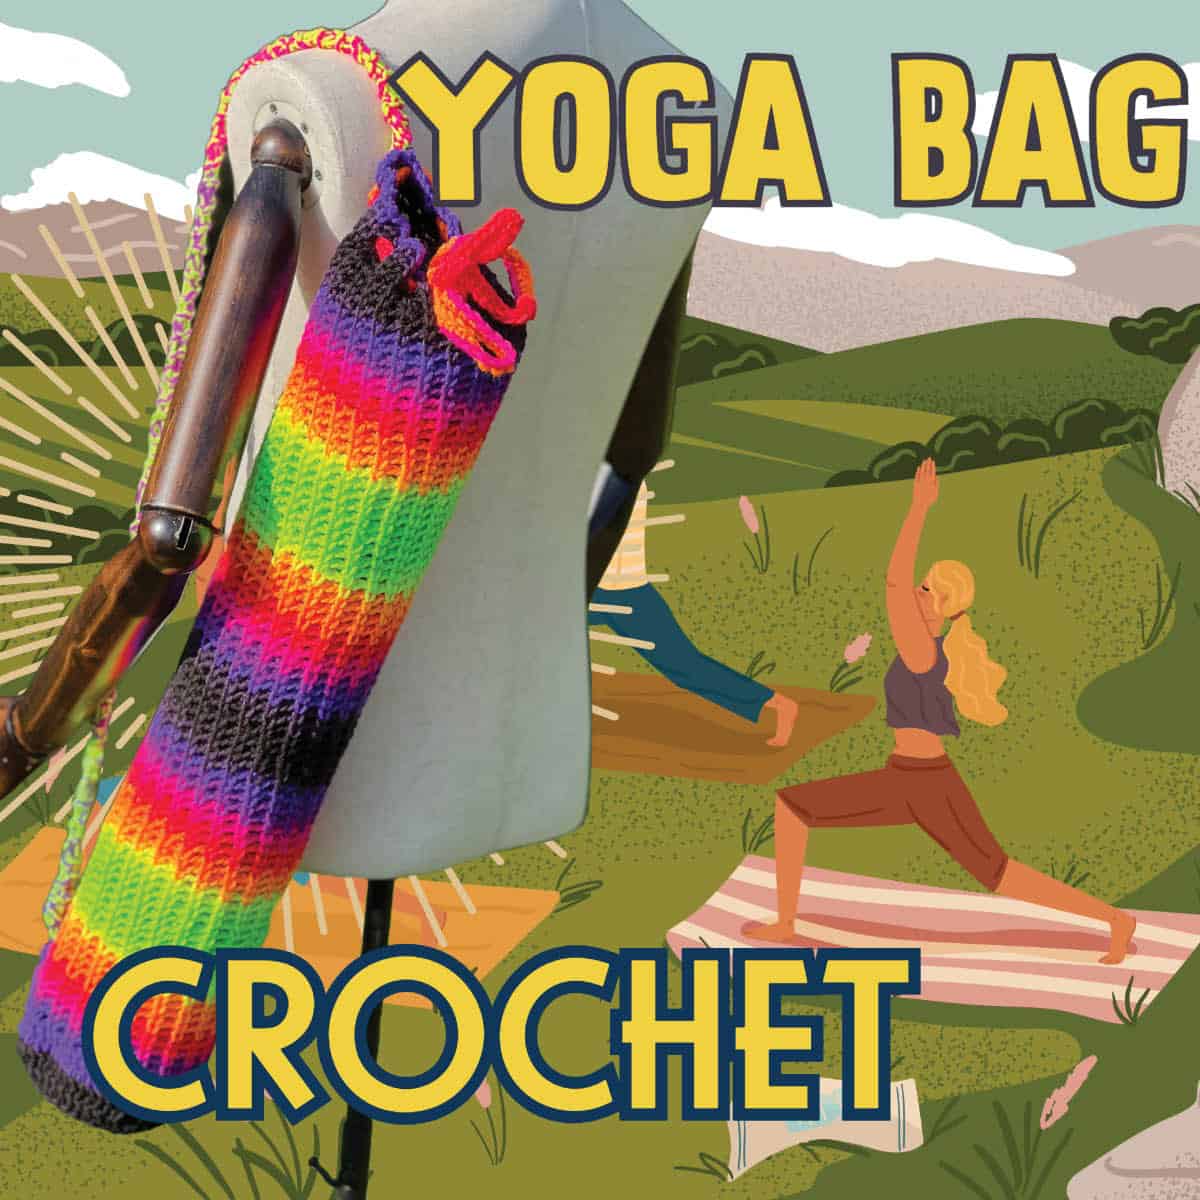
Knit Yoga Mat Travel Bag Pattern
Summary
Crochet Yoga Bag Free Pattern
Article Name
Crochet Yoga Bag Free Pattern
Description
Crochet a super easy and fast yoga bag. Keep your hands free as you bring your mat with you.
Author
Michael Sellick
Publisher Name
The Crochet Crowd
Publisher Logo
The Crochet Crowd

More Crochet Bag Patterns

  • Crochet Tuck-It Tote Bag Pattern + Stitch Along
  • Crochet Flame Stitch Tote Bag Pattern
  • Crochet Trick or Treat Bags Pattern + Tutorial
  • Crochet Over-the-Shoulder Rainbow Tote Bag Pattern

Filed Under: Crochet Bag Patterns, Crochet Patterns by Michael Sellick, Crochet Pride, Mikey's Crochet Bag Patterns, Red Heart Super Saver Yarn Patterns, Red Heart Yarn Patterns

Comments

    Have you completed this project. Show me! Cancel reply

    Your email address will not be published. Required fields are marked *

    The maximum upload file size: 360 MB. You can upload: image, document. Links to YouTube, Facebook, Twitter and other services inserted in the comment text will be automatically embedded. Drop file here

  1. sheila says

    February 05, 2026 at 12:31 am

    it was a fun and easy project - thank you for the strap video - it made me understand how to do it easily - i used my leftover yarns from other projects instead of just one color like yours - thank you 😍

    Crochet Mikey's yoga bag with colorful stripes, perfect for fitness enthusiasts and crochet crafters.

    Reply
    • Mikey says

      February 06, 2026 at 10:19 am

      That's super... great little project to do as well.

      Reply
    • Mikey says

      February 11, 2026 at 9:54 am

      Oh look at that... turned out pretty awesome!

      Reply
Michael Sellick May 2026

Welcome!

I'm Mikey. Join me in learning crochet as I am always learning, too!

More about me
Mikey Stitch Studio Browse Patterns
The Crochet Crowd Design

AI Design

Learn about our designs. Why don't we use AI to design?

Designing
  • Thick Scum Tunisian Scrubby + Tutorial
  • Easter Crochet Topiary Tree Pattern
  • Oversized Decor Crochet Pinecones
  • Spring Lime Topiary Crochet Tree Pattern
  • Crochet Beach Bag Pattern
  • Crochet Spring Coaster Pattern + Tutorial
  • Amazing Crochet Topiary Tree Pattern
  • How To Crochet 8 Christmas Tree Patterns + Tutorials
  • How To Crochet Mermaid Tears Purse Pattern + Tutorial
  • Crocodile Stitch Applique Pattern + Tutorial
  • Aran Toggle Crochet Wrap Stitch Along + Tutorial
  • The Crochet Crowd Book
  • Crochet Snowflake Throw + Diagrams + Tutorials
  • Crochet Happy Holiday Throw Pattern + Tutorials
See more Crochet Stitch Along Patterns →

Footer

Stitch Alongs With Mikey

  • Crochet Puffy Flower Fun Day Blanket Stitch Along + Tutorial
  • Stitch Along: Crochet Diamond Dancer Blanket + Tutorials
  • Stitch Along: How to Crochet Flower Bouquet Blanket Online Workshop
  • How To Crochet Study of Transitions Blanket Pattern + Tutorial
  • Spring Study of Texture Ombre Blanket
See more Crochet Stitch Along Patterns →
↑ back to top

Explore

  • About
  • Before 2023
  • 2023 Patterns
  • 2024 Patterns
  • 2025 Patterns
  • 2026 Patterns

More

  • FAQ
  • Contact
  • Privacy Policy

The website has been active since 2010. Articles and patterns are reviewed from time to time. Some patterns get updated with newly written instructions, photography and keeping the patterns current.

Copyright © 2026 The Crochet Crowd • Some links may contain affiliate connections.