Have you Ever Made A Crochet Amigurumi Doll for Travel?
If you would have asked me earlier this year if I have ever travelled with a Crochet Doll, I would have asked you if you were serious! Talk about judgemental queen eh!
The Crochet Cruises, I made a pirate parrot a couple of years back. I used him as a prop at the welcome table onboard Carnival Glory's Cruise Ship. I didn't use him anywhere else and realized I had put a few hours into making him but really never used him. I found him yesterday while cleaning.
Pattern Suggestions
- Crochet Hot Air Balloon Pattern
- Crochet Cute Apple Pattern + Tutorial
- 7 Free Crochet Prayer Shawls Pattern eBook
- Crochet Rose Garland Pattern
- Crochet Ocean Waves Afghan Pattern + Tutorial
Yarnspirations Secret
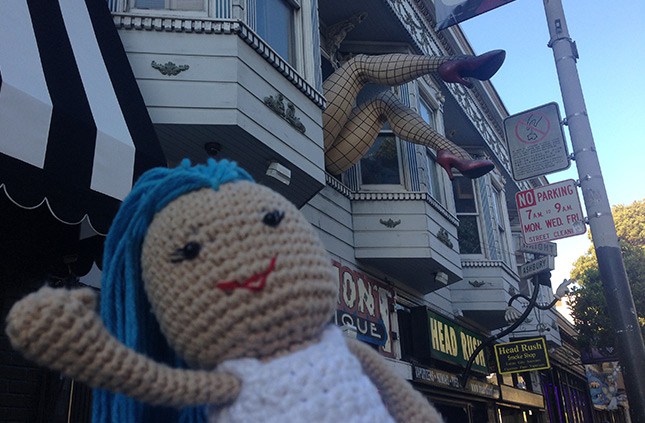
What you don't know is that the design and marketing team take turns with a selected Lily Doll to take her on their travels. Lily has gone all over the globe. When she gets back, she hitches a ride somewhere else. She's been to California and various parts of Europe.

So I kinda changed my mind about the process and not because of peer pressure but I realized something. There are probably 10's of thousands, if not millions of the same view taken by tourists. We take photos and keep it handy to document our journey. But the truth is, many people take the exact same photo... you can stand in front of the camera but Daniel and I are usually solo travellers where getting a photo of us together is a rare occurrence.
So with Yarnspirations taking these photos with Lily. You cannot deny that these photos have personalization. There are times in a travel experience where I am tired that I don't want my photo taken. An amigurumi crochet doll is ready to be a film prop at any time.
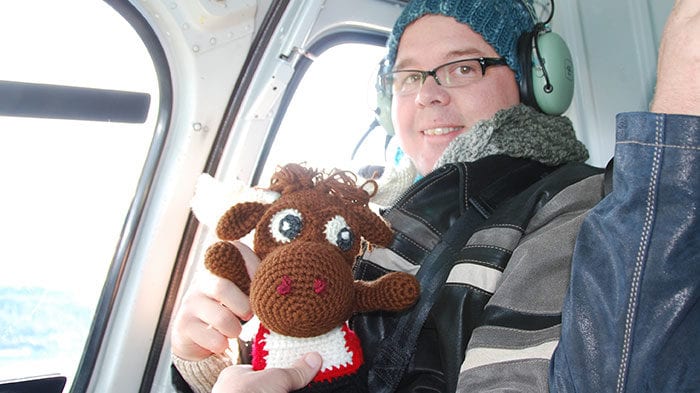
So I made a Crochet Moose, a free pattern by Sharon Ojala. So I figured I would try the same thing for my trip Alaska.
Like a big boy to a chocolate buffet, I was hooked! I really enjoyed the process of photographing my moose with the scenery of Alaska. At first, I felt like an idiot doing it but quickly lost the embarrassment of travelling with my moose. Let's me tell you why:
- The Moose is a Great Conversational Ice Breaker with Other Tourists.
- Getting the right photo is a bit of a challenge and fun.
- The Moose is ready to go, even when I am tuckered out.
- There are some great scenes to take where it's just rocks and mountains, but the moose adds personality to the photograph.
- It can take something that has been photographed a gazillion times but my moose documents I was really there, even if I was behind the camera.
- I can write a storybook of the adventures of my character.

So if you want to see my journey of Alaska through my moose's adventure, I have only 57 photos that document my travel from Vancouver up to Alaska and back. View my photos.

Recently
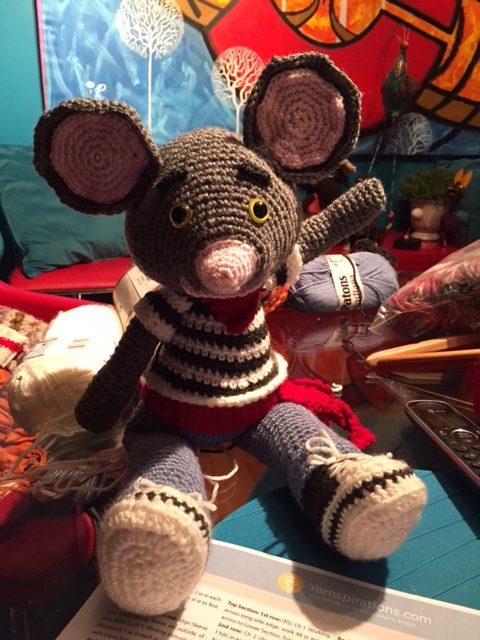
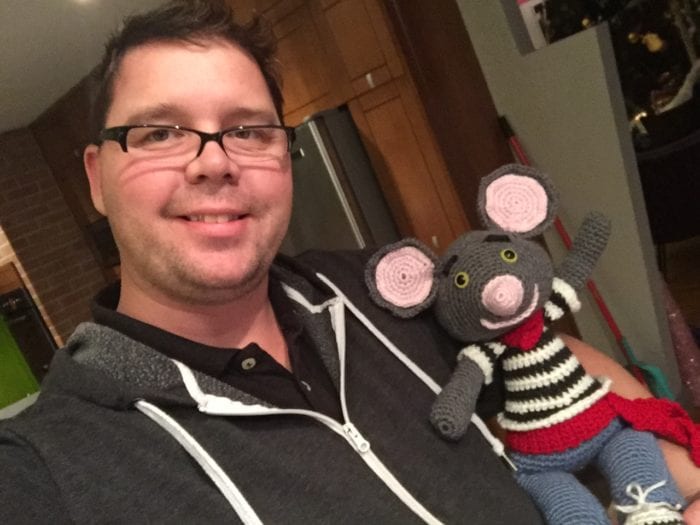
As a result of having fun with my moose in Alaska. I decided to make a Crochet City Mouse from Yarnspirations. I realized partially the way through in making the shirt area that it reminded of the uniforms used in Venice. It was too late to change the blue jeans look to restart the mouse again using black pants.
I decided to skip the vest that the character has. Instead, I made a customized red belt and customized a mini kerchief for my mouse. I also added some bushy eyebrows. So I have my own version of a Venetian Mouse.

Staging A Character - Wires and Personality
There are hidden components inside the character that allow me to have it film ready. Like the moose, I used heavy duty wire to line the interior of the body. For the moose, I had wires running across the arms to give her the look of waving. I also had wires going up from the legs to the head in both legs to give her the appearance of being able to stand.
I learned from the moose that I have to do a better job of lining the interior as the wires end up trying to wiggle themselves out.
So like any lesson, I wired up the mouse differently.
- There is a wire in each ear from top to ¾ the way through the head. I tapped some hot glue behind the ear at the end of the wire and tapped it into position. The ears will not stand without any effort.
- There is one wire from the waving hand all the way to the bottom of the main body. I turned the wire to have a loop at the end so it cannot pop out of the stitches. At the bottom of the body, I tapped got glue where it comes out of the bottom to hold it into position. I know from my yarn artistry that glue to yarn is permanent and unlikely to break apart.
- I placed one wire from the back of the main body to ¾ up through the head. It prevents the character from having a bobblehead and is more stable.
If I hadn't done the wires, both arms would be done like the left. There is no personality if both arms are done. It gives the illusion of waving. I know the constant use of pulling it in and out of my knapsack will be an issue of pressure to the character. So while it may be stiff at first, the character will lose it's natural stiffness and soften. So without the wires to stable it, in just a few days of travel, the doll will most likely not be positionable. The ears especially were already falling down. So to not take care of it during construction for my purposes, it will be a problem.


Erica says
lol are the last two pics supposed to be sideways and upside down? Just asking, but I think they are cute.
Melissa Burdick says
I was wondering if there was a way you can give me a pattern of the mermaid that you did in the 12 to 18 month baby. But I need one for an infant like 0 to 3 months please. Or could you do one on YouTube, I watch everything you do on there you are amazing crocher. I started last yr and learned how to crochet and I love it so much. so could pls do a mermaid for infant size like you made the 12 month one, it is so pretty.
Thanks
Melissa Burdick
Laura Jean Bartholomew says
Melissa, This is what we have for that size. http://thecrochetcrowd.com/crochet-mermaid-tail/ At this time we don't have a tutorial for that size in our queue. - LJ
Helen says
How do I get a printable copy of the corner shell shawl