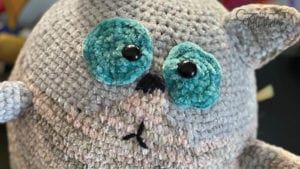
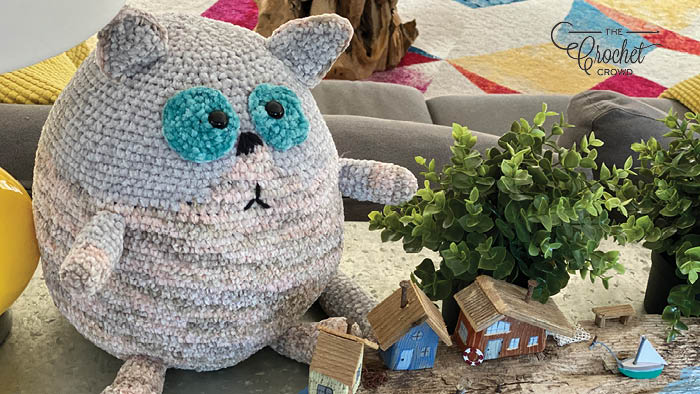
The Crochet Fat Cat Stuffies is a free pattern and is one of the newest patterns available on Yarnspirations.
It uses Bernat Baby Crushed Velvet and Bernat Baby Velvet Yarn. The cat is so soft; it's just a wonderful crochet pattern to do.
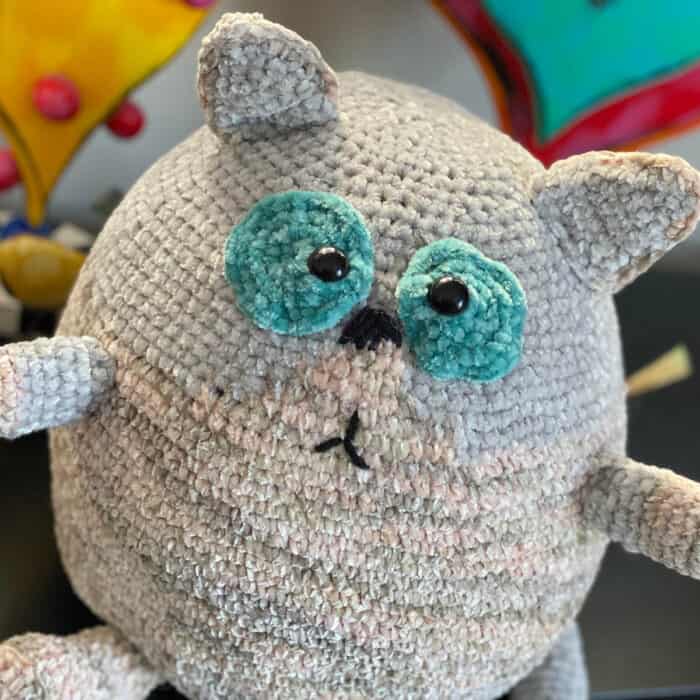
The body is larger than you might imagine and I did improvise a bit making the legs, arms and tail longer. I also made the eyes the same instructions as the body from rounds 1 - 4 using the solid blue and used safety eyes instead.
Tutorial
More Crochet Patterns
- Crochet Cable Your Love Baby Blanket Pattern
- Crochet Rainbow Patterns
- Crochet Sanitizer Bottle Holder
- Crochet Zippy the Sea Turtle
- 57 Featured Crochet Designers
- Crochet Hexagon Beach Bag
- Crochet Big Cables Baby Blanket Pattern
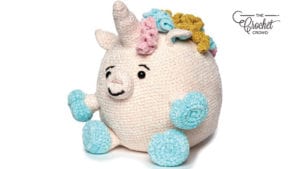
Crochet Unicorn Stuffie
The Crochet Unicorn Stuffie is a new friend to the Fat Cat Stuffies. Shaped almost the same and is the same size. There are similar elements to the pattern but also additional pattern add on like clover hoofs, curly hair aka mane, and of course, the iconic horn.
Can't you just see this being gifted to a loved one or just in your own home for a bit of cheery decor?
Tutorial
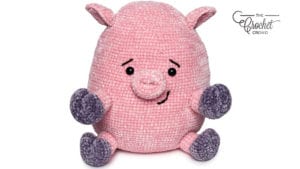
Crochet Pig Stuffie Pattern
The third friend of the Fat Cat is the Crochet Pig Stuffie. I will call him Hammy and love him forever and ever.
Like the Fat Cat and Unicorn, the pattern is the same until the 4" in the middle are complete. Then, it takes a different course of action with a taller head line.
The hoofs are the same as the unicorn and there is a little wiggly tail at the back too!
It's pretty sickening adorable!

Cyndi says
grid
Mikey says
THankx
tiffany says
grid
Mikey says
Thankx
Michelle hughes says
reading the pattern for the fat cat, on the body at round 11 it says *1 sc in each of next 4 sc.
2 sc in next sc. 1 sc in each of next 4 sc. Rep from * but listening to the video you have a count of 8 sc after the increase, is that a typo ?
Mikey says
It's probably my tongue. Follow the pattern.
Mikey says
Oh, I did that because it's easier to count 8's. After I got to the increase, it's easier to do it that way. However, the increase is still the same as the pattern.
Michelle hughes says
even round 6 and 8 on the pattern don't mention the 4 and 6 stitches.
Mikey says
I am wondering.
Mikey says
Im looking at the pattern now to see what you exactly mean. I don't quite follow.
Mikey says
6th rnd: *1 sc in each of next 2 sc. 2 sc in next sc. 1 sc in each of next 2 sc. Rep from * around. 48 sc.
This one starts off with having us change the increased location and shifting it by 2 stitches. Once the increase was done, I said in the tutorial, just count 4 sc in a row, then inc. Do that around and you will be left with 2 sc to finish at the end. I find it's easier to count this way.
7th rnd: *2 sc in next sc. 1 sc in each of next 5 sc. Rep from * around. 56 sc.
This one has our increase at the beginning again. Then 5 sc in a row.
8th rnd: *1 sc in each of next 3 sc. 2 sc in next sc. 1 sc in each of next 3 sc. Rep from * around. 64 sc.
The inc has been shifted again 3 sts over. Once the inc is done, I counted 6 sc in a row, then inc. You will be left 3 sts to sc in the end.
9th rnd: *2 sc in next sc. 1 sc in each of next 7 sc. Rep from * around. 72 sc.
The inc is back at the beginning again.
10th rnd: 1 sc in each sc around.
1 sc in each around. There would be 72 sc sts around as there was no inc.
11th rnd: *1 sc in each of next 4 sc. 2 sc in next sc. 1 sc in each of next 4 sc. Rep from * around. 80 sc.
The inc was shifted over by 4 sts. Then inc. From here, I did 8 sc in a row, then inc. You will be left with 4 sts at the end to finish.
Michelle hughes says
I think it's just me, I'm confused (not taking much really 🙂 )... So If I follow the pattern it will give me the same outcome as if I was listening to the video, right ? I will keep going and see what I get I guess.....wish me luck lol I don't know what I was thinking giving this a try, this yarn is difficult for me.