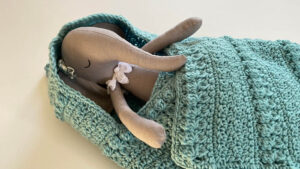
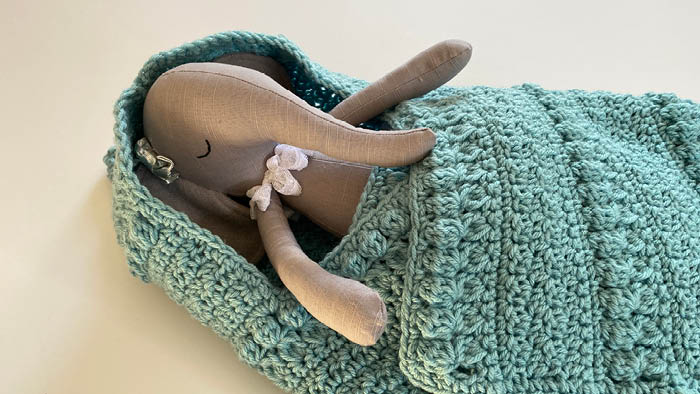
The Crochet XYZ Hooded Baby Blanket can be just a regular baby blanket or you can add the optional hood that is provided in the instructions.
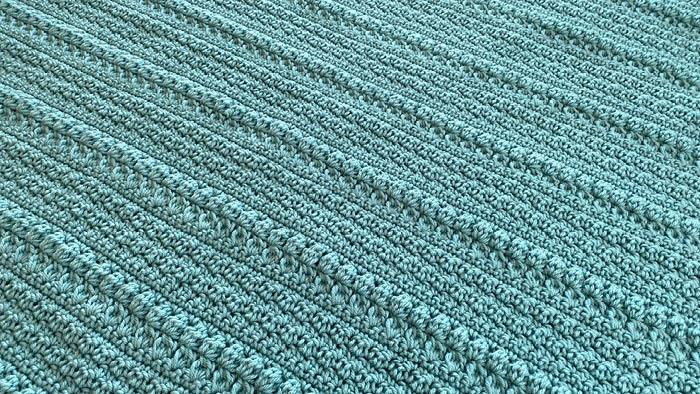
The stitches that make up this lightly textured soft baby blanket are clusters and houndstooth stitchwork that are separated by rows of single crochet between them. I was able to crochet this in 2 days. It's pretty straightforward.
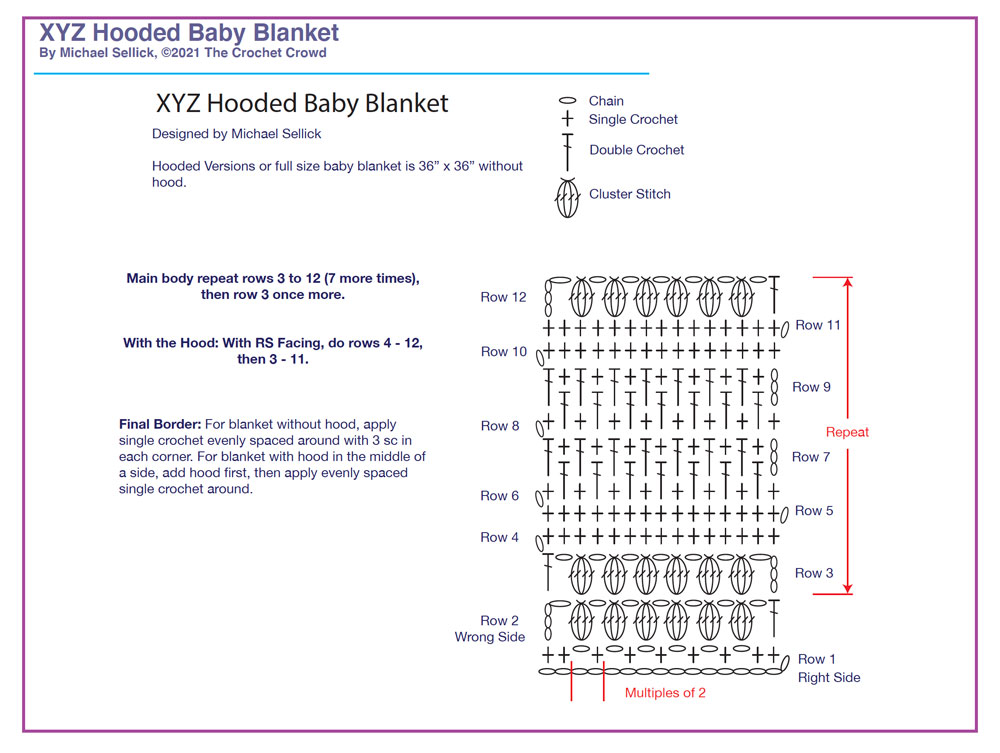
I have included the crochet diagram with this to assist you further. It's in the free download.
I just provided a simple single crochet border around this but you can build upon it if you feel the desire.

Tutorial
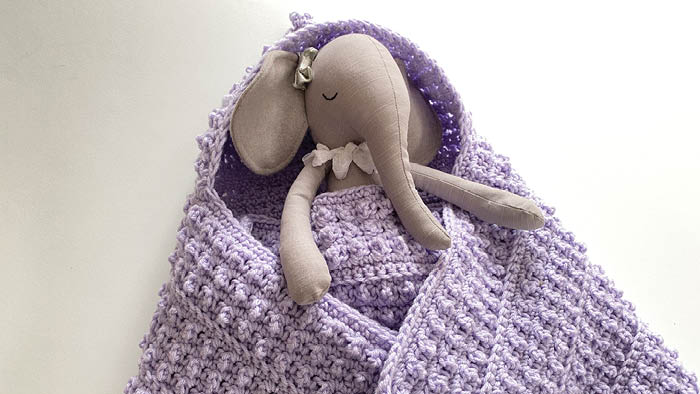
Crochet Baby of Mine Hooded Blanket
A cousin blanket to the XYZ is this version. Mikey has a hooded baby blanket called Crochet Baby of Mine Blanket. Easy texture with concepts for doing the hood either on the side edge or a corner. You can leave off the hood and just have a beautiful textured baby blanket.

Crochet Butterfly Kisses Baby Blanket
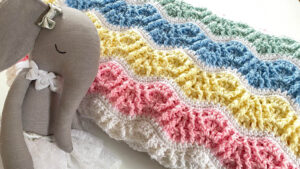
The Crochet Butterfly Kisses Baby Blanket can be changed to any size. A free pattern with a crochet diagram included.
My original design was back in 2009 where it was the Lazy Wave Baby Blanket. This is before me really understanding or doing texture in blankets. A simple repeat and I wondered it's now 2021, what texture could I add to this blanket with what I know today.
Changing sizes and crochet diagram are available in the free download.

More Ideas
- Crochet Textured Hooded Pocket Wrap(Opens in a new browser tab)
- 19 Free Patterns for Hooded Scarves & Cowls(Opens in a new browser tab)
- Crochet Hooded Cable Scarf Pattern(Opens in a new browser tab)
- Crochet Hooded Baby Blanket Pattern(Opens in a new browser tab)
Diagrams Included in Free Download
You can click the diagram pictures if you just want the diagrams on their own.
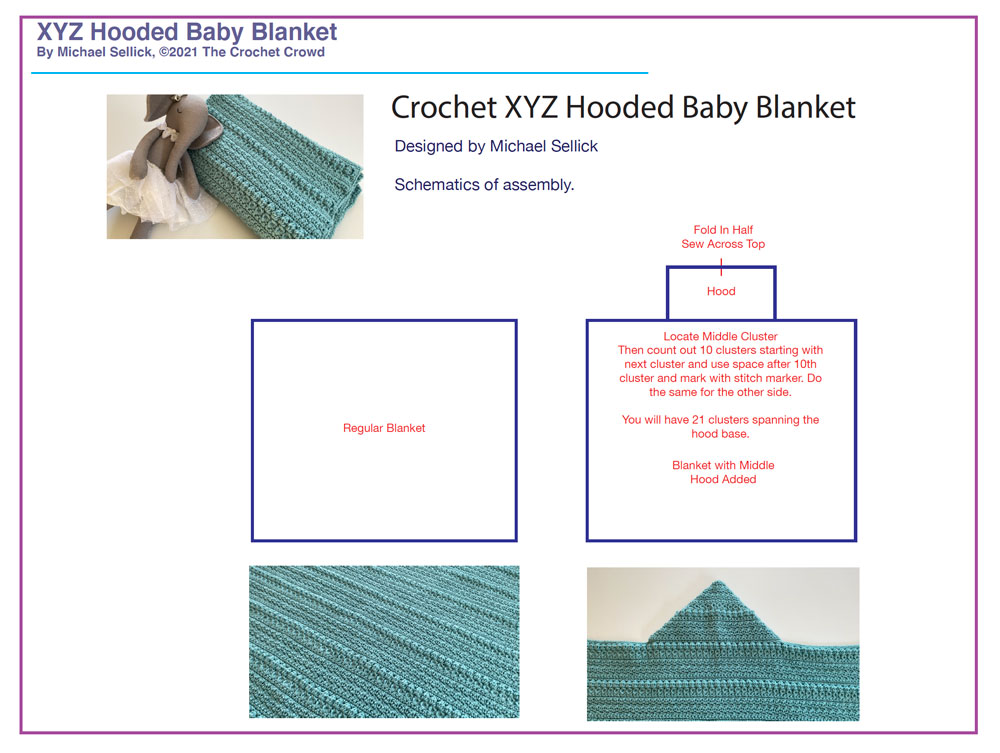
Written Instructions
The above BLUE button has the full set of instructions which includes crochet diagrams and schematics in one easy free download.
Yarn
Caron One Pound, 454g/16 oz, 742 m/812 yds
A - 2 Balls, Soft Sage
OPTION 1 - Baby Blanket
Baby blanket is 36” x 36”. Beautifully textured baby blanket with a simple single crochet border.
OPTION 2 - Blanket with Middle Side Hood
Baby blanket is 36” x 36”. Hood is positioned in the middle that is 8” tall x 15” across the side. It is created as an extension and sewn at top to close the hood.
To change the size of the blanket:
Multiples of 2
Abbreviations
- Approx = Approximate(ly)
- Beg = Begin(ning)
- Ch(s) = Chain(s)
- Dc = Double Crochet
- Rep = Repeat
- RS = Right Side
- Sc = Single Crochet
- Sl St = Slip Stitch
- Sk = Skip
- WS = Wrong Side
The stitch combo used are cluster stitches separated by single crochet rows and then the houndstooth stitch. The houndstooth appears in a lot of clothing as it provides texture without obvious row lines in the pattern.
Clusters
Yarn over, insert hook into assigned stitch, yarn over and pull through stitch, yarn over pull through 2 loops, hold remaining on hook. *Yarn over, go into same assigned stitch, yarn over and pull through stitch, yarn over and pull through 2 loops. Holding remaining on hook. Repeat from * twice more. 5 loops on hook. Yarn over, pull through all 5 loops.
Option 1 - Baby Blanket
Ch 110 or in Multiples of 2.
1st row: (RS) 1 sc 2nd ch from hook and 1 sc in next ch. *Sk next ch, ch 1, 1 sc in next ch. Rep from * across to the last 3 chs. Ch 1, sk next ch, 1 sc last 2 ch. Turn.
2nd row: (WS) Ch 4, (counts as 1 dc and ch 1 sp). *1 cluster in next ch 1 sp, ch 1. Rep from * across. 1 dc in last st. Turn. 53 clusters.
3rd row: Ch 4, *1 cluster in next cluster, ch 1. Rep from * across. 1 dc in last st. Turn. 53 clusters.
4th row: Ch 1, 1 sc in first st, 1 sc in ch 1 sp before next cluster. *1 sc in next cluster, 1 sc in next ch 1 sp. Rep from * across. 1 sc in 3rd chain of the turning chain. Turn. 109 sts.
5th row: Ch 1, 1 sc in each st across. Turn. 109 sts.
Houndstooth Section Begins
6th row: Ch 1, 1 sc in first st, *1 dc in next st. 1 sc in next st. Rep from * across. Turn. 109 sc.
7th row: Ch 3 (counts as dc here and throughout), *1 sc in next st. 1 dc in next st. Rep from * across. Turn. 109 sts.
8th row: Ch 1, 1 sc in first st, *1 dc in next st. 1 sc in next st. Rep from * across. Turn. 109 sc.
9th row: Ch 3 (counts as dc here and throughout), *1 sc in next st. 1 dc in next st. Rep from * across. Turn. 109 sts.
10th - 11th rows: Rep rows 4 and 5.
12th row: Ch 4, (counts as 1 dc and ch 1 sp). *Sk next st. *1 cluster in next st, ch 1. Rep from * across. 1 dc in last st. Turn. 53 clusters.
Rep rows 3 - 12 (7 more times). Then row 3 once. Fasten off.
Main baby blanket is complete. If you prefer no hood, proceed to blanket border next. If you prefer a hood, do the hood first.
Blanket Border
Proceed directly to the border for the regular baby blanket or corner hood style.
Rnd 1: With RS facing up, join to a corner. Ch 1, 3 sc in corner st. Evenly space sc across top and sides of the blanket, placing 3 sc in each corner. Join with sl st to beg sc. Fasten off.
Middle Hood Version
The hood will already be attached to the blanket. You will do the sc evenly spaced around the blanket with 3 sc in each corner. Include the hood when going around the blanket.
Option 2 - Middle Hood
The middle hood is built up as a rectangle directly on the blanket. We have to maintain the stitch look. At the end, we will fold the top of the new rectangle in half and sew shut to form the hood.
Locate the centre of side.
Fold blanket in half and place stitch marker on closest cluster to the centre point.
Starting with next cluster, count 10 clusters over and mark ch 1 space after it. Then go back to centre stitch marker and count 10 clusters over and mark the ch 1 space after it.
You should have 21 clusters between the two outside stitch markers in approx the centre of the blanket. This is where the hood will appear.
The first row that you will start with has to have the single crochets correctly placed. It looks just like row 4 but with the first and last spaces having 2 sc in each.
1st row: (RS) With RS facing up, join with sl st to 1st stitch marker ch 1 sp. Ch 1, 2 sc in first ch 1 sp. 1 sc in next cluster, *1 sc in next ch 1 sp, 1 sc in next cluster. Rep from * across. 2 sc in last ch 1 sp where the stitch marker is. You should had an odd number stitch count.
2nd - 9th rows: Rep rows 5 - 12 from main blanket.
10th - 18 th rows: Rep rows 3 - 11 from main blanket.
Fasten off and proceed to final border.
Nicky says
Hi there. Thank you for this beautiful pattern. I’m a bit stuck though. On row 12, mine ends up on the opposite side to the row 3/4 clusters. What am I doing wrong?
Mikey says
I don't understand the 3/4 clusters part. Can you rephrase?
Mary Monk says
Thank you for this blanket pattern. I have learned from you to read diagrams and so I can just print out the diagram you made and write in the multiples and yarn/hook, and make it with just one printed page necessary! Thank you for the diagram and for teaching me to read and use them. I am making a blanket with scraps to give to homeless and have been using different stitches in every few rows with camel stitch rows in between. I will use this pattern on the next couple of changes. You are the best teacher. Thank you for all your and your crew's wonderful work!
Mikey says
Thank you for your confidence. I'm glad the pattern is of help to you.