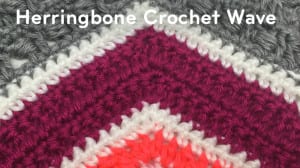
Crochet Herringbone Stitch Wave
This Herringbone Wave pattern is part of The Stitch is Right Wave Game. It’s been designed for being multi-purpose so you can change the size of the project to the width of a scarf or up to the size of a king-size afghan.
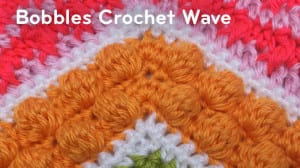
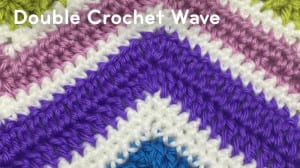
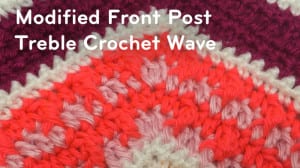
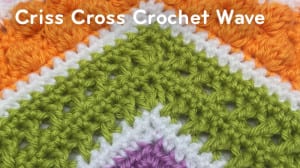
The Stitch is Right Wave Game, this pattern matches 7 other Crochet Wave Patterns. Each of the other 7 concepts has the exact correct stitch counts and can work with each other. Even if you decide not to do The Stitch is Right Game, you can still use the concepts together like choosing from a crochet stitch buffet to make your own unique afghans.

Pattern Suggestions
- Crochet Frosted Tips Afghan + Tutorial
- Crochet Multi Stripes Hat Pattern
- Crochet Triangle Shawl Pattern
- Crochet Chevron Self Striping Blanket Pattern + Tutorial
- Crochet Dashing Holiday Throw Pattern
Materials Needed
- I’ve used Caron Simply Soft. I don’t have a yarn quantity for you as The Stitch is Right Game has multiple types of stitches that each use a different quantity of yarn.
- Size 5 mm or H Hook
To make it easier, all 8 Stitch is Right Waves have the same starting if starting from scratch. Once you get past Row 1, the 8 different designs can be started.
Stitch Multiples
Project Sizes
- Custom Size Multiples of 28 + 18. Each Chevron is 28 sts and 18 sts for the sides.
- Scarves Ch 46 – 1 Chevron + Sides = 10″ Wide and Typically 70″ long for adults.
- Receiving Blanket Ch 130 – 4 Chevrons + Sides = 28″ Wide and Typically Square.
- Large Cradle Ch 102 – 3 Chevrons + Sides = 22″ Wide x 33″ Long.
- Baby Blanket Ch 186 – 6 Chevrons + Sides = 40″ Wide and Typically Square.
- Children Blanket Ch 214 – 7 Chevrons + Sides = 46″ Wide and Typically Square.
- Teenagers Blanket Ch 242 – 8 Chevrons + Sides = 52″ Wide by 60″ Long.
- Throw Afghan Ch 298 – 10 Chevrons + Sides = 64″ Wide by 70″ Long.
- Lapghans & Wheel Chairs Ch 186 – 6 Chevrons + Sides = 40″ Wide and Length of Legs.
Project Sizes for Mattress WITH Drape Hanging Over Mattress
- Crib Ch 214 – 7 Chevrons + Sides = 46″ wide x 75″ long.
- Twin Ch 354 – 12 Chevrons + Sides = 76″ wide x 90″ long.
- Full / Double Ch 410 – 14 Chevrons + Sides = 88″ wide x 90″ long.
- Queen Ch 438 – 15 Chevrons + Sides = 94″ wide x 95″ long.
- King Ch 522 – 18 Chevrons + Sides = 112″ Wide x 95″ long.
Mattress Sizes WITHOUT drape that Hangs over Mattress
The starting chain is significantly less when there is no draping.
- Crib Ch 158 – 5 Chevrons + Sides = 34″ wide x 54″ long.
- Twin Ch 214 – 7 Chevrons + Sides = 39″ wide x 75″ long.
- Full / Double Ch 270 – 9 Chevrons + Sides = 54″ wide x 75″ long.
- Queen Ch 298 – 10 Chevrons + Sides = 64″ wide x 80″ long.
- King Ch 354 – 12 Chevrons + Sides = 76″ Wide x 80″ long.
Starting Instructions – If Starting From Scratch
Either choose a project size above or use a customized calculation for your starting chain counts.
- Chain the desired width that is listed above.
- Dc 4th chain from hook (Chain and dc counts as 2 dc in the same stitch), 1 dc in each next 5 ch. *Dc3tog using the next three chains (bottom of chevron). 1 dc in each of the next 12 chains. 3 dc in the next chain (top of chevron). 1 dc in each of next 12 chains. Repeat from * across until the last 9 chains remain. The final ending of row is dc3tog using the next three chains. 1 dc in each of the next 5. 2 dc in the final chain.
- Mark this side as your right side with a stitch marker. You will need to keep an eye on this stitch marker as some of the stitches used in The Stitch is Right to have characteristics where it matters which side you start the pattern on.
- You may need to fasten on a new colour and pay attention to the right side and wrong side.
From this point, the below stitching instruction plus 7 others that are part of The Stitch is Right is ready to be built onto this point.

Herringbone Stitch Wave – Stitch 6 on The Stitch is Right
The Stitch is Right, there are two rows for each repeat.
hbdc Herringbone Double Crochet - Yarn over, insert hook into the next st, yo and pull through st and the first loop on hook, yo and draw through one more loop on hook, yo and draw through two remaining loops on hook.
hbdc3tog - yo, insert hook into next st, yo and pull through the st and first loop on hook, yo and draw through one more loop on hook, yo insert hook in the next st and pull through st and the first loop on hook, yo and draw through one more loop on hook, yo insert hook in the next st and pull through st and first loop on hook, yo and draw through one more loop on hook, yo and pull through all 4 loops on hook.
For this set of instructions, you need to start on the Right Side.
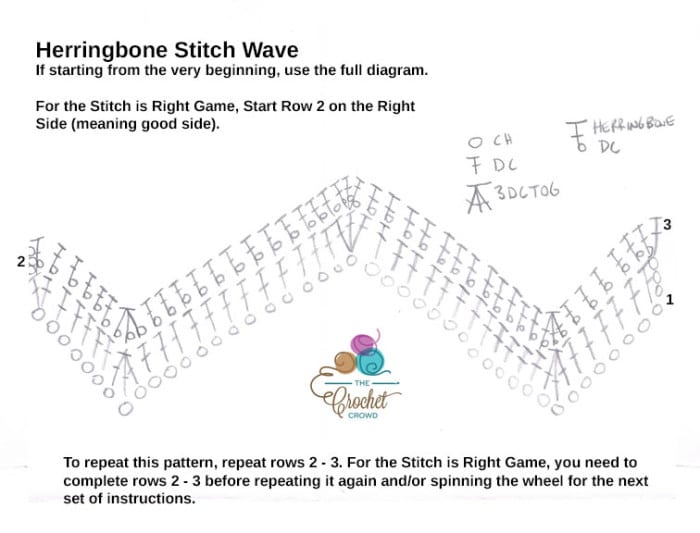
- Turn to the right side and fasten onto the first sc. Ch 3, hbdc in the same sp, and across, with hbdc 3tog
in the valley and 3 hbdc in peak, dc increase in the last stitch. Turn. - ch 1, 2 sc into the same stitch. 1 sc in each next 5 ch. *sc3tog using the next three stitches (bottom of chevron). 1 sc in each of the next 12 stitches. 3 sc in the next chain (top of chevron). 1 sc in each of next 12 stitches. Repeat from * across until the last 9 stitches remain. The final ending of row is sc3tog using the next three stitches. 1 sc in each of next 5. 2 sc in final stitch.
This is the end of the repeat pattern for The Stitch is Right. If you would like to use this concept for entire projects or even make more rows. Just continue to follow steps 1 & 2.
Crochet Diagram
Kim Bosley says
Grid
Mikey says
Thanx