
Crochet and Cross Stitch the Poinsettia Throw
Introducing the Poinsettia Crochet Throw. This is an afghan that has the potential to win county fairs and take home awards. I would safely describe this afghan as one that crocheters won't take lightly. Simply meaning that it requires work for the cross stitching and if a crocheter is going to do this one, they most likely keep it for themselves and/or give it as a gift that they know someone will appreciate.
More Crochet Patterns
- Crochet Ornament Blanket Pattern
- Adding Fleece to Crochet Projects + Tutorial
- Crochet Sweet High Tops Booties Pattern
- Crochet Pot Handle Cover
- Crochet Puff Granny Pillow Pattern

While the squares are fairly simple and so is the body of the afghan, it's the cross stitching that moves this afghan up a whole other level. Just because I can and tutorials require lighter yarn so the stitches can be seen, I have used blue as my feature colour. I was going for the look of snow flakes. I also experimented a bit as well.
The free written pattern is available, it just called the Poinsettia Throw.
Video Tutorial
Advice and Help
Firstly, there is more to this pattern than you may realize. For example, I thought that the strips of the granny squares would be sewed together and we are off to make the body of the afghan. What I didn't realize is that the strips need to be prepared as a solid block before beginning.
In this section, I will be providing photographs to illustrate my points.
The Granny Squares - Make 36
The granny squares are really easy. There is an instruction in Round 3 that confused me and I had to use the designer's sample to clarify.
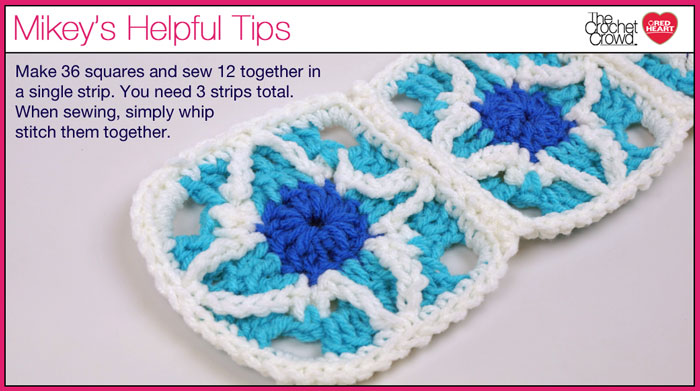
- The instructions say to slip stitch in the same stitch as the Round 2 Ch-10s. In the picture below, Round 2 is the White that appears to be a star.
- In round 3, you must slip stitch on the inside of the white ch-10s stitches. You will see there is 3 DC's in the blue between white chain that is attached to the darker blue. The outside DC's in the same stitches as the white chain. If you go on the outside, you will have ugly gaps and your granny square won't look filled in.
Make 3 Strips Advice
Once you have all 36 granny squares done. We need to whip stitch 12 squares together to make 3 separate strips.
- You don't just sew them together and then start with the body of the afghan. You need to prepare them before you are ready for that stage.
- When you look at the original afghan, you will see a green strip between the border and the square.
- The strips are prepared as a solid block before going further.
- You will single crochet along the short sides ONLY of both sides of the strip using the same colour as the main colour of your afghan.
- This is done to create a separation of the same colour used in the granny square and outside border.
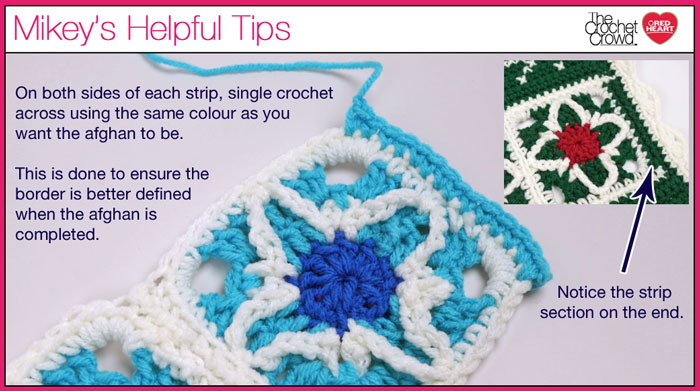
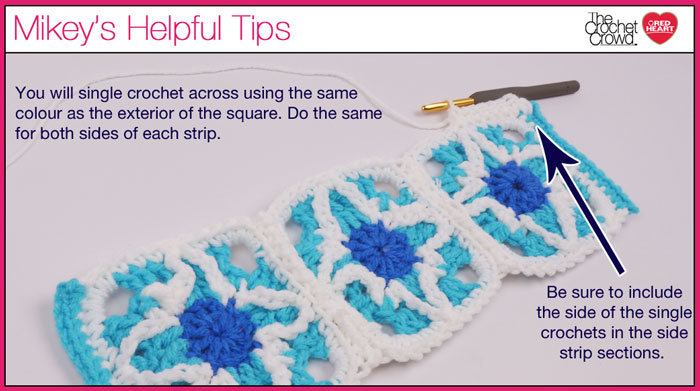
- Once the sides are done, you will then single crochet using the same colour as the exterior of the granny square along both sides. Do this for all strips.
- Notice where I have started on the side of the single crochet of the side of the blue single crochet. You will finish on the opposite side on the side of the single crochet.
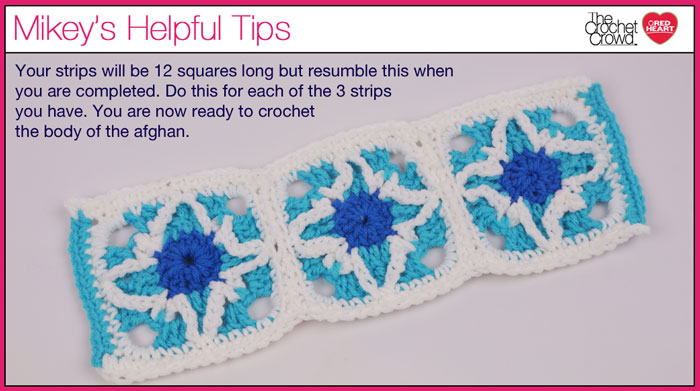
- Your strip will have 12 Granny Squares but this resembles on what it should look like.
Applying the Main Body of the Afghan
The main body is added to the sides of the granny square strip directly. You have to create three main panels.
- One strip of granny squares (middle) will have the main body attached on both sides of the strip.
- The left and right side panels will have the body attached to only 1 side of the granny square strip.
- Once you complete this, you will sew the three panels together at the indicated sew line below.
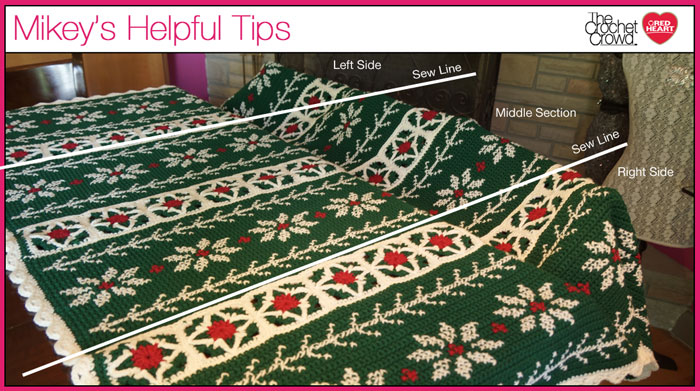
Main Body
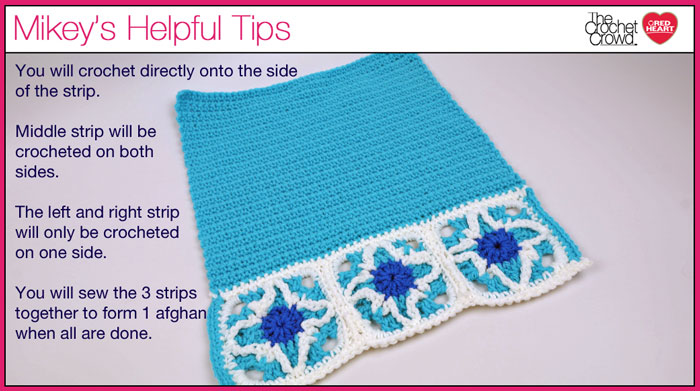
The body of the afghan is crocheted directly to the side of the afghan.
- The center granny square strip will have the body attached to both sides of the strip.
- The left and right strips will have only 1 side completed.
- I would recommend cross stitching the pattern before sewing the panels together.
- BE CAREFUL to ensure you are going in the right direction for when you sew it together you might accidentally have one turned the wrong direction for the pattern you are cross stitching.
Cross Stitching Advice
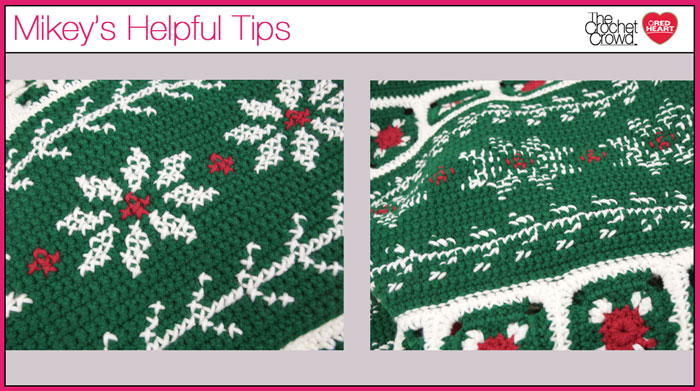
This is the front and back side of the cross stitching. You can see the back isn't pretty but this afghan isn't meant to be turned over. It's more of a show piece for decorations.
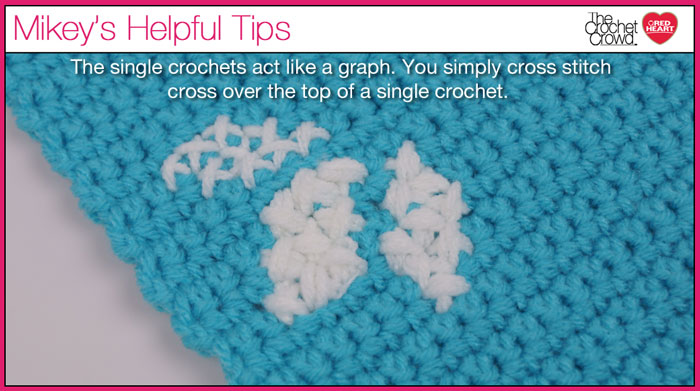
The single crochets act as a graph. The key is to get started and follow along from your starting point. I found once I got started, following the pattern was easy.
- Notice the cross stitching looks different here. I decided to try something different.
I doubled up on the yarn and followed the pattern. I then went back a second time over it. This means there are 4 strands covering the same pattern. It made the pattern more bold.
It's just an option to try.
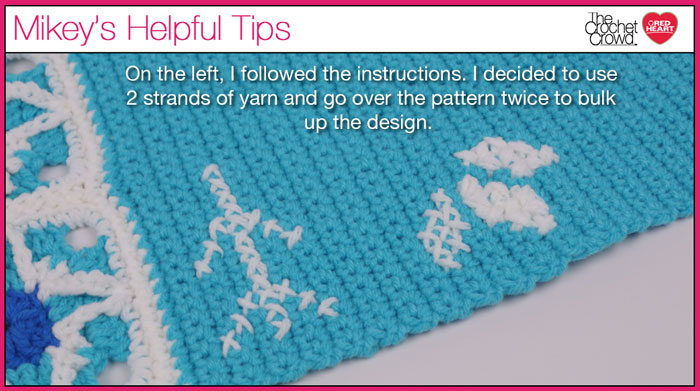
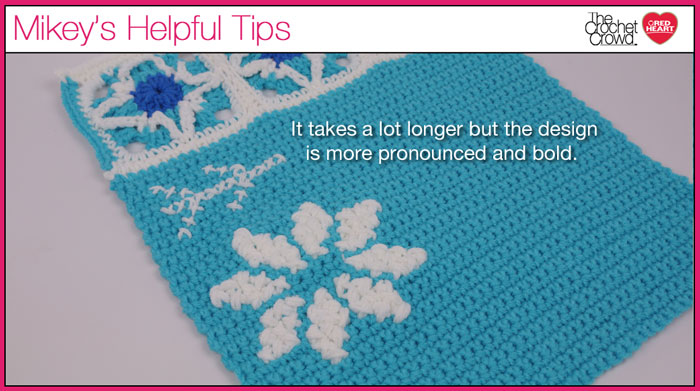
- So the pros are that it's more bold and I like it better.
- The cons are that the more yarn strands between the single crochets does cause it to stretch a bit. The doubling up on the yarns will cause your cross stitching time to double. I think it's worth it though.
- The back side does become a hot mess but if you are not going to turn it over anyways... it may not be a deal breaker.
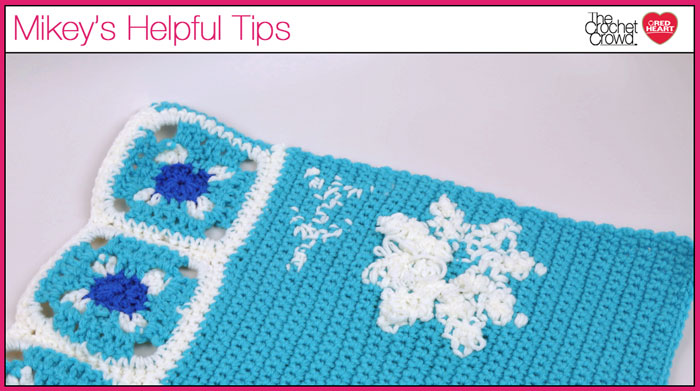
In the end, this afghan is definitely a keep sake and/or a project to treasure. I know some Crochet Crowders have actually done this afghan and love it. If you have the patience and are looking for a project that will wow yourself and/or your family. This may be a project for you!