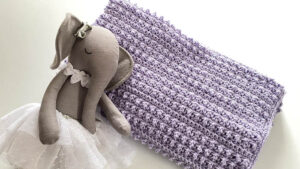
The Crochet Baby of Mine Blanket was inspired by our Stitch is Right Game 2.0. It's one of the stitch faux popcorn combos.
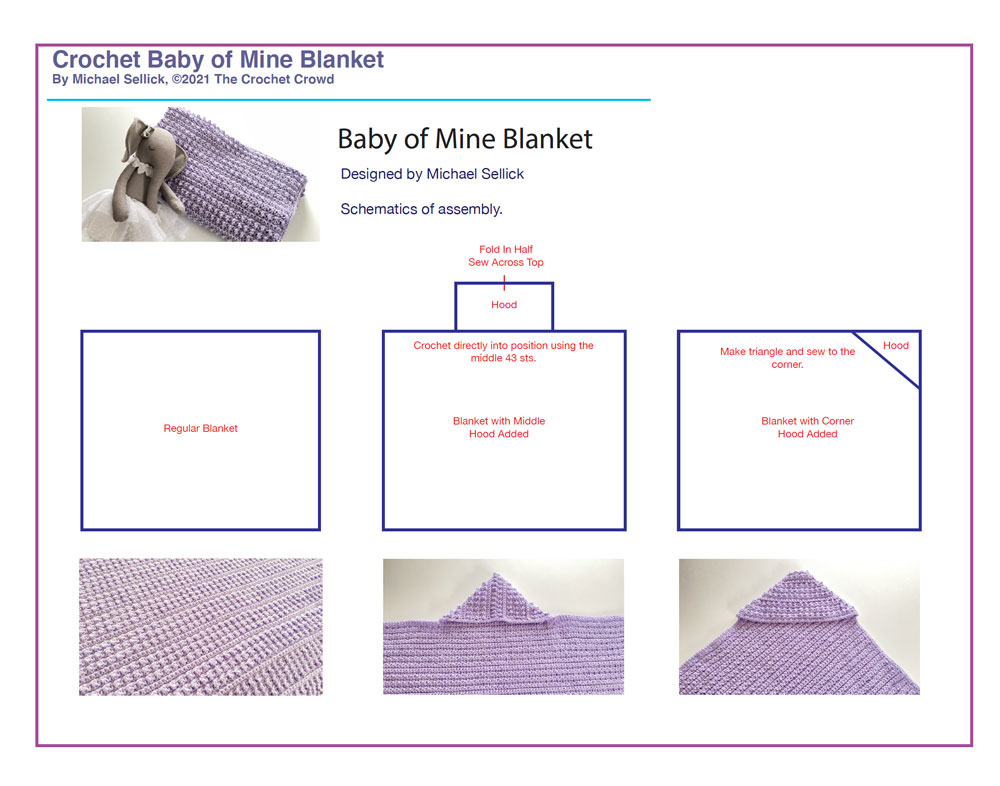
I designed this blanket in 3 ways.
- Just as a regular blanket. I have given an option for just using 1 ball of Caron One Pound yarn plus if you use 2 balls of yarn, you can make it bigger and even add on the hood(s).
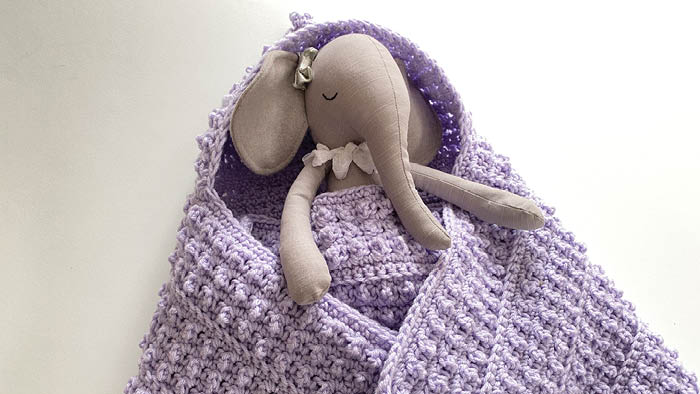
- A hooded blanket with the hood being directly in the centre.
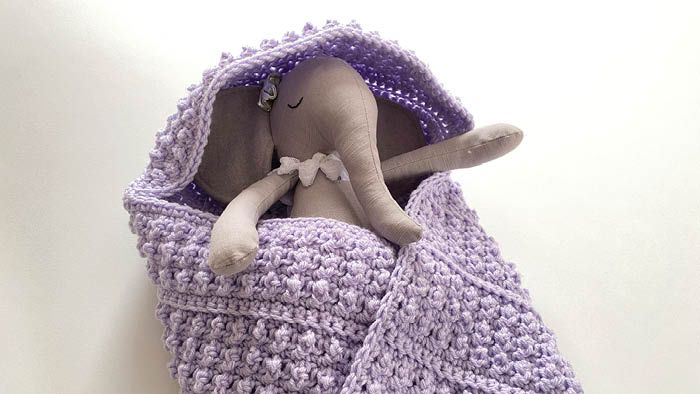
- A hooded blanket with the hood being in the corner.
There is an easy repeating stitch combination that I provided 1 row of single crochet back loop to provide visual relief. Also, if you wanted to change the colour to make stripes, those back loop rows are perfect for doing that.

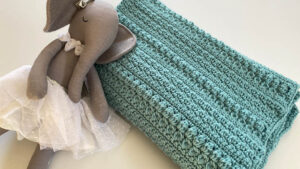
If you are interested in the cousin of this blanket. This is the Crochet XYZ Hooded Baby Blanket.
It's 36" x 36" with an optional hood to the centre of the side of the blanket. It has clusters, houndstooth stitch and single crochets that make up this visually textured blanket. The main blanket looks good on both sides as there is no good or bad side to the blanket.

Crochet Butterfly Kisses Baby Blanket
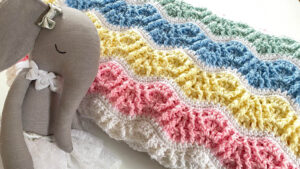
The Crochet Butterfly Kisses Baby Blanket can be changed to any size. A free pattern with a crochet diagram included.
My original design was back in 2009 where it was the Lazy Wave Baby Blanket. This is before me really understanding or doing texture in blankets. A simple repeat and I wondered it's now 2021, what texture could I add to this blanket with what I know today.
Changing sizes and crochet diagram are available in the free download.

The texture is faux popcorn which is created by trebles on the wrong side. The single crochets that sit next to it force it to naturally squat.
Truthfully, I crocheted this in 2 evenings. It was super fast without a lot of time commitment.
More Ideas
- Crochet Faux Popcorn Cowl Pattern
- Crochet Scrubbing Up Dishcloth Pattern
- Crochet Bobbles and Fringe Blanket Pattern
- 19 Free Patterns for Hooded Scarves & Cowls
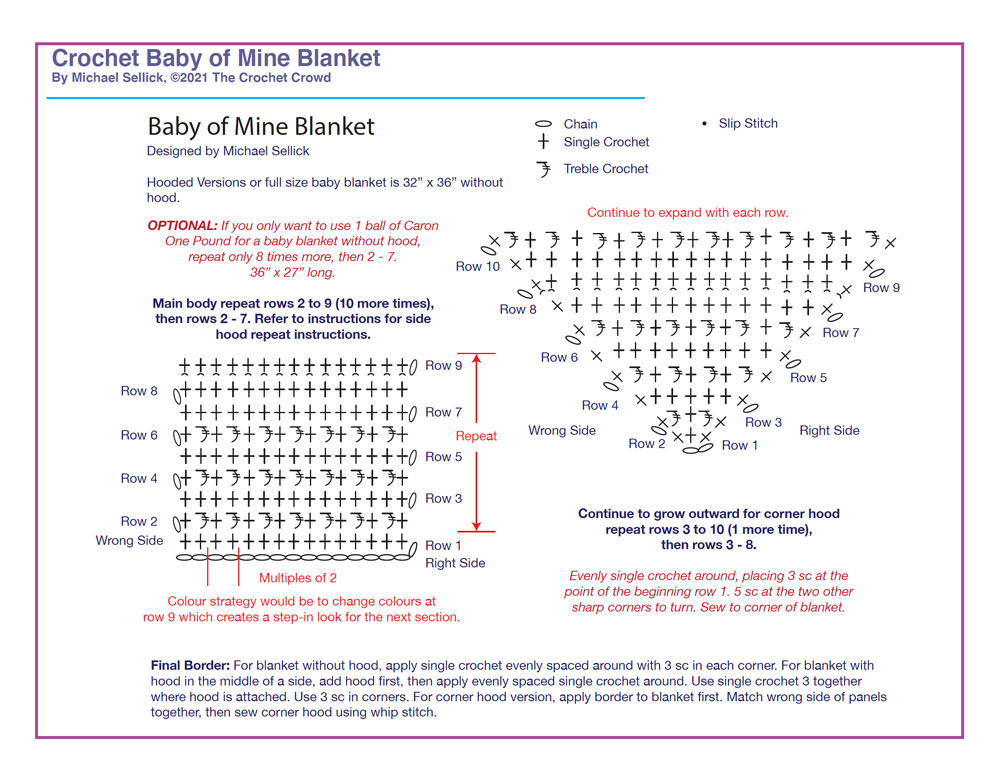
Diagrams Included in Free Download
You can click the diagram pictures if you just want the diagrams on their own.
Written Instructions
The above BLUE button has the full set of instructions which includes crochet diagrams and schematics in one easy free download.
Yarn
Caron One Pound, 454g/16 oz, 742 m/812 yds
A - 2 Balls, Lilac
There is an option to just use 1 ball and make the main blanket smaller without a hood.
OPTION 1 - Baby Blanket
Baby blanket is 36” x 32”. Uses 2 balls. If you want to use 1 ball only, you will have a 36” x 27” and follow the instructions below.
OPTION 2 - Blanket with Middle Side Hood
Baby blanket is 36” x 32”. Hood is positioned in the middle that is 7.5” tall x 15” across the side. It is created as an extension and sewn at top to close the hood.
OPTION 3 - Blanket with Corner Hood
Baby blanket is 36” x 32”. Hood is positioned in the corner. A triangle is made and sewn on. Triangle is 16” across span by 7.5” tall.
To change the size of the blanket:
Multiples of 2
Abbreviations
- Approx = Approximate(ly)
- Beg = Begin(ning)
- Ch = Chain(s)
- Rep = Repeat
- RS = Right Side
- Sc = Single Crochet
- Scblo = Single Crochet Back Loop
- Sl St = Slip Stitch
- Sk = Skip
- Tr = Treble
- WS = Wrong Side
The stitch combo used is called the Faux Popcorn with trebles. Keep in mind for this to work, the trebles must be crocheted on the wrong side so they pop outward to the front of the project.
I provided relief with using single crochet back loops to create the textured lines. If you wanted to have colour options for stripes, change the colour of the yarn before starting a back loop row and run through the pattern until next back loop row.
Option 1 - Baby Blanket
Ch 110 or in Multiples of 2.
1st row: (RS) 1 sc 2nd ch from hook. 1 sc in each ch across. Turn. 109 sc.
2nd row: (WS) Ch 1, 1 sc in first st. *1 tr in next st, 1 sc in next st. Rep from * across. Turn. 109 sts.
3rd row: Ch 1, 1 sc in each st across. Turn. 109 sc.
4th - 7th rows: Rep 2nd and 3rd row.
8th row: Ch 1, 1 sc in each st across. Turn. 109 sc.
9th row: Ch 1, 1 scblo in each st across. Turn. 109 sts.
Option 1 - Baby blanket using 1 ball of yarn.
- Repeat rows 2 - 9 (8 times more).
- Then rows 2 - 7. Fasten off.
- There is not enough yarn to make a hood with this option.
Option 2 - Size shown plus hood options, 2 Balls of Yarn.
- Repeat rows 2 - 9 (10 times more).
- Then rows 2 - 7. Fasten off.
- Yarn from second ball can get this blanket to be longer and the crochet hood.
Blanket Border
Proceed directly to the border for the regular baby blanket or corner hood style.
Rnd 1: With RS facing up, join to a corner. Ch 1, 3 sc in corner st. Evenly space sc across top and sides of the blanket, placing 3 sc in each corner. Join with sl st to beg sc. Fasten off.
The corner hood is sewn onto the corner with a whip stitch when completed.
Middle Hood Version
The hood will already be attached to the blanket. You will do the sc evenly spaced around the blanket with 3 sc in each corner. Include the hood when going around the blanket.
Option 2 - Middle Hood
The middle hood is built up as a rectangle directly on the blanket. We have to maintain the stitch look. At the end, we will fold the top of the new rectangle in half and sew shut to form the hood.
Locate the centre of side.
Fold blanket in half and place stitch marker on stitch that is at the half way spot. This is the centre stitch.
Starting on the next stitch beside it, count 21 sts over and mark it with a stitch marker. Then go back to centre stitch marker and count 21 sts starting with the next stitch on the oppside side of the centre.
You should have 43 sts total. This is where the hood will appear.
1st row: (RS) With RS facing up, join with sl st to 1st stitch marker. Ch 1, 1 scblo in each st across to the last stitch marker. Turn. 43 sts.
Use the stitch row combo from the main blanket.
2nd - 17th rows: Rep rows 2 - 9 as done in the baby blanket (twice).
18th - 23rd rows: Rep rows 2 - 7.
24th row: Rep row 2. Fasten off.
Fold the hood in half with the WS facing each other. Whip stitch using back loops across to seal top of the hood.
Option 3 - Corner Hood
The main blanket needs to be completed, including the final border for this option.
The stitch combination is the same but we have to grow it out from a centre point.
Ch 2.
1st row: (RS) 3 sc 2nd ch from hook. Turn. 3 sc.
2nd row: (WS) Ch 1, (1 sc, 1 tr) in first st. 1 sc in next st, (1 tr, 1 sc) in last st. Turn. 5 sts.
3rd row: Ch 1, 2 sc in first st. 1 sc in each st across. 2 sc in last st. Turn. 7 sts.
4th row: Ch 1, (1 sc, 1 tr) in first st. 1 sc in next st, *1 tr in next st, 1 sc in next st. Rep from * across. (1 tr, 1 sc) in last st. Turn. 9 sts.
5th row: Ch 1, 2 sc in first st. 1 sc in each st across. 2 sc in last st. Turn. 11 sts.
6th row: Ch 1, (1 sc, 1 tr) in first st. 1 sc in next st, *1 tr in next st, 1 sc in next st. Rep from * across. (1 tr, 1 sc) in last st. Turn. 13 sts.
7th row: Ch 1, 2 sc in first st. 1 sc in each st across. 2 sc in last st. Turn. 15 sts.
8th row: Ch 1, 2 scblo in first st, 1 scblo in each st across. 2 scblo in last st. Turn. 17 sts.
9th row: Ch 1, 2 sc in first st. 1 sc in each st across. 2 sc in last st. Turn. 19 sts.
10th row: Ch 1, (1 sc, 1 tr) in first st. 1 sc in next st, *1 tr in next st, 1 sc in next st. Rep from * across. (1 tr, 1 sc) in last st. Turn. 21 sts.
The triangle will get bigger as you progress. Each row increases by 2 sts.
Repeat rows 3 - 10 once more. Then repeat 3 - 8. Do not fasten off or turn on the last row.
Triangle Border
Rnd 1: (RS) Ch 1, 5 sc in same corner stitch, 1 sc in evenly spaced to the beginning corner point, 3 sc in corner point. 1 sc evenly spaced across to next sharp corner. 5 sc in corner st. 1 sc in each st across to beginning sc. Join with sl st and fasten off.
Match the centre point of the triangle to the corner of the blanket with the WS facing each other.
I decided it was best to start in the corner point of the blanket and triangle so the hood attachment would be directly in the middle.
Start sewing from the centre point matching the stitches of the sides of the blanket using the back loops only for a seamless join. Fasten off when you get to the end of the triangle side.
Begin a new sewing strand at the point (corner of the blanket) and sew down the other side of the triangle. Fasten off.
Kelly Lane says
You did it again Mikey, another winner. GREAT pattern. I was able to read through the whole thing and understand exactly what you were doing. I've come a long way with pattern reading and I find those designers that take a minute to understand the reader really make the most clear patterns. This is a great example of that, thank you. Alot of work went into this, and it shows. I'm off to stitch this up for new grandbaby in May. Thank you again for all that you do.
Stella Mata says
Thank you so much for your awesome tutorial, and free crochet patterns on some of your tutorial. Very much appreciated.