Try this unique stitch. I couldn't find a name for it, so I called it the Crochet Raised Star Stitch. This is done in rounds. Follow along with the tutorial to see how this is done. Once you get it, you will find yourself stitching and putting away the tutorial as the concept is pretty easy.
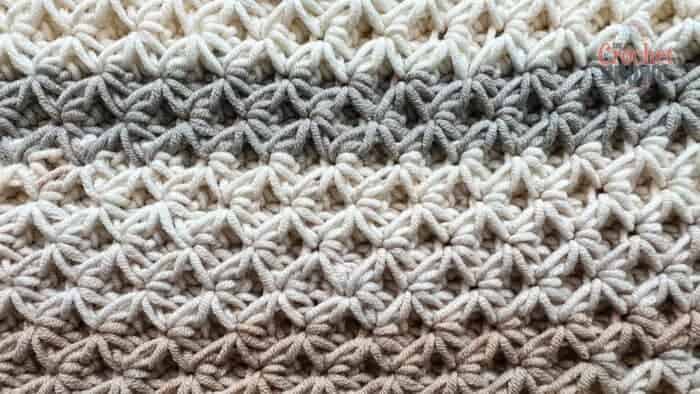
The stitch is really dense and perfect for things like tote bags and more. I used Caron Cotton Cakes as my choice, and the yarn self-striped on its own.
The tutorial will take you through the set up of this. In the future, I will have this stitch in rows to go back and forth with. It's really something else and feels new to crochet.
A sister to this stitch is called the Crochet Star Stitch. It looks similar but without a break between the stars in the rows.
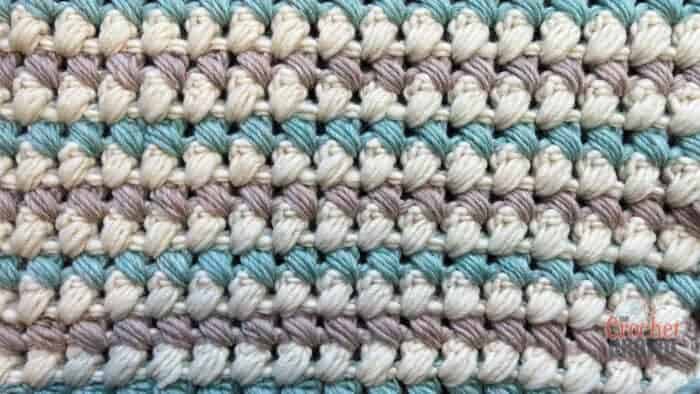
Try another unique stitch. The Crochet Cream Puff Stitch is really cool too. A video is also available to assist you.
Leave me your thoughts...