Crochet Mitered Ridges Afghan
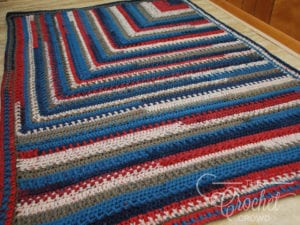
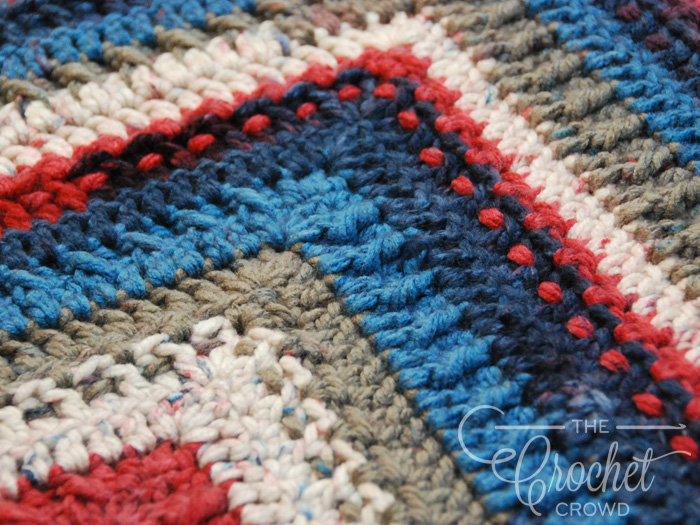
Do you love thick, squishy blankets that are full of glorious texture? Then you are going to love this Crochet Mitered Ridges Afghan that I just finished crocheting. This hooks up really quick with #6 weight chunky yarn. I used the Caron Chunky Cake yarn in colorway Trifle. It only took 6 cakes to make this generous 46" x 64" afghan.
You can easily adjust the size as you would crocheting a corner to corner blanket. You are working the first part as a solid square, then when it's wide enough for you, just work on one side back and forth until you have the desired length. Easy Peasy!
Another thing I'd like to mention is that this blanket is very solid and quite heavy. For those of you looking for a weighted blanket, this is a good choice.
You can also substitute any size yarn, just match your hook size to your yarn and you'll be good to go.

More Crochet Patterns to Consider
- Crochet Baby Star Blanket
- Crochet Tunnel Vision Afghan + Tutorial
- Crochet Vibrant Toilet Paper Cover Pattern
- Crochet WIP Wednesdays
- Double Crochet Stitch
- Crochet Cable for Any Size Projects
- Crochet Jester's Bag of Square Tricks

Mitered Ridges Afghan
Designed by Jeanne Steinhilber
- Caron Chunky Cakes - 6 balls of Trifle
- Crochet Hook 8.0mm Size L / US 11
- Stitch Marker
Abbreviations
Beg = Beginning
Ch = Chain
Dc = Double Crochet
FPdc = Front Post Double Crochet
Hdc = Half Double Crochet
Rep = Repeat
Rnd = Round
Sc = Single Crochet
Sl st = Slip Stitch
Sp = Space
St = Stitch
Project Size
46” x 64”
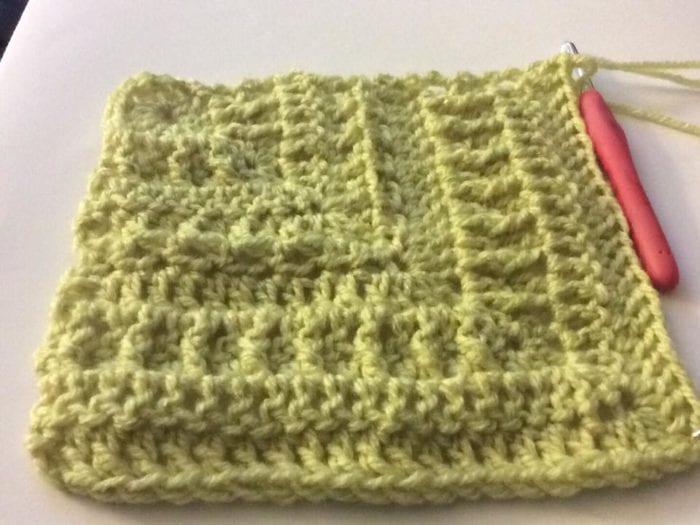
FPdc rows are worked on both sides of the blanket to create texture on both sides of the blanket.
Instructions
Round 1: Ch 4, in 4th ch from hook, 2 dc, ch 1, *3 dc, ch 1; rep * 2 more times, sl st to beg ch. Turn. - 12 dc
At this point, you will work in rows over only 2 sides of the square with only one corner between the sides.
Row 2: Sl st into ch-1, ch 3, (counts as dc now and throughout) dc in next 3 dc, 5 dc in ch-1 sp, dc in next 3 dc, 1 dc in ch-1 sp. Place marker in 3rd dc of the 5-dc group to mark the corner. You will move marker up each row to keep your place. Turn. - 13 dc
Row 3: Ch 2 (counts as hdc now and throughout), FPdc in next st, *hdc in next st, FPdc in next st; rep * to the marked corner, 3 hdc in the corner, **FPdc in next st, hdc in next st; rep ** to end. Turn. - 9 hdc, 6 FPdc
Row 4: Ch 3, dc in each st to the corner, 5 dc in corner, dc in each st to end. Turn. - 19 dc
Row 5: Rep row 4. Turn. - 23 dc
Row 6: Ch 2, *FPdc in next st, hdc in next st; rep * to corner, 3 hdc in the corner, hdc in next st, **FPdc in next st, hdc in next st; rep ** to end. Turn. - 15 hdc, 10 FPdc
Rows 7 and 8: Rep rows 4. - 33 dc at the end of row 8
Row 9 thru 60: Continue working in pattern, rep rows 3 through 8, ending with a row 6.
Begin working in straight rows
Row 61: Ch 3, dc in each st to corner, remove marker, 1 dc in corner. Turn.
Row 62: Ch 3, dc in each st across. Turn.
Row 63: Ch 2, *FPdc, hdc; rep to end. Turn.
Rows 64 through 84: Continue the pattern of rep row 62 twice, then row 63 once. Do not turn at the end of row 84.
Border
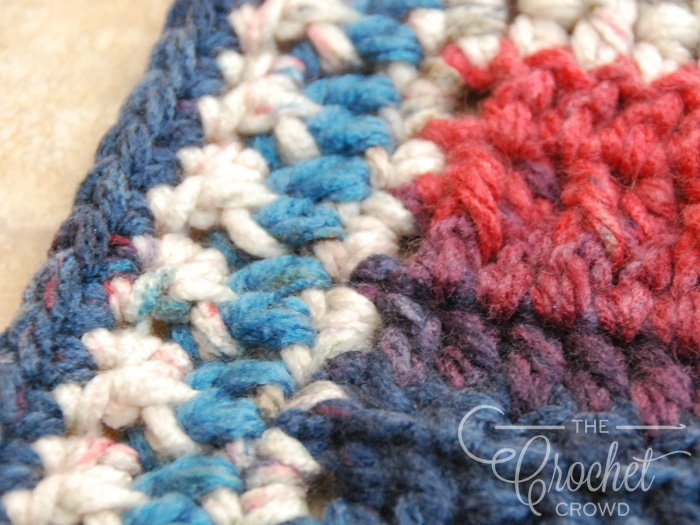
Rnd 1: Ch 1, working in the ends of the rows, 2 sc in each dc end post, 1 sc in each hdc end post, 1 sc in each dc stitch, to the corner, 3 sc in corner, rep around the entire blanket, sl st to beg sc.
Rnd 2: Ch 3, dc in each st around, with 5 dc in each corner, sl st to beg ch-3.
Rnd 3: Ch 2, *FPdc in next st, hdc in next st, 3 hdc in corners; rep * around, sl st to beg ch-2.
Rnd 4: Ch 1, sc in each st, 3 sc in each corner around the blanket, sl st to beg sc. Finish off.


Martha Anne Moore says
No blue button
Marina King says
button added
Beth Jawary says
Did you also work this up in a lighter weight yarn? If yes, could you share which yarn and quantities needed?
Thanks!
Jeanne - The Crochet Crowd says
This will work with any size yarn. Just match your hook size to the yarn. Sorry, but I wouldn't know the quantities without working one up.
Leslie says
Love this one, Jeanne!