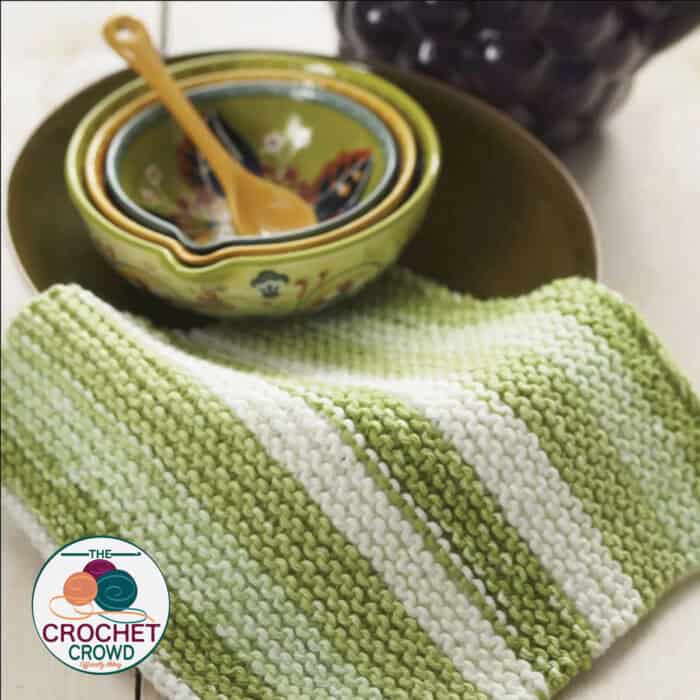
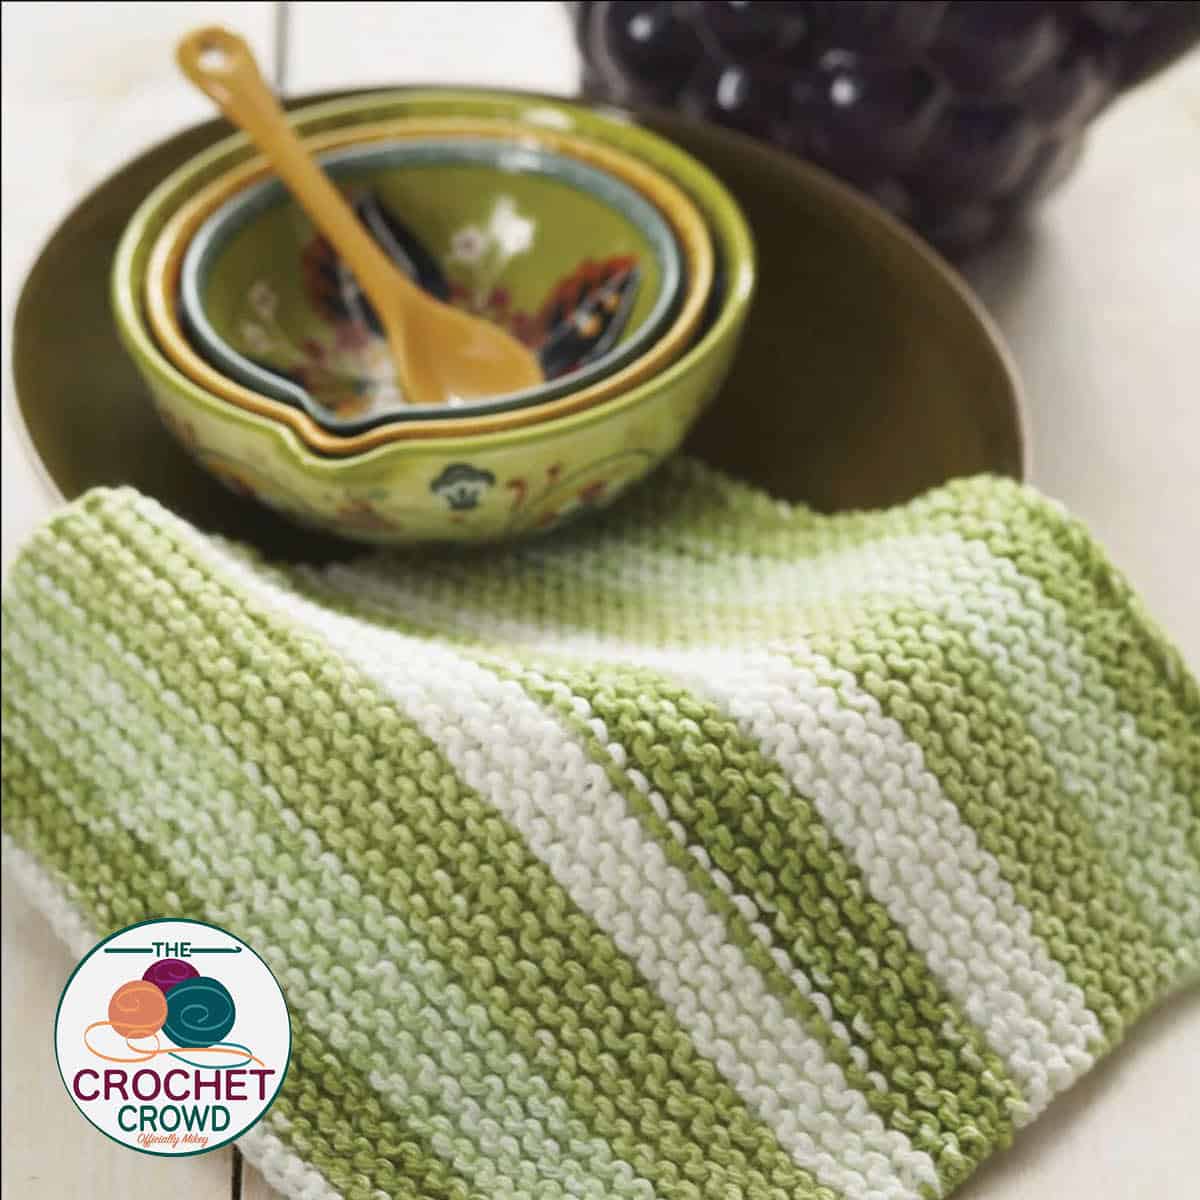
Start putting your basic skills of knitting together with your first project as the Garter Stitch Dishcloth.

Remember, the garter stitch is just a term for knitting back and forth without doing anything special. When every row is a knit stitch, it's called a garter stitch.
The tutorial below will demonstrate how to get started. I have also included the tutorial on how to cast off when you are done.
Pattern Suggestions
- Crochet Mosaic Baby Blanket Pattern
- Crochet Thick Toast Pot Holder Pattern + Tutorial
- Crochet Maple Leaf
- Crochet Baby Monogram Blanket Pattern + Tutorial
- Crochet Toddler Old Bun Hat Pattern + Tutorial
Tutorial
Summary
 Lily-Sugarn-Cream-Garter-Stitch-Knit-Dishcloth-Pattern.jpg">
Article Name
How to Knit Beginner Dishcloth with Tutorial
DescriptionLearn to know this easy back and forth stitch called the Garter Stitch. Begin your knitting skills here.
Author Michael Sellick
Publisher Name
The Crochet Crowd
Publisher Logo


Kelly says
Grid
Mikey says
THanks.
Kelly M Lane says
No Blue Button
Marina King says
button added
Ann says
No blue button
Marina King says
button added