We have an assorted type of crochet snowflake motifs. They can be used as ornaments, garlands or even gift toppers.
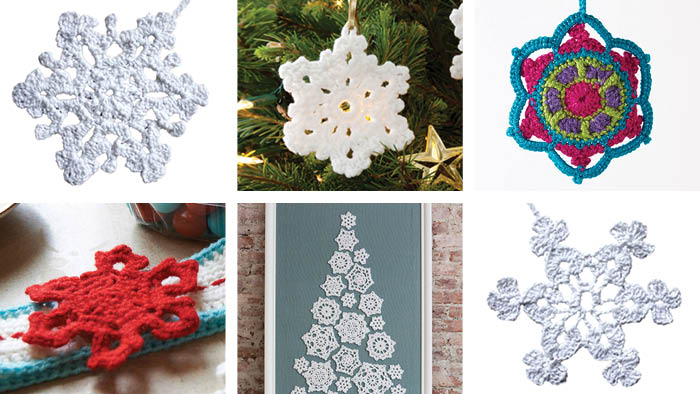
In this article, I have added tips and tutorials for stiffening up your snowflakes so they can be displayed with their maximum potential.
Let's review what great crochet snowflake resources we have.
Hardening Up Crochet Flowers / Snowflakes
I have used two different ways of stiffening snowflakes. Like anything in life, people have their preferred methods. There are also stiffening solutions you can find at the craft store. I've had better luck with my homemade solutions over purchasing fabric stiffener at Walmart.
They can be enjoyed for years to come.
Corn Starch & Water Method
- Mix 50% water with 50% Corn Starch.
- Bring mixture to a boil. Turn off heat and let cool down so you don't burn yourself.
- Once cooled down, dip the project into the solution.
- Do not wring out the project but just pat down on the project between paper towels or rag to get an extra solution out.
- Lay on the waxed paper, shape, sprinkle with glitter and let natural air dry.
- The corn starch will crystalize stiffing up the fibre.
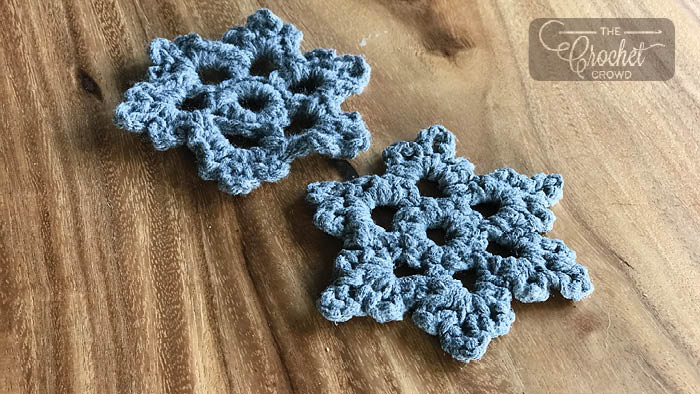
Before and After
Corn starch will leave a white residue onto the snowflakes but if using white, it's not a deal-breaker.
Elmer's Glue & Water
You can also stiffen using white Elmer's Glue or 100% glue.
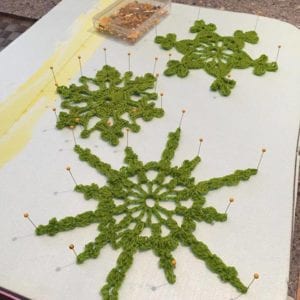
Backing Board
If you need to force the shape as the snowflake won't stay.
- Get some styrofoam.
- Lay a sheet of waxed paper over the styrofoam.
- If you are dipping the project, dip the project and remove excess liquid.
- Lay on the sheet and use pins to hold down critical areas where the shape needs to be held.
- Let naturally air dry. Remove pins and enjoy them.
Option 1 - Dip the Project
- Make a 50% water & 50% glue formula. Just add to each other and mix.
- Dip the project into the formula. Do not wring out but just squish to remove excess liquid.
- Lay on waxed paper and shape.
Option 2 - Paint On 100% White Glue
- If needed for shaping, use a backboard so you can apply pins. Pin down the project.
- Paint on 100% glue to the project. Let glue soak into the fibres
- If desired at the end of the paint job, sprinkle glitter.
- Let natural air dry.
- Remove pins. Turn over and paint glue again on the backside. Apply sprinkles again.
- Let natural air dry.
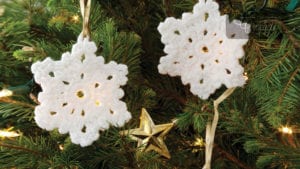
Most Popular Snowflake of Collection
The Most Popular Crochet Snowflake is one of the most well-known snowflakes in our collection. What draws the crocheters is the size and simplicity to do the pattern. After doing a few, a crocheter can remember the pattern easily.
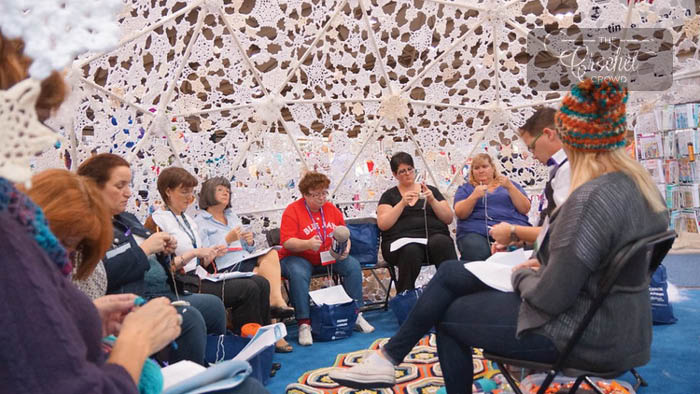
We were really inspired by this snowflake that it became the most crocheted snowflake for the Crochet Snowflake Igloo that we did back in 2015. The igloo was 16 feet in
diameter and 12 feet tall.
Tutorial
Crochet Snowflake Igloo Exhibit
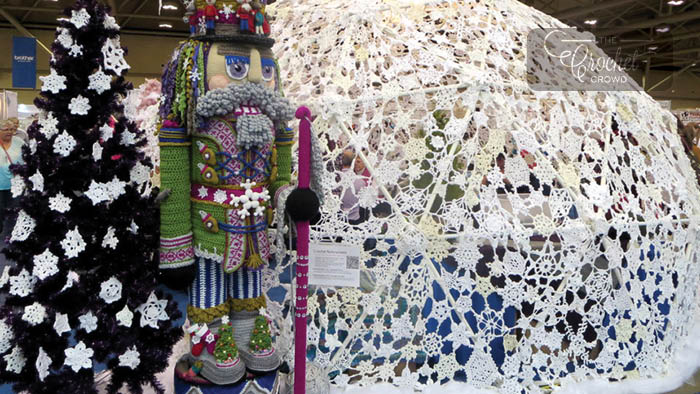
Crocheters from around the world were invited to crochet any white or cream snowflakes and send them to us. There were approximately 4,000 crochet snowflakes to cover the surface and winter trees in this exhibit.
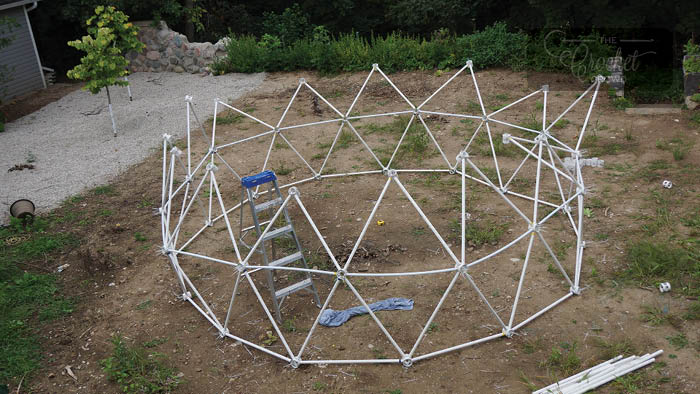
Daniel had found resources online for figuring out how to build the frame. He used flexible PVC water pipes. It took him about a month, on and off, to construct the frame.
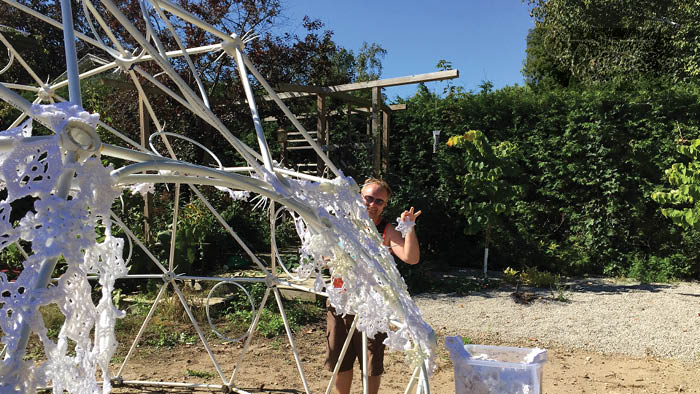
It took us approximately 3 days with the help of others to cover the entire frame. Thankfully it never rained. Each of the motifs was attached to each other. We did a random mix of colour and sizes to make it diverse.
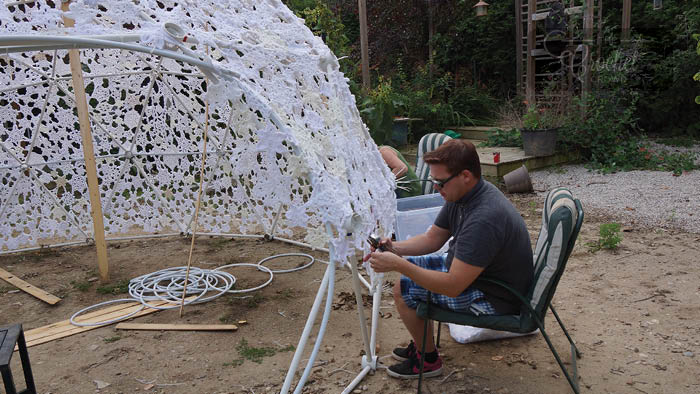
Daniel left two large openings into the igloo for safety reasons while on exhibit. Essentially, an entrance and exit. The weight of the covering played a factor in the balance of the frame. Some PVC pipes were changed to be more rigid.
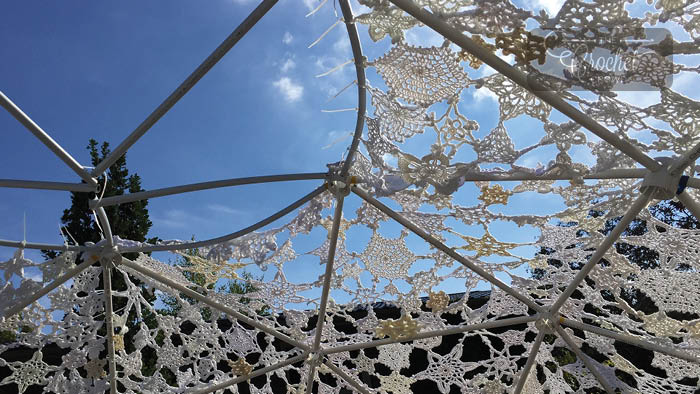
From the centre of the igloo hung a very heavy upcycled Swarovski Crystal Chandelier created by Cathy Lund. It was the sparkling light from within the snowflake igloo. See her chandelier below.
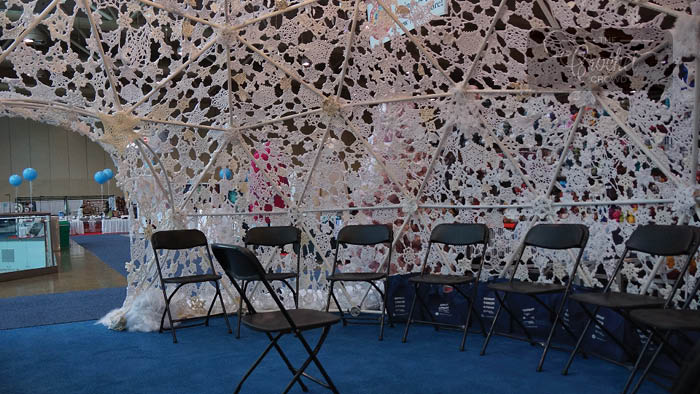
The light was defused inside and really was a comfortable space. It takes 5 hours to assemble and only 1.5 hours to take down. It's only ever been displayed in public one time but has been requested several times to go to different crafting shows. It still exists today but is in storage.
Crochet Jewelled Snowflake
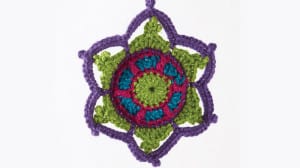
The Crochet Jewelled Snowflake is a misleading snowflake as it's much larger than you would expect. I've seen people on ETSY actually selling finish examples of this snowflake. It's a free pattern available through Yarnspirations.
I love how this ornament sparkles with Caron Simply Soft Party Yarn but also that it is three dimensional. The interior circle has a thickness as there are two centre motifs put together to give it weight and structure.
You could put potpourri in between the two centre motifs for air scenting. I definitely wouldn’t put Cat Nip in this as your cat makes go rangy all over your Christmas Tree.
I felt in this pattern that if you don’t have the hanger made, it would be an amazing topper for prepackaged gifts like tin cookies or even hang from the neck of a bottle of wine or champagne.
This pattern isn’t too complicated and I have made some slight changes to the pattern in finishing each round completely and re-attaching the yarn for cleaner-looking lines. I get confused on counts and I find finishing rounds completely allow me to have a fresh restart. I will leave that to you and the video tutorial is taught in such a way as well.
Tutorial
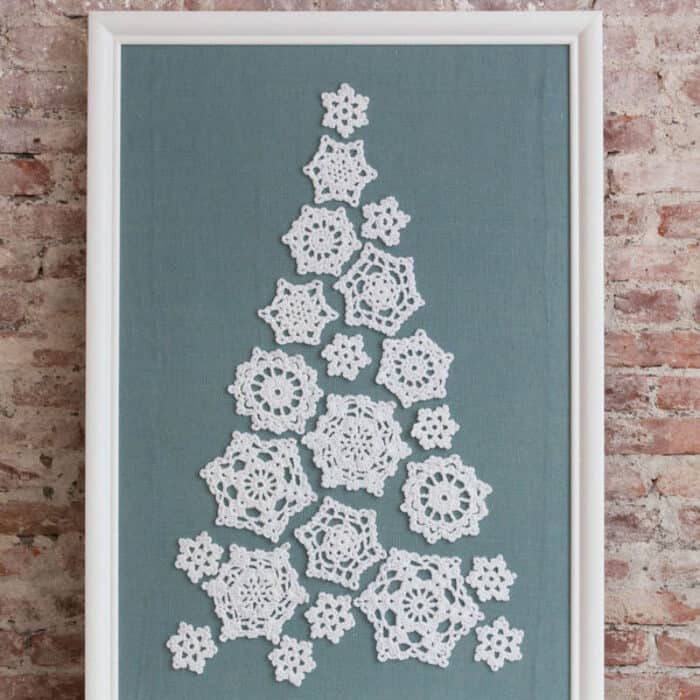
7 Crochet Snowflakes
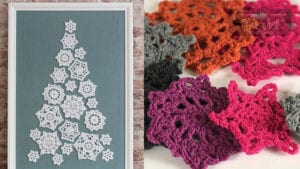
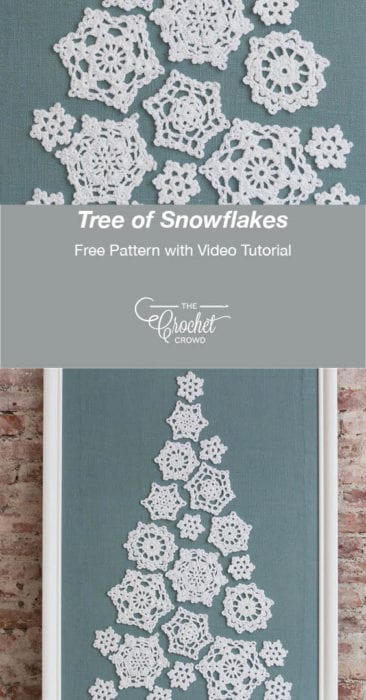
As mentioned, the Tree of Crochet Snowflakes has 7 designs. We will start and the pictures below will be replaced with the video tutorials as they become available. From Nov 25 - Dec 1, 2019, they will be launching.
Use the layout diagram in the free pattern for positioning where the snowflakes are used.
There are 7 different designs and what I appreciated by the design the most is that the larger motifs have just a couple. This means the filler motifs are the easier smaller ones to complete. Christmas is soon approaching and this is a type of project we can appreciate. It's unique and quick to make. The bigger cost to this project will be the frame itself but you may have other ideas too.
Crochet Mini Snowflake Doily - Make 10 for Mural
Crochet Small Snowflake Doily 1 - Make 2 for Mural
Crochet Small Snowflake Doily 2 - Make 2 for Mural
Medium Snowflake Doily 1 - Make 2 for Mural
Medium Snowflake Doily 2 - Make 2 for Mural
Large Snowflake Doily 1 - Make 2 for Wall Mural
Large Snowflake Doily 2 - Make 2 for Wall Mural
Twinkling Snowflakes
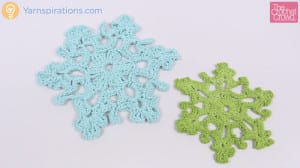
The Crochet Twinkling Snowflakes are part of a 3 part series in the same pattern. You can see all three designs in the video tutorials below this section.
These particular designs are lovely. Add some glue or starch to make these a hanging decorative snowflake would be really awesome.
These also make for a great centre for a table setting or below a candle.
Tutorials
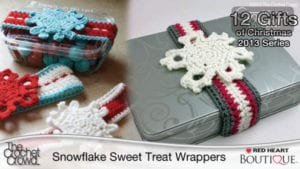
Sweet Treat Wrappers with Snowflakes
The Crochet Sweet Treat Wrappers has two add on snowflakes tot he wrapper that you can put with a gift.
Inside the tin can that I recycled that were cookies, I placed crochet hooks, some yarn and a DVD and gave it away as a starter crochet kid for a local charity.
The wrappers are just bands of crochet that can be adjusted depending on your packaging. I think the idea is brilliant as it can be re-used again and again.
Tutorials
Full Project Below

Karen Armstrong says
grid
Mikey says
Thankx
Carol says
Hey Mikey, Is there a tutorial video or written of how to attach the snowflakes to the board? (Tree of Snowflakes). So pretty, my 1st attempt at snowflakes and you make them very easy to do....Thanks!!
Mikey says
Actually thought that was written on the pattern. I'll have a look in the next week or so at the pattern to see. I am sure I read it there. Michael
Carol says
Don't look!!! it's there, you're right, I didn't read the whole thing....thanks, Merry Christmas
Mikey says
Thanks Carol for following up. I just stroked this off my long to do list. I super appreciate that. Have a festive season ahead. 😀