DOWNLOAD FREE HEADBAND PATTERN

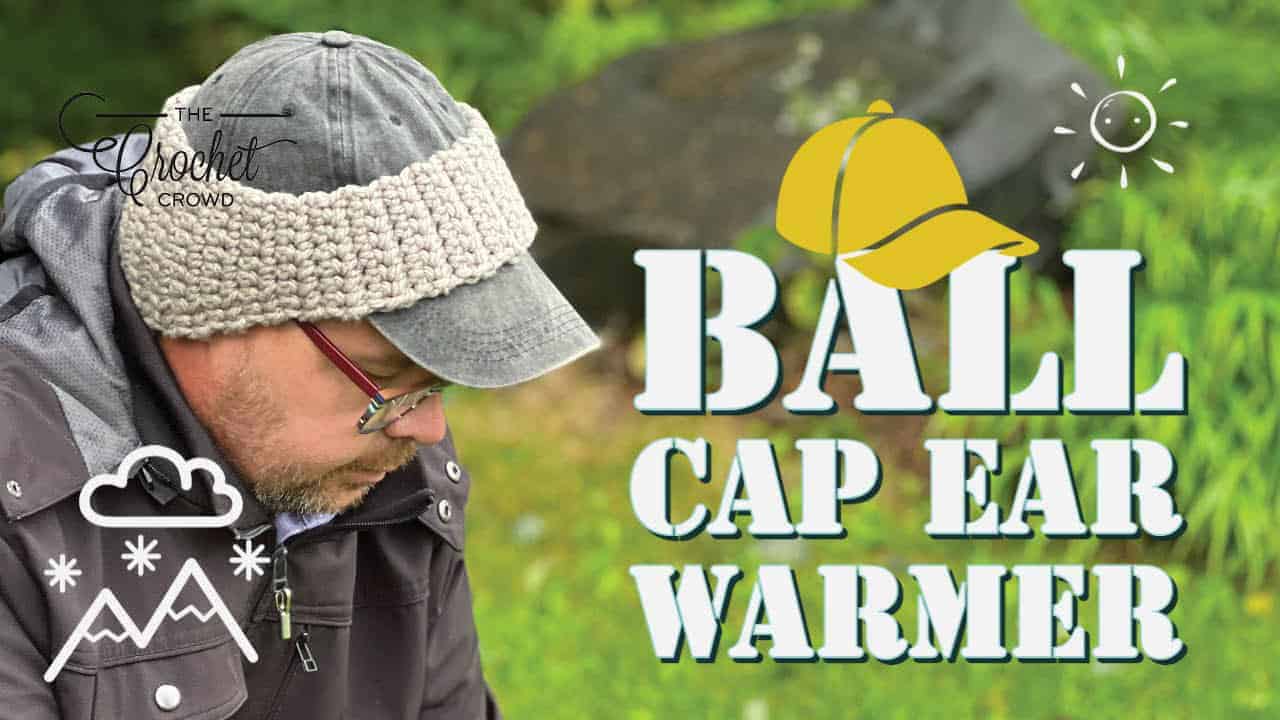
Crocheters requested a contoured headband that can go over a ball cap or use as normal, featuring 4-ply medium-weight yarn. Mikey took on the challenge, which took about 8 hours to design. This is the Contoured Medium Weight Crochet Headband.
Made for adults with adjusting options, as discussed in the tutorial. Some people prefer to continue to wear a ball cap over the winter months but need the warmth on their ears without looking too silly. Easy to wear and remove. You can also wear this design as a regular headband.
The colours can be bold or neutral, as I wouldn't describe this as a gender-specific pattern.
While Mikey designed with Red Heart Roll With It Melange, the tutorial he ran was featuring Patons Lincoln Fog. You can use Red Heart Super Saver if you prefer.
Pattern Details
- Project Size: Average Adult. Size is adjustable as talked about in the tutorial.
- Gauge: 16 sc and 16 rows
- Designer: Michael Sellick, Mikey
- Stitch Multiple is not applicable.
- Hook Size on Pattern: 4.5 mm / G/6
- Yarn In Pattern: Red Heart Roll With It Melange. Tutorial is Patons Lincoln Fog.
- Pattern Date or Last Revision Known: September 27, 2022
Please use the pattern for details on yarn quantities, gauge and other details not listed here. This pattern may have been updated since the creation of this tutorial, and the information or presentation of the printable PDF may have been changed without notice.
More Ideas
My Original Ball Cap Design is available. Click the picture to get the free pattern and video tutorial to help you.

Pattern Instructions
Red Heart Roll With It Melange, 150g / 5.29 oz, 356 m / 389 yds
Theater, 1 ball - 32 g (1.13 oz) used. (4 headbands can be made with one ball).
Hook: 4.5 mm / G/6
Adult Size: 20” [51 cm] dia.
Abbreviations
- Ch = Chain(s)
- Dc = Double Crochet
- Dcfp = Double Crochet Front Post
- Rem = Remaining
- Rep = Repeat
- RS = Right side
- Sc = Single crochet
- St(s) = Stitch(es)
- WS = Wrong side
- Yoh = Yarn over hook
Tutorial version was Patons Lincoln Fog, Nest Egg. 1 Ball.
Notes:
We will be starting at the back of the head in the middle.
The stitches will be tight to make the project warmer with less space between stitches.
Ch 18.
1st row: WS. 1 sc 2nd ch from hook, 1 sc in each ch across. Turn. 17 sts.
2nd row: RS. Ch 1, 1 dc in each st across. Turn. 17 sts.
3rd row: Ch 1, 1 sc in each st across. Turn. 17 sts.
The double crochet front post counts as the stitch it sits in front of the stitch in the row below.
4th row: Ch 1, 1 dc in first st. *1 dcfp around next post 2 rows below, 1 dc in next st. Rep from * across. Turn. 17 sts.
5th row: Ch 1, 1 sc in each st across. Turn. 17 sts.
6th row: Ch 1, 1 dc in first 2 sts. *1 dcfp around next post 2 rows below, 1 dc in next st. Rep from * across. 1 dc in last st. Turn. 17 sts.
7th to 12th rows: Rep 3rd to 6th rows once, then 3rd and 4th rows.
13th row: Ch 1, 1 sc each st across until 3rd last st. Sc2tog. Turn. 16 sts.
14th row: Ch 1, dc2tog. 1 dc in next st. *1 dcfp around next post 2 rows below, 1 dc in next st. Rep from * across. 1 dc in last st. Turn. 15 sts.
15th row: Ch 1, 1 sc each st across until 3rd last st. Sc2tog. Turn. 14 sts.
16th row: Ch 1, dc2tog. *1 dcfp around next post 2 rows below, 1 dc in next st. Rep from * across. Turn. 13 sts.
17th row: Ch 1, 1 sc each st across until 3rd last st. Sc2tog. Turn. 12 sts.
18th row: Ch 1, dc2tog. 1 dc in next st. *1 dcfp around next post 2 rows below, 1 dc in next st. Rep from * across. 1 dc in last st. Turn. 11 sts.
19th row: Ch 1, 1 sc each st across. Turn. 11 sts.
Next section goes towards the front of the head around to the other side.
20th row: Ch 1, 1 dc in first st. *1 dcfp around next post 2 rows below, 1 dc in next st. Rep from * across. Turn. 11 sts.
21st row: Ch 1, 1 sc each st across. Turn. 11 sts.
22nd row: Ch 1, 1 dc in first 2 sts. *1 dcfp around next post 2 rows below, 1 dc in next st. Rep from * across. 1 dc in last st. Turn. 11 sts.
23rd row: Ch 1, 1 sc in each st across. Turn. 11 sts.
24th to 43rd rows: Rep 20th to 23rd rows. Ends on WS.
44th row: RS. Ch 1. 2 dc in the first st. *1 dcfp around next post 2 rows below, 1 dc in next st. Rep from * across. Turn. 12 sts.
45th row: Ch 1, 1 sc each st across. Turn. 12 sts.
46th row: Ch 1, 2 dc in first st. 1 dc in next st. *1 dcfp around next post 2 rows below, 1 dc in next st. Rep from * across. Turn. 13 sts.
47th row: Ch 1, 1 sc each st across. Turn. 13 sts.
48th row: Ch 1, 2 dc in first st. 1 dc in next st. *1 dcfp around next post 2 rows below, 1 dc in next st. Rep from * across. 1 dc in last st. Turn. 14 sts.
49th row: Ch 1, 1 sc each st across. Turn. 14 sts.
50th row: Ch 1, 2 dc in first st. 1 dc in next st. *1 dcfp around next post 2 rows below, 1 dc in next st. Rep from * across. Turn. 15 sts.
51st row: Ch 1, 1 sc each st across. Turn. 15 sts.
52nd row: Ch 1, 2 dc in first st. 1 dc in next st. *1 dcfp around next post 2 rows below, 1 dc in next st. Rep from * across. 1 dc in last st. Turn. 16 sts.
53rd row: Ch 1, 1 sc each st across. Turn. 16 sts.
54th row: Ch 1, 2 dc in first st. 1 dc in next st. *1 dcfp around next post 2 rows below, 1 dc in next st. Rep from * across. Turn. 17 sts.
55th row: Ch 1, 1 sc each st across. Turn. 17 sts.
Back Section
56th row: Ch 1, 1 dc in first 2 sts. *1 dcfp around next post 2 rows below, 1 dc in next st. Rep from * across. 1 dc in last st. Turn. 17 sts.
57th row: Ch 1, 1 sc each st across. Turn. 17 sts.
58th row: Ch 1, 1 dc in first st. *1 dcfp around next post 2 rows below, 1 dc in next st. Rep from * across. Turn. 17 sts.
59th row: Ch 1, 1 sc in each st across. Turn. 17 sts.
60th to 63rd rows: Rep 56th to 59th once. Fasten off at the end of 63rd row. Leave long tail to sew ends together.
Finishing
With RS facing each other, sew edges together through back loops only using a whipstitch. Weave in ends.
Tutorial
Jenn says
Grid
Mikey says
Thanks.
The Handy Gal says
Hi, Mikey! Handy Gal here. Just wanted to give you a shout out for your fantastic tutorials. I learned to crochet back in the Spring by watching your fun and informative videos and was really hooked - no pun intended. I built up a small inventory of mostly hats, coasters, and car coasters, sold them, and donated all the proceeds to our local charitable organization. It was a Win! Win! Because of the great response I received, I'm considering starting a little "side hustle" next Spring. For sure I'll be watching more of your videos for continued inspiration and guidance. Thanks Mikey! You Rock!!!