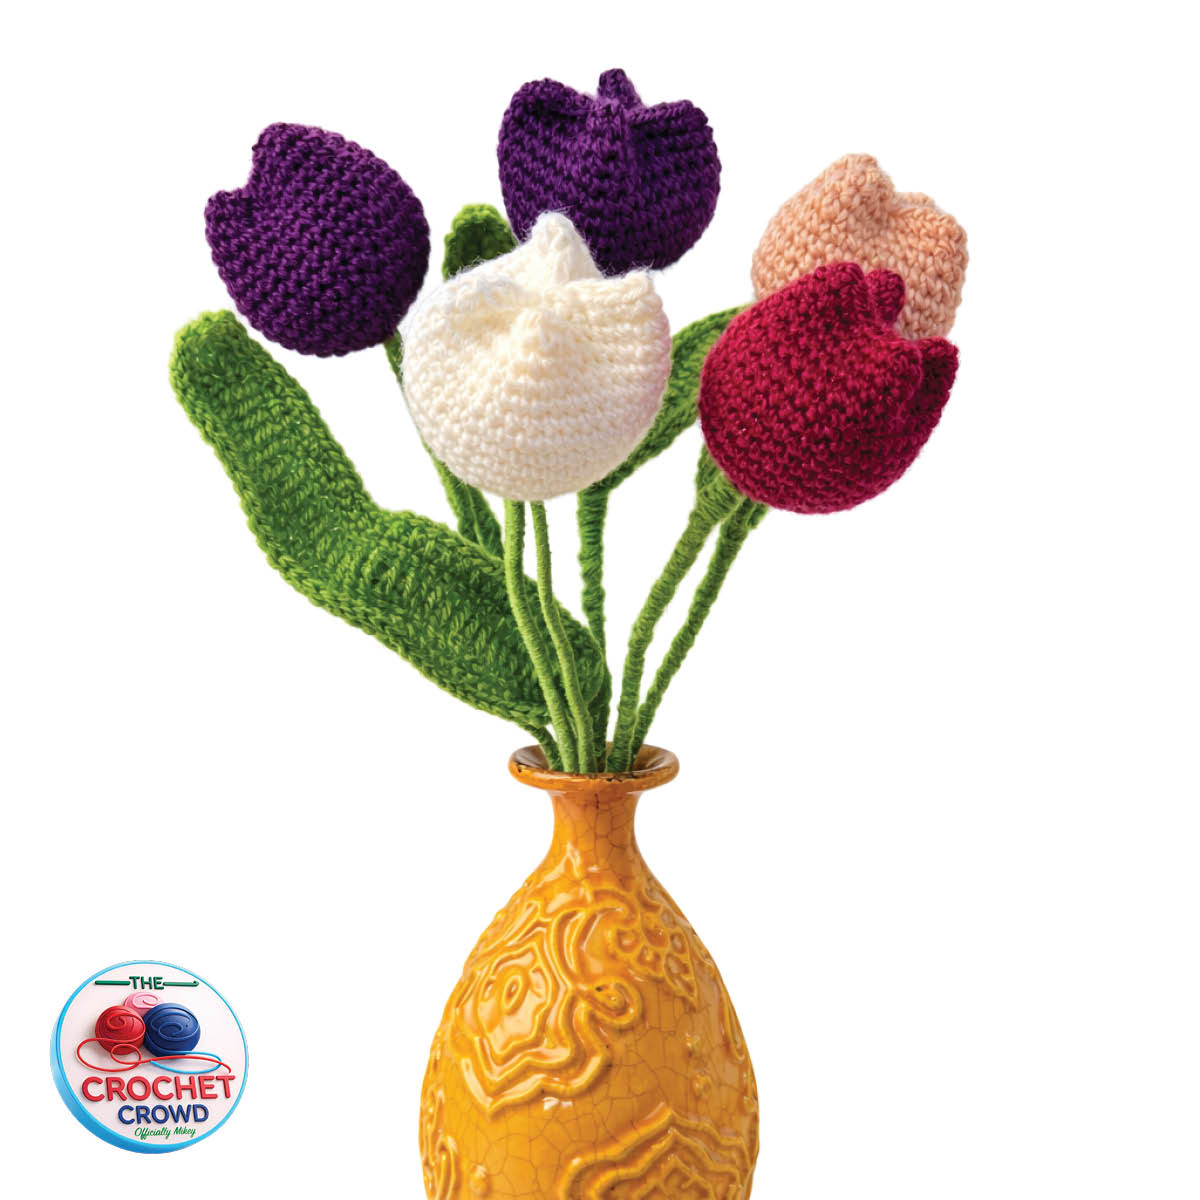
These simple Crochet Tulips are adorable and sized just perfectly. Using Caron Simply Soft Party yarn that has sparkle, they are recognizable and give your decor that spring maximalist look.
Never needing water, the free download also includes lots of photographs.
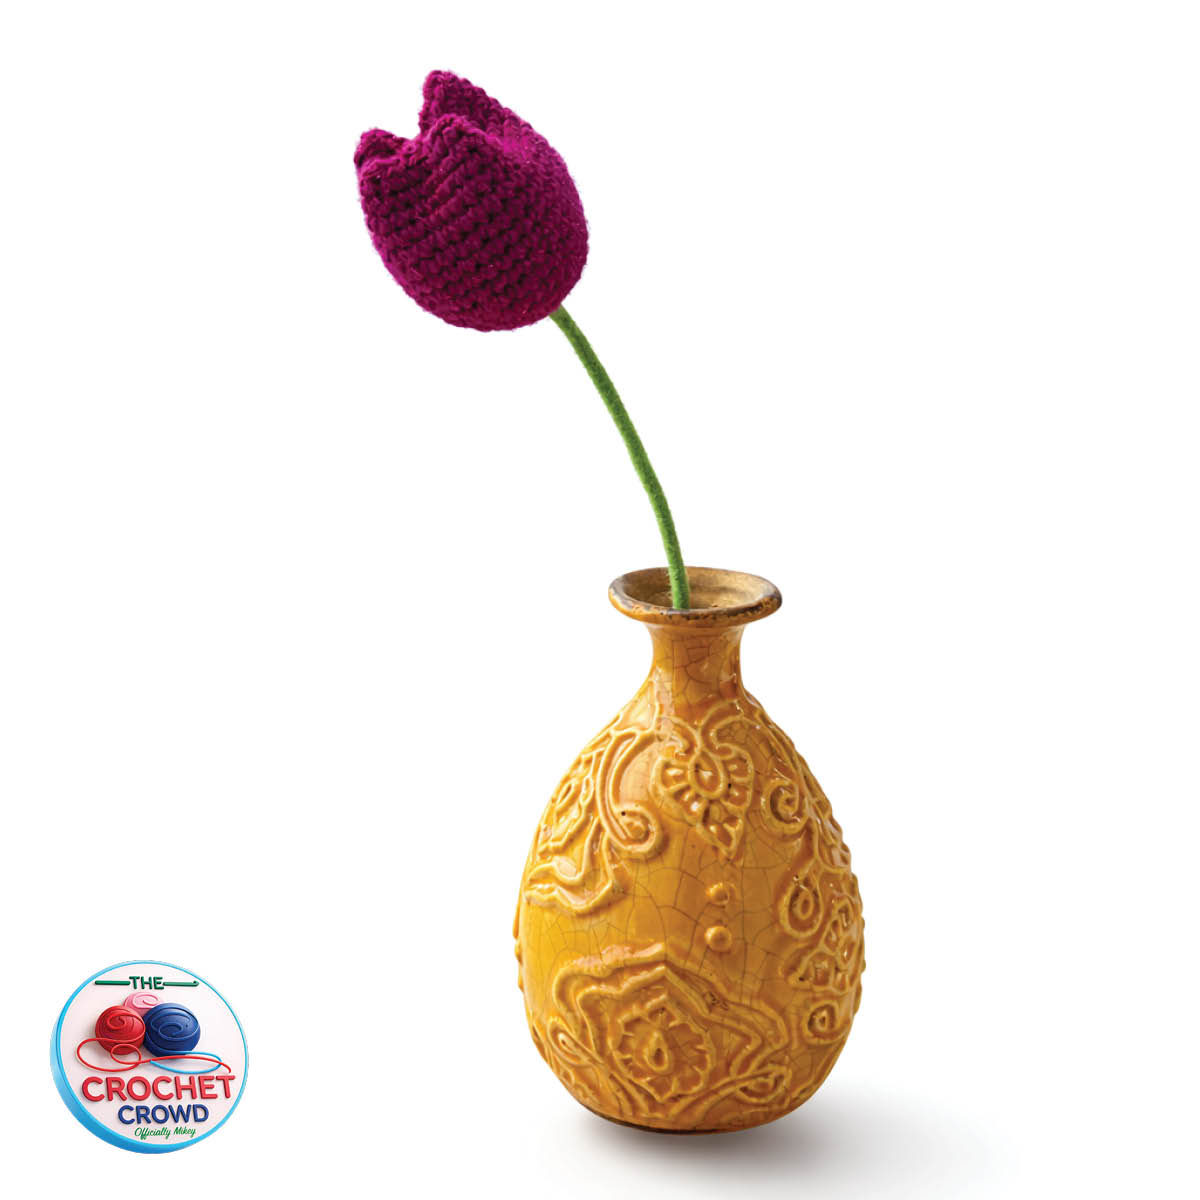
I quite liked them without the leaf, but everyone around me insists they need a leaf. There's something about the lonely little tulip in the vase that compels my sentimental side.
In This Article
Instructions with the pictures make it much easier to see in the free download.
Materials
Caron Simply Soft Party (85g / 3 oz, 150 meters / 164 yards)
- 1 Ball - Fuschia Spark or Assorted Caron Spark Yarns as shown.
- 1 - Ball - Red Heart Super Saver, Spring Green.
Extra Materials
- Touch of hot glue.
- Sculpting and Armature Wire 0.2 cm or .11” thick.
- Each tulip needs 15” for the main stem (depending on the size of your vase.
- You will need a separate 9” wire for the leaf.
- The vase shown is 7.5” tall
- Polyfil
Hook: 3 mm / D
Size: 15” tall. Flower is 2.5” tall x 2.5” dia
Gauge: 19 sc and 20 rows = 4”
Abbreviations
- Approx = Approximate(ly)
- Beg = Begin(ing)
- Ch = Chain(s)
- Rep = Repeat
- RS = Right Side
- Sc = Single Crochet
- St(s) = Stitch(es)
Main Tulip Flower
Notes: You will crochet in a continuous round, marking the last stitch of each round with a stitch marker to help keep track of the count.
Create a magic ring.
1st rnd: RS. 6 sc in magic ring. Do not join. 6 sc. Working a continuous rnd.
2nd rnd: 2 sc in each sc. 12 sc.
3rd rnd: *1 sc in next sc, 2 sc in next sc. Rep from * around. 18 sc.
4th rnd: *1 sc in next 2 sc, 2 sc in next sc. Rep from * around. 24 sc.
5th rnd: *1 sc in next 3 sc, 2 sc in next sc. Rep from * around. 30 sc.
6th rnd: *1 sc in next 4 sc, 2 sc in next sc. Rep from * around. 36 sc.
7th rnd: 1 sc in each st around. 36 sc.
Rep 7th rnd until flower measures 3” from the magic ring.
Fasten off, leaving a 30” long tail.
Leaf
Measure and cut one 9” long with the sculpting wire.
- Bend about a 60-degree angle, about 1 inch from the end, on one side.
- On the other side, create a closed loop that allows your crochet hook to pass through the interior of the loop.
Working around the leaf one more time as follows:
Half double crochet half was back to the loop. Then switch to single crochet into the loop, then switch to slip stitching in the 3 hdc in the loop. Ch 3. 1 dc in ch-1 sp, ch 3. Slip stitch into the next 3 hdc stitches. Switch to single crochet and continue to the halfway point back to the beginning. Then switch to half double crochet for the final half of the leaf. Join to the beginning with a sl st. Fasten off and weave in ends.
Put the leaf aside and begin to prepare the stem.
Prepare the Stem
Cut one 15” long wire.
- Form a loop on one side of the wire only.
- Insert the non-loop side down through the middle of the flower in the magic circle.
- Place the stem colour on a tapestry needle and feed it from the bottom through the magic circle into the interior of the flower.
- Take the green and wrap it around the loop of the wire. Glue into position.
- Push the flower up so it's under the loop. Flip the flower inside out, then hit the interior with some glue around where the wire is popping through to hold it in position.
Flip the flower back outside, right and place in polyfil inside the flower.
Squeeze the top closed, going in the opposite direction from where the yarn was ended. Using a tapestry needle to pull together. Then, squeeze again, as shown below, directly in the middle, so there is an X formation at the top.
Whip stitch each of the four sections. Fasten off.
Wrapping the Stem with the Leaf
If you know which vase you want to use, you can figure out where you want the leaf to appear. The leaf for my sample is attached with a 4” space between the bottom of the tulip and where the leaf starts.
Form a loop at the bottom of the stem first, just like you did with the tip of the leaf. Make sure it can get into the hole of your vase.
With the yarn that is popping out the bottom of the tulip, spin the wire and collect the yarn evenly as tightly as possible so as not leave any gaps.
When you get to the distance where you wanted the leaf. Sandwich the two wires and wrap them tightly around both. Continue wrapping the wire around the stem until you reach the loop at the bottom.
Hit the bottom with some glue, wrap more yarn around the wet glue, and hold until it sticks.
Have you completed this project. Show me!