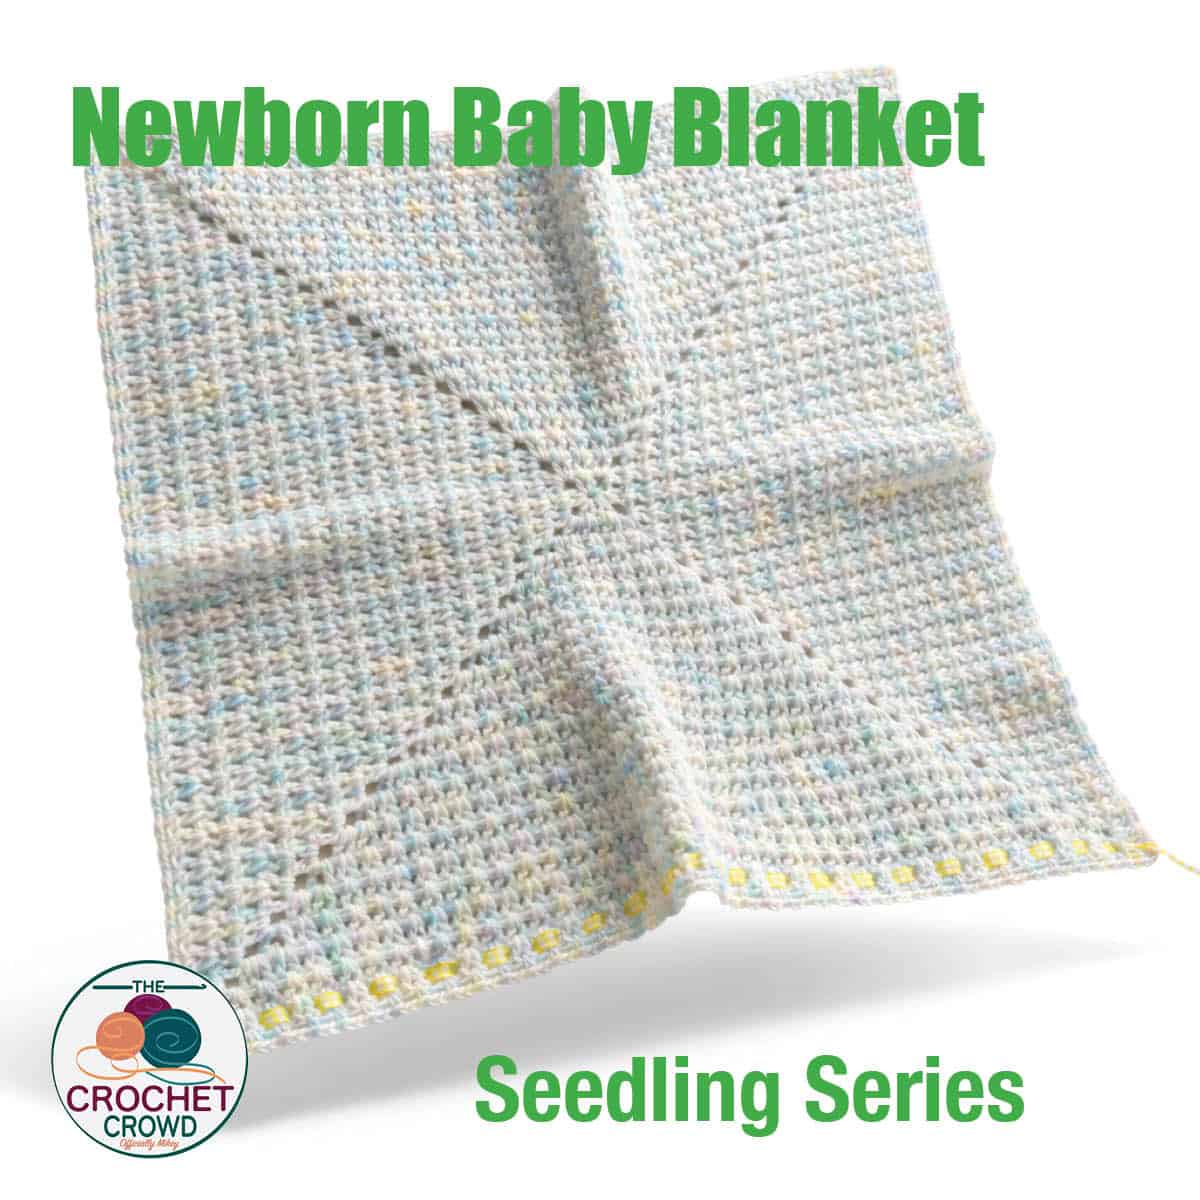
What can one ball of Red Heart Comfort do? It can make a 28" x 28" crochet baby blanket and a newborn baby hat. Both are designed with the same stitch in mind. This is the Crochet Seedling Newborn Baby Blanket pattern.
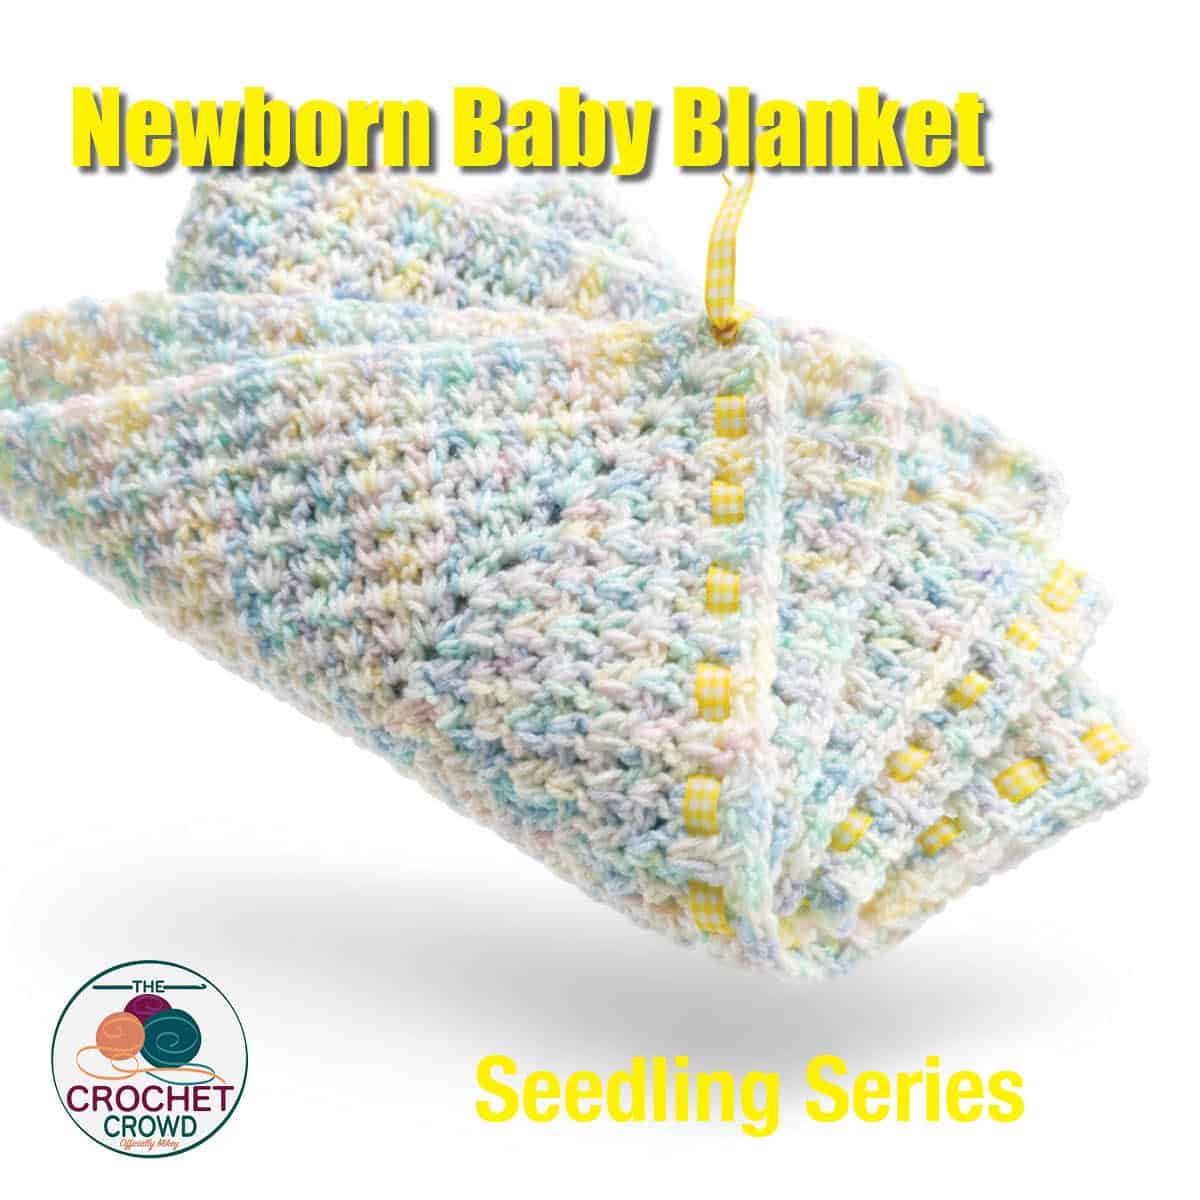
The baby blanket doesn't sit flat, as it gives more material to wrap around your new family member or friend. To soften up the yarn, just wash your finished items in dedicate cycle. Don't add any ribbons before washing.
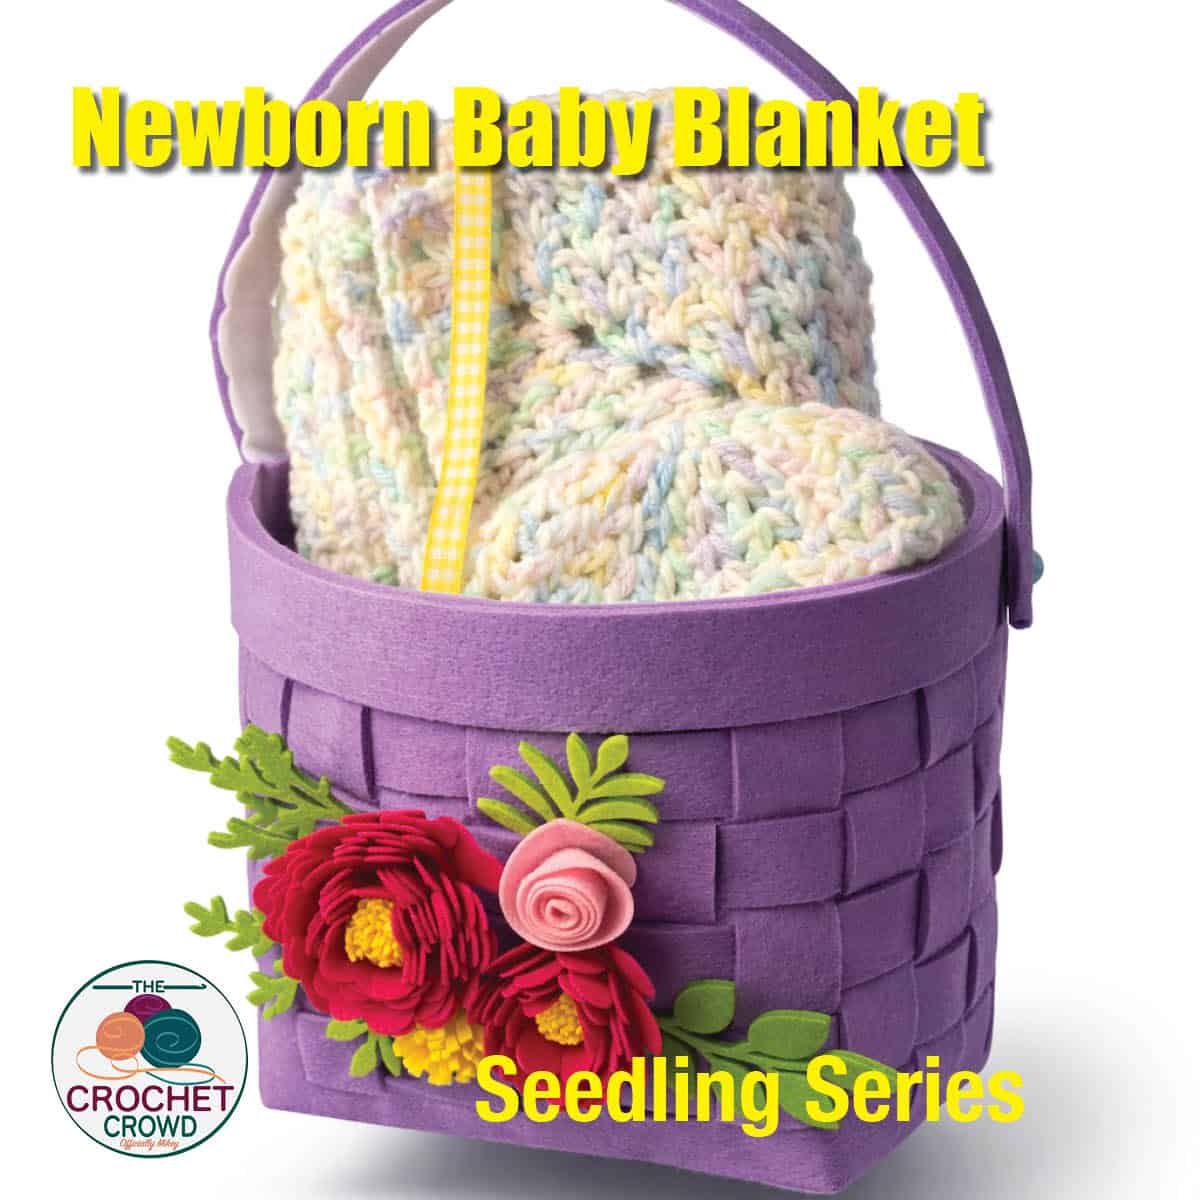
Ribbons
If you are adding ribbons to baby items, be sure the entire ribbon is sewn into position. They make cute embellishments for a baby garment, but if the ribbon is not sewn all the way, a loop can form and become an entanglement. Great for photography opportunities, but never leave a baby unattended if ribbons are incorporated into your project.
You may include a ribbon as a gift, but instruct the new parent to remove it from both before using it regularly. It's merely there for show.
Yarn Details
Red Heart Comfort, 454 g/16 oz, 792 meters/867 yards
- A = Bambi - 1 Ball
If you are doing the matching hat with Red Heart Comfort, use the same size hook for both to match the gauge. In my case, I used 4.5 mm / US 7 instead of the 5 mm / H/8 when using Red Heart Soft Baby Steps.
Hook: 4.5 mm / US 7
Baby Blanket: 28” x 28”
Gauge: 15 sc and 16 rows = 4” [10 cm] (Please use gauge to get the right size and adjust your hook accordingly if your gauge is off.)
Abbreviations
- Beg = Begin(ning)
- Bet = Between
- Ch(s) = Chain(s)
- Dc = Double Crochet
- Hdc = Half Double Crochet
- Join = Join using slip stitch to the top of the beginning chain 3.
- Rem = Remain(ing)
- Rep = Repeat
- RS = Right Side
- Sc = Single Crochet
- Sl st = Slip Stitch
- Sp(s) = Space(es)
- St(s) = Stitch(es)
- V-st(s) = V-Stitch(es). 2 dc in same stitch or space.
Instructions
An additional crochet diagram is available on the free download.
Notes:
- You will turn the project around at the end of every round to keep the centre from forming a spiral twist.
- Right sides and wrong sides are not important.
- Ch 1, join with hdc counts as a ch-3 corner space.
With A, ch 4. Join with sl st to beg ch to form ring.
1st rnd: Ch 3 (counts as dc here and throughout). 1 dc in ring. [Ch 3. 2 dc in ring] 3 times. Ch 1. Hdc to the top of beg ch-3. Turn.
2nd rnd: Ch 3. 1 dc in same corner sp. Sk next dc, v-st in space before the next dc. *(2 dc in next corner sp. Ch 3. 2 dc in same corner sp.) Sk next dc, v-st in space before the next dc. Rep from * around. 2 dc in beg corner sp. Ch 1. Join with hdc to the top of beg ch-3. Turn.
TIPS:
- V-sts are formed by using spaces rather than the stitches themselves.
- When placing 2 dc into a corner space, in the next round, you will use the space between them to create the next v-st. See diagram.
3rd rnd: Ch 3. 1 dc in same corner sp. V-st in each v-st across to the next corner. *(2 dc. Ch 3. 2 dc) in corner sp. V-st in each v-st across to next corner. Rep from * around. 2 dc in beg corner sp. Ch 1. Join with hdc to the top of beg ch-3. Turn.
4th to 21st rnds: Rep 3rd rnd.
Border: Ch 1. 1 sc in same corner sp. Ch 1. 1 sc in next v-st. [Ch 2. 1 sc in next v-st] rep [ ] across. Ch 1. *3 sc in corner sp. Ch 1. 1 sc in next v-st. [Ch 2. 1 sc in next v-st] rep [ ] across. Rep from * around. 2 sc in beg corner sp. Join with sl st to first sc. Fasten off.
For display, you can add a ribbon to the last V-st round.
Caution: remove the ribbon before giving it to an unattended baby.
The blanket will bulge a bit.
Have you completed this project. Show me!